
Finding the right bike handlebar width starts with measuring the distance between your shoulder joints—specifically the bony bumps known as the acromioclavicular (AC) joints. This physical baseline is then adjusted based on your riding discipline, whether you ride a road, gravel, or mountain bike. Choosing the correct width ensures optimal control, comfortable breathing, and reduced strain on your neck and shoulders during long rides. While a bar that is too wide can cause muscle fatigue and sluggish handling, a bar that is too narrow can restrict your chest expansion and make steering feel twitchy. By taking accurate body measurements and understanding how handlebar geometry interacts with your bike’s setup, you can confidently select a handlebar that enhances both your comfort and performance.
Understanding How Bike Handlebar Width Affects Your Ride
Your handlebars serve as the primary steering control and a major weight-bearing contact point on your bicycle. The width of this component directly influences your upper body posture, which in turn dictates how efficiently you can breathe and how long you can ride without discomfort. When your handlebars match your shoulder width, your arms extend forward in a natural, parallel alignment. This alignment allows your chest to open fully, facilitating deep diaphragmatic breathing during hard efforts. Conversely, if your handlebars are too narrow, your shoulders collapse inward, compressing your chest cavity and restricting your airway.
The physical consequences of an incorrect handlebar width often manifest as chronic discomfort during or after a ride. If you frequently experience localized neck pain, tension between your shoulder blades, or numbness in your hands, your handlebars may be the culprit. A bar that is too wide forces your arms outward, placing excessive leverage on your shoulder joints and straining the trapezius muscles. This wide stance also forces you to bend your elbows excessively or lock them out, transferring road vibrations directly up your arms and into your neck. A bar that is too narrow often leads to overcompensating with your wrists, causing pressure points that trigger hand numbness.
Products mentioned in this guide
794 Lazada user ratings
i ordered just the other day and it was fast! well packed great finds i really liked it AWESOME perfect condition!!!
ok nman yung items, ok din ang packaging, tnx Lazada!..
my order was delivered early and well packed.
Quality at no Damages pag dating sakin.
Compatibility:i like it
1,459 Lazada user ratings
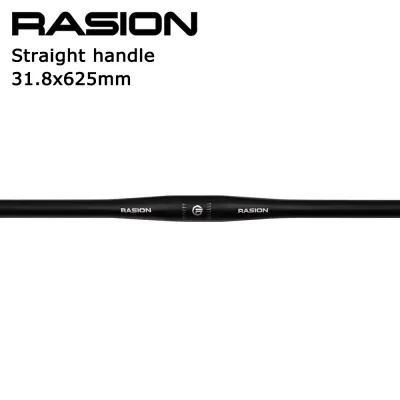
High-quality aluminum alloy material, Lightweight and durable, Provides a comfortable grip, Excellent handlebar design, Easy to install and …Read full reviewShow less
High-quality aluminum alloy material, Lightweight and durable, Provides a comfortable grip, Excellent handlebar design, Easy to install and adjust, 🔨Durability:High Quality 🔌Compatibility:Universal all sizes 🛠️Ease of Installation:Basic installation
🔨Durability:good 🔌Compatibility:good 🛠️Ease of Installation:good Excellent handlebar design, High-quality aluminum alloy material,
Enhances control and stability, Easy to install and adjust, well packed. Fast delivery. Good price.
Provides a comfortable grip, Perfect fit for my mountain bike,
thank you seller and delivery not the best but acceptable
217 Lazada user ratings
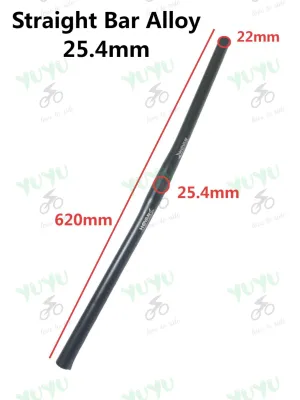
Good Quality 👍 4 Star Lang Kasi Medjo Manipis Yung Pag Ka Alloy But I Recommend Kasi Maganda Siya Subra
ayos nman Yong item...pero may mga spot n Hindi nalinis ..dahil mura nman Yong item goods n din...
I got the item already and I like it very much! Thank you seller for the price it's affordable.
bagay na bagay sa bike ng erpat ko bibili ulit ako nito pag nakabili ulit ako bagu bike
Quality:good Appearance:good Performance:good
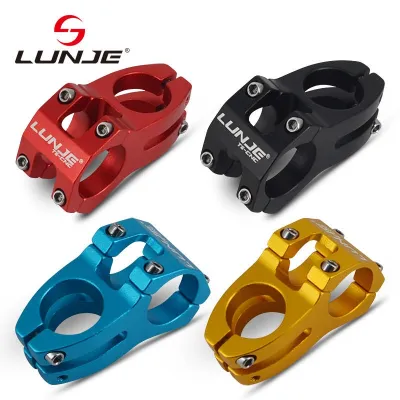
83 Lazada user ratings
Great handlebar for mountain biking, Easy to install on my bike, 👍💖💓
Stylish colors to choose from, Perfect size for my bike,
maganda sya
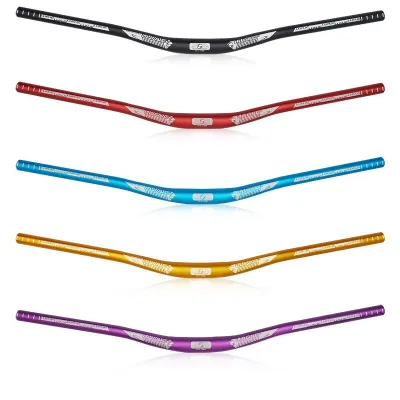
88 Lazada user ratings
Easy installation process, 31.8mm diameter clamp,
good quality... ok n ok ... fif sa bike ko...
Good maganda naman po sya sana tumagal po
Sabi sa description 780 ang dumating 720
very nice item perfect thank you seller
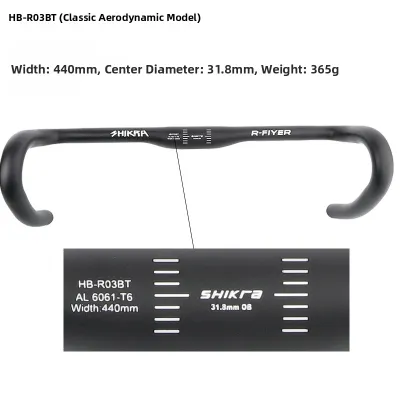
21 Lazada user ratings
Bought it a second time, this one was for a friend.
Pretty good, worth the price.
The grip feels much better.
Not bad, pretty useful.
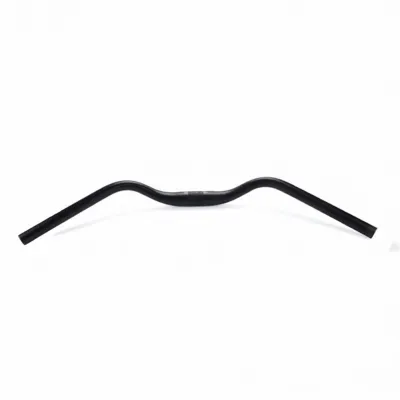
34 Lazada user ratings
High-quality materials, durable and long-lasting., Perfect size for my mountain bike., Great value for the price, highly recommend., Great h…Read full reviewShow less
High-quality materials, durable and long-lasting., Perfect size for my mountain bike., Great value for the price, highly recommend., Great handlebar for a comfortable grip., Great handlebar for a comfortable grip., Stylish design, perfect for retro lovers., Stylish design, perfect for retro lovers., Provides excellent control and stability.,
This handlebar is the most comfortable one I've ever used, and all four of my cycling buddies think it's great too, so they switched to it a…Read full reviewShow less
This handlebar is the most comfortable one I've ever used, and all four of my cycling buddies think it's great too, so they switched to it as well.
Holding the horizontal handle for a long time makes my wrist hurt, but with the swallow handle, it doesn't hurt and feels quite comfortable.
The product arrived in perfect condition, but I was disappointed by the delivery rider's arrogant attitude.
Top-notch efficiency!
Prices are valid at publication and may change. Please refer to the product page for the latest price.
Different cycling disciplines also dictate distinct width expectations due to varying terrain and speed requirements. Road cycling traditionally favors narrower bars to minimize the rider’s frontal surface area and improve aerodynamic efficiency. Gravel riding introduces a middle ground, utilizing slightly wider, flared bars to balance aerodynamics with the stability needed on loose surfaces. Mountain biking sits at the widest end of the spectrum, prioritizing maximum steering leverage and control over technical obstacles rather than aerodynamic positioning.
How to Measure Your Body for the Ideal Handlebar Width
To establish your baseline handlebar width, you must measure your skeletal structure rather than your muscular silhouette. The key anatomical landmark is the acromioclavicular (AC) joint, which is the bony protrusion where your collarbone meets your shoulder blade. Measuring from the outside edge of your flesh will result in a bar that is too wide, as muscle mass and fat do not dictate your skeletal alignment.

To perform this measurement at home, you will need a flexible measuring tape and a helper. Stand with your back straight, shoulders relaxed, and arms hanging naturally at your sides. Have your helper locate the prominent bony bump on the top of each shoulder. Measure the straight-line distance between these two points across your back. This measurement, typically recorded in millimeters or centimeters, represents your natural shoulder width and serves as your starting point for road and traditional pavement handlebars. If you must measure alone, you can press your shoulders against a soft wall or piece of cardboard, mark the locations of your AC joints with a pencil, and measure the distance between the marks.
While your skeletal measurement provides a baseline, you must also account for your individual flexibility, core strength, and riding posture. Riders with limited lower back flexibility or weaker core muscles often benefit from a slightly wider bar, which provides a more stable platform and reduces the demand on the stabilizing muscles of the torso. If you prefer an upright, relaxed riding posture, a slightly wider bar can make the bike feel more stable and less twitchy. Conversely, highly flexible riders with strong cores who prefer an aggressive, low riding position may opt for a slightly narrower bar to optimize their aerodynamic profile. Avoid the common mistake of measuring your total shoulder width from arm to arm, as this invariably leads to purchasing a handlebar that is too wide, causing steering instability and shoulder strain.
Checking Your Current Handlebar Specifications
Before purchasing a new handlebar, you must determine the dimensions of your current setup to establish a clear point of comparison. Bicycle handlebars are measured using one of two standards: center-to-center (C-to-C) or outside-to-outside (O-to-O). The center-to-center method measures the distance from the exact middle of the left bar tube to the middle of the right bar tube. The outside-to-outside method measures from the outermost edge of one side to the outermost edge of the other. Because a bar measured outside-to-outside will read approximately two centimeters wider than the same bar measured center-to-center, verifying which standard your current bar uses is critical.
To measure your drop handlebars accurately, use a ruler or tape measure at the brake hoods where your hands spend the most time, and then measure at the ends of the drops. Note whether the bars flare outward; flared bars are wider at the drops than at the hoods. Understanding how width interacts with other geometry metrics like reach (how far the bar extends forward) and drop (the vertical distance from the top flat section to the lower drops) is essential. A wider bar effectively increases your reach because it forces your arms wider, pulling your torso lower and further forward. If you transition to a wider bar, you may need to install a shorter stem to maintain your comfortable reach.
Most modern handlebars have their specifications printed or engraved directly on the metal or carbon surface. Look closely at the clamping area in the center of the handlebar, near the stem. Manufacturers often stamp the width, stem clamp diameter, reach, and drop in this area. If the markings have worn off or are hidden beneath the stem faceplate, you can use digital calipers or a standard tape measure to verify the dimensions yourself.
Matching Handlebar Width to Your Bike Type and Riding Style
Your riding discipline plays a major role in determining how much you should deviate from your baseline shoulder measurement. For road cycling, the traditional rule of thumb is to match your handlebar width directly to your AC joint measurement. This parallel arm alignment minimizes your frontal area to reduce wind resistance while maintaining predictable steering. However, modern road trends have leaned toward slightly narrower bars for aerodynamic gains, provided the rider can maintain comfort and open airways. If your shoulder measurement is 40cm, a 40cm road bar is standard, but a 38cm bar might be considered if you prioritize speed and have the flexibility to support it.
Gravel riding, touring, and bikepacking demand a different approach that prioritizes control and stability over pure aerodynamics. When riding over loose gravel, rocks, and uneven terrain, you need more leverage to prevent the front wheel from being deflected by obstacles. For these disciplines, it is common to select a handlebar that is two to four centimeters wider than your road baseline. Many gravel-specific handlebars also feature flared drops, where the lower sections angle outward. This design allows you to have a narrower, more aerodynamic position when riding on the hoods on flat pavement, and a wide, stable stance in the drops when descending rough trails.
Mountain biking requires the widest handlebars of all to handle high-speed descents, technical obstacles, and heavy steering inputs. Modern mountain bike handlebars typically range from 740mm to 800mm in width, which is significantly wider than any road setup. This extreme width provides the leverage necessary to control large wheels and long-travel suspension forks over rugged terrain. When choosing a mountain bike bar, your physical height, shoulder width, and the trail environment should guide your choice. Riders navigating tight, heavily wooded trails often prefer slightly narrower bars (around 740mm to 760mm) to avoid clipping trees, while downhill and enduro riders on open, high-speed tracks favor wider bars (780mm to 800mm) for maximum stability.
Ultimately, you should prioritize personal comfort and breathing capacity over aggressive performance trends. If a theoretical aerodynamic advantage causes you pain or restricts your breathing, it will ultimately make you slower and less efficient. Listen to your body and choose the width that allows you to ride comfortably for your target distances.
Steps to Select and Verify Your New Handlebar
Once you have determined your target handlebar width, you must verify compatibility with your existing bike components before making a purchase. The most critical dimension to check is the stem clamp diameter. The center section of the handlebar must match the clamp diameter of your stem exactly. The most common modern standard for road and gravel bikes is 31.8mm, while older or vintage bikes may use 25.4mm or 26.0mm. Mountain bikes frequently use either 31.8mm or the thicker 35mm standard. You can verify this measurement using calipers or by checking the specifications stamped on your current stem.
When sourcing your new handlebar, consider visiting local bike shops in the Philippines to physically handle different models, or browse reputable online marketplaces if you already know your exact specifications. Once you acquire the new handlebar, perform a dry fit before fully installing it. Mount the handlebar in the stem clamp and temporarily position your brake levers and hoods without applying grip tape or routing cables. Sit on the bike—ideally mounted on a stationary trainer—and place your hands on the hoods and drops. Check if your wrists feel natural and if your shoulders feel relaxed. This temporary setup allows you to adjust the handlebar roll and hood angle easily before committing to the final installation.
To finalize the installation, route your brake and derailleur cables neatly along the underside or front of the handlebar, securing them with electrical tape. Ensure there is enough cable housing slack to allow the handlebars to turn fully in both directions without pulling or binding. Position your brake levers symmetrically, using the alignment markings printed on the handlebar drops. Once the levers are torqued to the manufacturer’s specifications, wrap your bar tape evenly from the bar ends upward, maintaining consistent tension to ensure a secure, comfortable grip. Always torque all bolts to the manufacturer’s specified limits to prevent slippage, which could lead to a sudden loss of steering control.
Frequently Asked Questions (FAQ)
Can I cut my existing handlebars to make them narrower?
Yes, many flat handlebars, particularly those designed for mountain bikes, can be cut down to a narrower width, but drop handlebars should never be cut. Mountain bike handlebars often feature measurement gradients on the bar ends to help you make precise cuts. Aluminum handlebars can be cut using a standard tubing cutter or a hacksaw with a fine-toothed blade, ensuring you file down any sharp burrs afterward. Carbon fiber handlebars require extreme care, a specialized carbon-cutting saw blade, and a cutting guide to prevent the carbon layers from splintering. Always measure twice and cut small increments from both sides evenly to maintain steering symmetry. If you are working with carbon fiber, integrated handlebar-stem systems, or internally routed electronic shifting cables, stop and consult a professional bike mechanic at your local shop to avoid damaging your equipment or compromising your safety.

Community discussion
Share your experience or ask a question. Comments are reviewed before publication.