
A broken or splintered tent pole can instantly compromise your shelter, leaving you vulnerable to sudden tropical downpours or gusty winds during an outdoor trek. To restore your tent’s structural integrity, you must find a replacement that matches the original specifications exactly. Finding the right fit requires identifying three critical dimensions: the outer diameter of the pole, the individual section length, and the specific connector type.
Before purchasing any parts or repair kits, always consult your tent manufacturer’s official specifications to verify these details. Physical measurements of worn, bent, or damaged poles can sometimes be slightly off, making official spec sheets the safest baseline for your search.
Identify Your Current Tent Pole Material and Design
Understanding what your tent poles are made of is the first step in narrowing down your replacement options. Most modern tents use either aluminum or fiberglass poles, each offering distinct characteristics under different environmental conditions. Aluminum poles are highly favored for their excellent strength-to-weight ratio and flexibility, making them resilient against strong winds without snapping easily. They are also highly durable in humid, tropical climates, though they require proper rinsing if exposed to salty coastal air.
Products mentioned in this guide
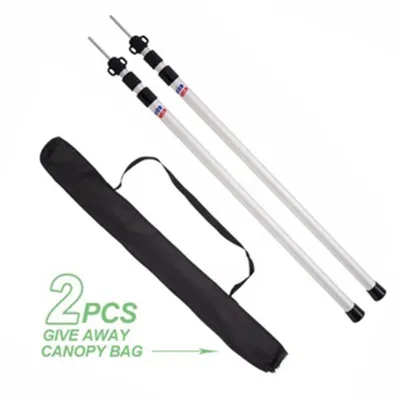
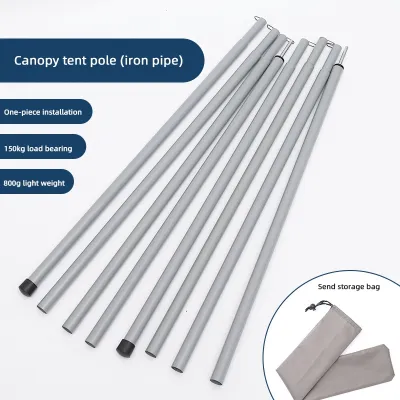
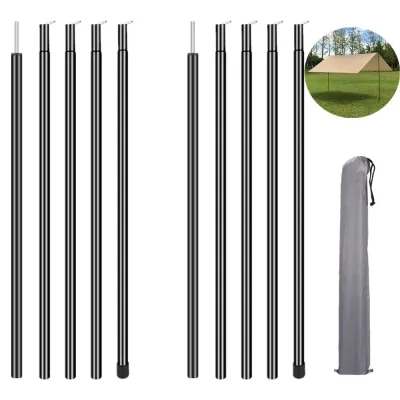
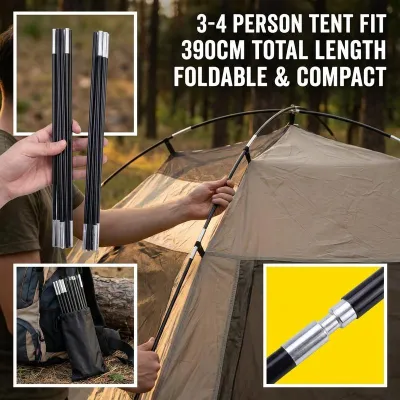
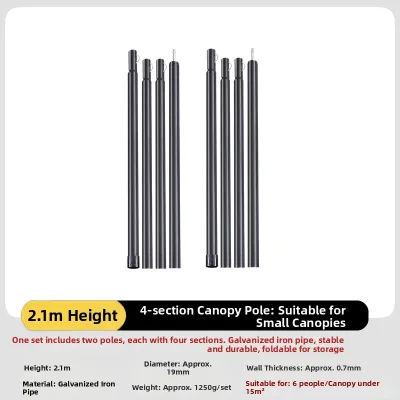
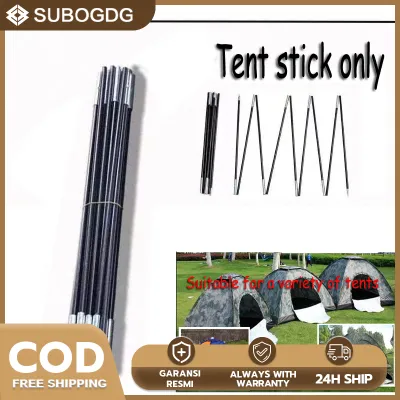
Prices are valid at publication and may change. Please refer to the product page for the latest price.
Fiberglass poles are typically heavier, less flexible, and more prone to splintering under high tension. However, they offer a budget-friendly alternative for casual, low-altitude camping in calm weather. Because these materials handle stress differently, you should avoid mixing aluminum and fiberglass segments within the same pole arch.
Beyond the material, you must identify the structural design of your poles. Most backpacking and family tents utilize shock-corded, segmented poles that fold down for easy transport. Other designs may feature solid, single-piece poles or telescopic poles that lock into place with twist or button mechanisms. To establish a reliable baseline, check your tent’s original manual, the storage bag’s sewn-in label, or the manufacturer’s website for the exact material and design specifications before proceeding with physical measurements.
Step-by-Step Guide to Measuring Pole Diameter and Length
Accurate measurements are vital because even a single millimeter of deviation can prevent a replacement pole from fitting into your tent’s sleeves or connectors. To get the most precise readings, gather a set of calipers—either digital or vernier—and a standard measuring tape.

To measure the pole diameter, use your calipers to find the outer diameter of an intact section of the pole. It is critical to measure the outer diameter rather than the inner diameter, as tent clips and sleeves are designed around the pole’s exterior thickness. Always record this measurement in millimeters, as outdoor gear manufacturers globally use metric standards for pole sizing. If you only have a standard measuring tape, wrap it tightly around the pole to find the circumference, then divide that number by 3.14 to calculate the outer diameter, though calipers remain the most reliable tool.
When measuring the section length, focus on a single, individual pole segment. Lay the segment flat on a hard surface and measure from one end of the main tube to the other. Crucially, do not include the protruding metal insert, known as the ferrule, in this measurement. The ferrule is designed to slide inside the adjacent pole section, so including it in your section length measurement will result in an assembled pole that is far too long and under excessive tension.
To determine the total length of the entire pole assembly, multiply the length of a single section by the total number of segments required for that specific arch. If you have lost some segments or if the pole shattered completely, refer to the matching intact pole from the opposite side of the tent as a reference guide. Measuring the complete, assembled pole from end to end—again, excluding any final inserts that plug into the tent’s corners—will help you verify your calculations before making a purchase.
Match Connectors, Tips, and Fittings for Compatibility
Even if you match the length and diameter perfectly, a replacement pole will not function if the joints and endpoints do not interface correctly with your tent’s hardware. You must carefully examine how the individual pole sections connect to each other and how the entire assembly anchors to the tent body.
First, identify the joining mechanism used between your pole sections. Most segmented poles use internal inserts (ferrules) that are permanently attached to one end of a section and slide into the open end of the next. Some older or specialized designs use external sleeves that slide over the joint. Ensure your replacement sections feature the exact same connection style so they can link together smoothly without creating weak points.
Next, examine the pole tips, which are the fittings at the very ends of the assembled pole. These tips must match your tent’s anchoring system, which typically consists of metal grommets, plastic cups, or a pin-and-ring system. Common tip styles include rounded tips, pointed tips, or hollow ends designed to receive a metal pin. Using an incompatible tip can cause the pole to slip out of place, potentially tearing the tent fabric or causing the structure to collapse.
Finally, check how the pole interacts with the tent’s attachment points, such as plastic clips or fabric sleeves. The replacement pole’s outer diameter, including any external ferrules or joints, must slide easily through these sleeves without snagging. A joint that is too bulky can tear the sleeve fabric, while a pole that is too thick for the plastic clips will be impossible to secure.
Final Verification Checklist Before Ordering a Replacement
Before finalizing your order for a replacement pole or a DIY repair kit, perform a thorough verification routine to ensure a seamless fit and avoid the hassle of returns.
Start by cross-referencing your physical measurements with the manufacturer’s official replacement part numbers or online spec sheets. If you are purchasing from an online marketplace or a local outdoor retailer, check if they offer pre-cut sections specifically labeled for your tent model. If you must build a custom pole using a repair kit, verify that the kit includes the correct shock cord diameter and tension. The elastic cord must be thin enough to thread through the inner diameter of all sections easily, yet strong enough to pull the segments together securely.
Additionally, review the return and exchange policies of your chosen retailer. Because minor measurement errors can happen, choosing a seller that allows hassle-free exchanges for different diameters or lengths provides an important safety net. If you are planning an upcoming trek in humid or rainy conditions, give yourself ample time to test-assemble the new pole at home before heading out into the field.
Frequently Asked Questions (FAQ)
Can I use a replacement pole with a slightly different diameter?
Using a pole with a different diameter is generally not recommended because it alters the structural dynamics of your tent. A pole with a larger diameter may not fit through the fabric sleeves or snap into the plastic clips, making setup impossible. Conversely, a smaller diameter pole will be more flexible and weaker, compromising the tent’s stability in high winds and potentially slipping out of the corner grommets.
How do I determine the correct shock cord thickness?
To find the correct shock cord thickness, measure the inner diameter of your pole sections using calipers or by checking the manufacturer’s specifications. The elastic cord must have enough clearance to slide freely inside the poles without binding, typically leaving at least a millimeter of extra space. Standard tent poles usually require shock cords ranging from 2.5 mm to 3.5 mm in thickness, depending on the pole’s overall size and the required tension.
Community discussion
Share your experience or ask a question. Comments are reviewed before publication.