
To find the right drop bar width, you must measure the distance between the bony prominences at the outer edges of your shoulders, known as your acromioclavicular (AC) joints. This physical measurement serves as your baseline handlebar size in centimeters. Matching your handlebars to this skeletal width ensures that your arms extend straight forward to the controls, which optimizes your skeletal support, improves steering control, and prevents upper body fatigue.
Once you have this measurement, you can compare it to standard commercial handlebar sizes, which typically increase in two-centimeter increments. Depending on your riding style, you can then fine-tune this choice, opting for a slightly narrower bar for aerodynamic efficiency on the road or a wider bar for stability on gravel trails. Taking the time to measure your shoulders accurately before purchasing new handlebars ensures a comfortable, natural fit that enhances your overall cycling experience.
Why Shoulder Width Matters for Drop Bar Width
Your skeletal alignment on the bicycle directly influences how your muscles support your weight and how efficiently your body functions under physical exertion. When your drop bar width matches your shoulder width, your arms extend straight forward from your shoulder joints to the brake hoods. This parallel alignment allows your bones to bear the load of your upper body naturally, minimizing the muscular effort required to keep your torso stable.
Products mentioned in this guide
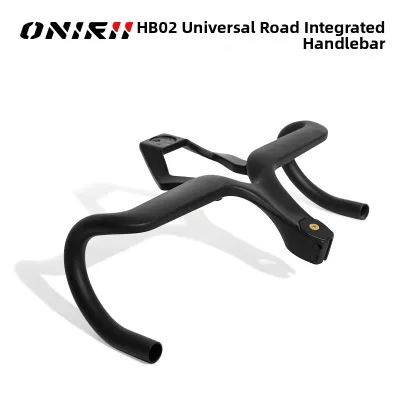
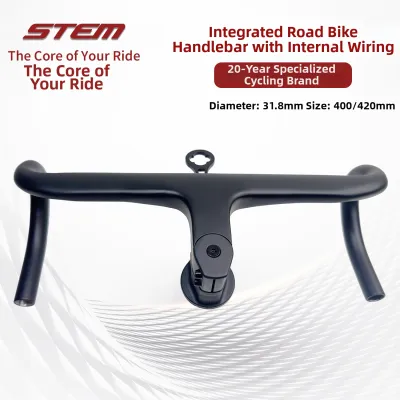
16 Lazada user ratings
I bought it for a affordable price around 1.3k pesos and it's legit and the shipping was also fast but the only thing is the protection of t…Read full reviewShow less
I bought it for a affordable price around 1.3k pesos and it's legit and the shipping was also fast but the only thing is the protection of the item because it arrives with a dented box and it looks awful. the item has misaligned on the drop part which looks like the other side longer, I think it's because of the shipping or maybe a factory defect but it's not a big deal because it can easily fix. overall it's all good and usable
Weight:more or less 600g maganda same sa photo maliban lang sa top cap part merong spacers pero walang kasama na top cap bolt at compression…Read full reviewShow less
Weight:more or less 600g maganda same sa photo maliban lang sa top cap part merong spacers pero walang kasama na top cap bolt at compression ring buti nalang compatible yung compression ring na galing sa sagmit veneno stem ko
10/ 10 when it comes to material and the durability, it looks extremely well made too, the only issue itdidnt arrive on the estimated date, …Read full reviewShow less
10/ 10 when it comes to material and the durability, it looks extremely well made too, the only issue itdidnt arrive on the estimated date, by a week.
good and its good that I've got the accurate model also I've got a few dents but it's fine doesn't afect performance
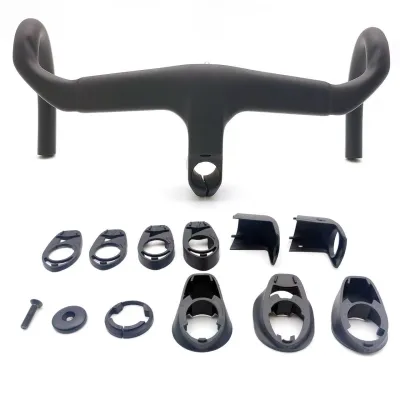
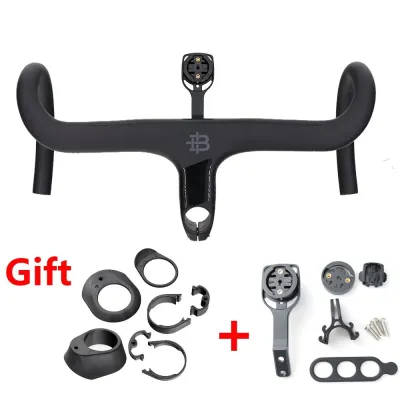
142 Lazada user ratings
It looks aesthetic and clean. I received the correct size. Kaso isa lng kasya na cable sa loob, the other one has to be outside underneath, …Read full reviewShow less
It looks aesthetic and clean. I received the correct size. Kaso isa lng kasya na cable sa loob, the other one has to be outside underneath, very frustrating. May mga imperfections na minimal. I really hope this is durable. So far good namn yung integrity nya. Wala man lng box nung nareceived ko. Pano kung naputol yun sa shipping. Anyway, mabilis nmn dumating.
Been using it for a month,so far wala naman probs,madaling matanggal yung decals na black inc so ingat ingat and yung stickers mabilis magas…Read full reviewShow less
Been using it for a month,so far wala naman probs,madaling matanggal yung decals na black inc so ingat ingat and yung stickers mabilis magasgasan,magaan namn siya and nakakapogi
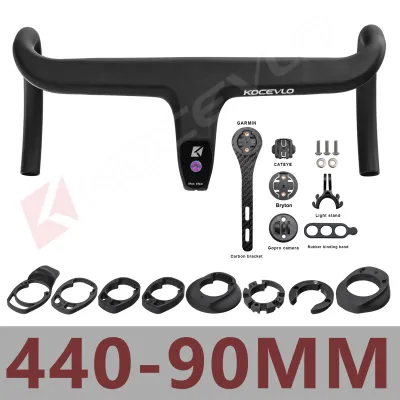
341 Lazada user ratings
Smooth internal cable routing, Sleek and stylish design, Enhances aerodynamics, Enhances aerodynamics,
very goods handlebar for my road bike, thank you for quality product seller
Sleek and stylish design, Lightweight carbon construction,
Lightweight carbon construction, Great value for money,
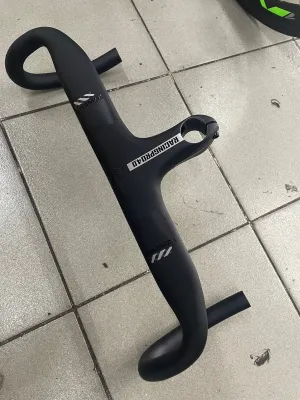
16 Lazada user ratings
maganda sya then light weight and maganda pinagka aero like carbon
thank you seller natanggap ko na po salamat
Bigat pero maganda naman sa porma
Quality:10 Appearance:10
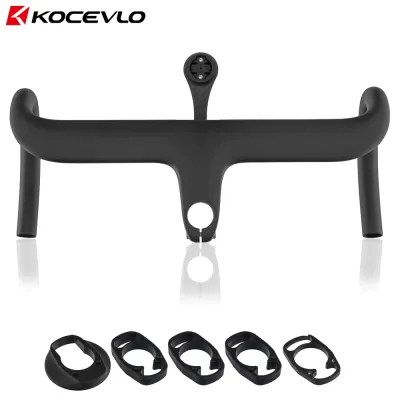
32 Lazada user ratings
Provides a comfortable grip, Excellent carbon fiber material, Sleek and stylish design,
Easy to install and adjust,
Prices are valid at publication and may change. Please refer to the product page for the latest price.
One of the most immediate benefits of proper handlebar width is improved breathing efficiency. When your handlebars are too narrow, your arms are forced inward, which can compress your chest cavity and restrict full lung expansion. This restriction limits your oxygen intake during intense efforts, such as climbing or sprinting. Matching your handlebars to your shoulder width keeps your chest open, allowing your diaphragm and lungs to expand fully without resistance.
Steering stability and bike handling also depend heavily on this physical relationship. Wide handlebars provide more leverage, which is highly beneficial for navigating rough terrain or steering at slow speeds, but excessively wide bars can make the steering feel slow and heavy on a road bike. On the other hand, handlebars that are too narrow can make the steering feel twitchy and nervous, reducing your confidence when descending at high speeds or cornering tightly.
Furthermore, riding with mismatched handlebars is a common source of chronic pain in the neck, shoulders, and upper back. If your bars are too wide, your shoulder blades are constantly pulled outward, straining the trapezius and rhomboid muscles. If they are too narrow, you may find yourself shrugging your shoulders upward to compensate, leading to tension headaches and stiffness. Aligning your handlebars with your shoulder joints helps prevent these issues, ensuring comfort during long endurance rides.
Tools You Need to Measure Your Shoulders
Measuring your shoulders for a bike fit does not require specialized or expensive equipment. You can easily obtain an accurate measurement using common household items that help you identify and record the distance between your skeletal landmarks.

The primary tool you need is a flexible measuring tape, often referred to as a tailor’s or sewing tape. Unlike a stiff metal construction tape, a flexible tape can contour slightly across the natural curve of your upper back without bending or kinking, which ensures a much more accurate reading. If you do not have a flexible tape, you can use a piece of non-stretch string or yarn, mark the points, and then lay the string flat against a standard ruler to determine the distance.
Having a helper is highly recommended to get the most accurate measurement, as reaching behind your own back can cause your shoulders to tense or shift, altering the reading. If you are measuring with a helper, a full-length mirror is still useful so you can stand naturally and verify your posture. If you must measure solo, you will need a flat wall or a doorframe, a pencil, and a standard metal tape measure to record the distance between marked points.
Step-by-Step Guide to Measuring Shoulder Width
To get a reliable measurement, you must prepare your posture and locate the correct anatomical points on your shoulders. Taking your time during this process ensures that you do not purchase the wrong handlebar size based on a flawed reading.
Begin by preparing your posture. Stand up straight with your feet shoulder-width apart, keeping your back natural and relaxed. Let your arms hang loosely at your sides. Do not puff out your chest, shrug your shoulders upward, or pull your shoulder blades back excessively, as these movements alter the distance between your joints. Look straight ahead into a mirror to ensure your head is level and your torso is centered.
Next, locate the acromioclavicular (AC) joints on both sides of your body. These are the bony prominences at the very top and outer edge of each shoulder, right where the collarbone meets the shoulder blade. You can find them by feeling along your collarbone outward until you reach the distinct bump before your shoulder curves down toward your upper arm. Press gently on this spot to confirm you are on the bone rather than the soft muscle tissue surrounding it.
If you have a helper, have them stand behind you while you maintain your relaxed posture. The helper should place the start of the flexible measuring tape directly on the bony bump of one AC joint. They should then stretch the tape straight across your upper back to the bony bump of the opposite AC joint. Ensure the tape remains horizontal and flat against your skin or light clothing, without dipping down or pulling too tight.
Read the measurement in centimeters, as almost all bicycle handlebars are sized using the metric system. It is a good idea to repeat this process three times, shaking out your arms and resetting your posture between each attempt. If your readings vary by more than a few millimeters, take the average of the three measurements to use as your baseline shoulder width.
Converting Shoulder Measurements to Drop Bar Width
Once you have determined your shoulder width in centimeters, you can map this physical dimension to commercial handlebar sizes. Bicycle handlebars are manufactured in standard increments, and understanding how manufacturers measure their products is essential for making the right choice.
Most drop bars are sold in even-numbered centimeter increments, typically ranging from 36cm to 46cm. The general rule of thumb is that your handlebar width should match your AC joint measurement. For example, if your shoulder measurement is exactly 40cm, a 40cm handlebar is generally your starting point. This 1:1 ratio provides a neutral setup that balances comfort, breathing, and handling for the average rider.
However, you must pay close attention to how different brands measure their handlebars, as there is no universal industry standard. Some manufacturers measure “center-to-center” (C-C), which is the distance between the center points of the handlebar tubes at the brake hoods or the bar ends. Other brands measure “outside-to-outside” (O-O), which measures from the absolute outer edges of the tubing.
An outside-to-outside measurement makes a handlebar feel narrower than a center-to-center measurement of the same nominal size. For instance, a 42cm handlebar measured outside-to-outside might only measure 40cm center-to-center. When shopping for new handlebars, always check the manufacturer’s specifications to confirm which measurement method they use. If a brand uses outside-to-outside sizing, you may need to select a size that is 2cm larger than your shoulder measurement to achieve a true match.
Adjusting for Riding Style and Personal Preference
While your shoulder measurement provides an excellent baseline, your final handlebar choice should also account for the type of riding you do and your personal comfort preferences. Different cycling disciplines place different demands on your body and your bike’s handling characteristics.
If you focus primarily on road racing or fast group rides, you might prefer a slightly narrower handlebar. Narrower bars pull your elbows inward, reducing your frontal surface area and improving your aerodynamic efficiency. This setup can help you ride faster with less wind resistance, but it requires good flexibility and can make the steering feel more responsive. Many professional road racers use handlebars that are 2cm to 4cm narrower than their shoulder measurements for this aerodynamic advantage.
Conversely, if you ride gravel, tour over long distances, or participate in endurance events, you will likely benefit from a wider handlebar. Gravel riding involves navigating loose surfaces, ruts, and technical descents where steering control is critical. A wider bar provides more leverage, making it easier to keep the front wheel tracking straight through rough terrain. Additionally, many gravel-specific handlebars feature “flare,” where the drops angle outward to provide an even wider, more stable stance when descending.
Your physical flexibility and core strength also play a role in this decision. If you have limited flexibility in your upper back or suffer from tight chest muscles, a slightly wider bar can relieve tension and make it easier to maintain a comfortable riding position. Do not hesitate to seek a professional bike fit service if you have pre-existing injuries or find it difficult to achieve a comfortable setup on your own. A professional fitter can analyze your movement on the bike and recommend adjustments that go beyond simple static measurements.
How to Verify Your Drop Bar Width Choice
Before you commit to a long ride or wrap your new handlebars with tape, you should verify that your chosen width feels comfortable and supports natural body alignment. You can perform several quick checks while your bike is mounted on an indoor trainer or while riding slowly in a safe, flat area.
First, mount your bike and place your hands on the brake hoods, which is where most riders spend the majority of their time. Have someone look at you from the front, or position yourself in front of a mirror. Your elbows should have a slight, relaxed bend, and your forearms should point straight forward, parallel to each other. If your hands are splayed outward or tucked inward relative to your shoulders, the handlebars may be too wide or too narrow.
Next, pay attention to your breathing and chest position. When holding the hoods or the drops, your chest should feel open and relaxed. If you feel like your chest is caving in or your shoulders are rolling forward, the bars are likely too narrow, which can restrict your breathing over time. You should also feel a natural alignment in your wrists; they should not be bent outward or twisted to reach the controls.
Finally, evaluate how the bike handles during basic maneuvers. Try riding out of the saddle, swaying the bike gently from side to side as you would during a climb. The bike should feel stable and predictable, without feeling sluggish or overly twitchy. If you feel confident and relaxed while controlling the bike from both the hoods and the drops, you have likely found the correct drop bar width for your body.
Frequently Asked Questions (FAQ)
What if my shoulder measurement falls between two standard drop bar sizes?
If your shoulder measurement falls between standard sizes—for example, if you measure 41cm and must choose between a 40cm and a 42cm handlebar—the general recommendation for most recreational riders is to size up to the larger option. Choosing the 42cm bar will provide better chest expansion, easier breathing, and more stable handling, which contributes to long-term comfort. However, if you are a competitive road racer who prioritizes aerodynamic efficiency and quick steering response, you might choose to size down to the 40cm bar, provided you have the flexibility to ride comfortably in a narrower position.
Can I measure my shoulders by myself without a helper?
Yes, you can measure your shoulders solo, though it requires a different approach to avoid posture errors. The most reliable solo method is to stand with your back flat against a wall or a doorframe in your natural, relaxed posture. Use a pencil to carefully mark the wall directly at the outer edge of your left and right AC joints. Once you step away, use a standard tape measure to find the straight-line distance between the two marks. Avoid trying to wrap a flexible tape measure around your own back while standing, as the act of reaching around will pull your shoulders forward and result in an inaccurate, overly wide measurement.
Community discussion
Share your experience or ask a question. Comments are reviewed before publication.