
To properly attach and use an ankle strap on a cable machine, you must secure the padded cuff snugly just above your ankle bone, lock the carabiner securely to the D-ring, and perform controlled movements that isolate the target muscles without straining your joints. In tropical fitness environments, where high humidity and sweat can cause gear to slip, mastering this setup is essential for both safety and effective lower-body training. Using these straps allows you to target the glutes, hips, and thighs with continuous tension, but improper form or loose attachments can lead to joint strain or skin irritation. By understanding the mechanics of the cable machine and the anatomy of your lower body, you can transform these simple accessories into powerful tools for strength and hypertrophy.
Preparing Your Equipment and Workspace
Before starting your workout, inspect the strap thoroughly. Look at the nylon webbing, the stitching, the metal D-rings, and the hook-and-loop fastener. In humid climates, sweat and moisture can degrade adhesive properties or weaken stitching over time, so checking for fraying or tearing is a vital safety step. If you notice any loose threads or a weakening grip on the Velcro, replace the strap immediately to avoid sudden detachment under load.
Next, examine the carabiner on the cable machine. Ensure the spring-loaded gate snaps shut completely and does not stick. If the gym’s carabiner feels loose or rusted, ask the staff for a replacement before attaching your strap. A faulty carabiner can slip off the D-ring mid-exercise, leading to a sudden loss of tension.
Products mentioned in this guide
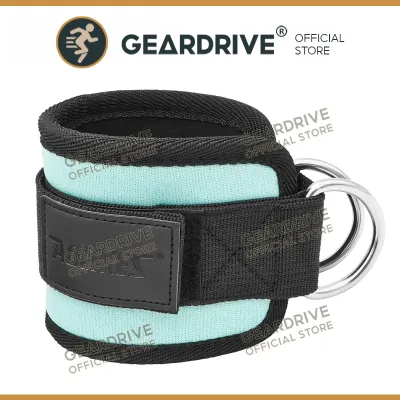
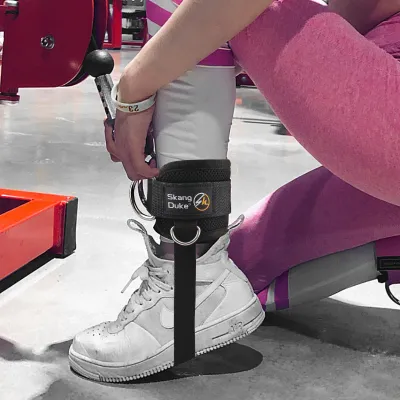
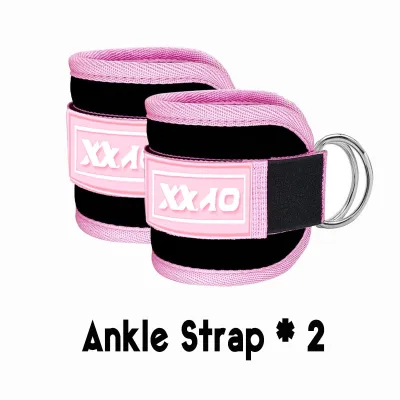
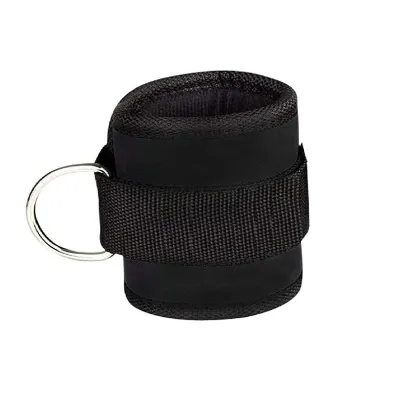
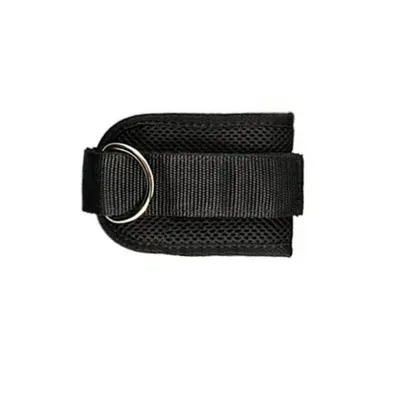
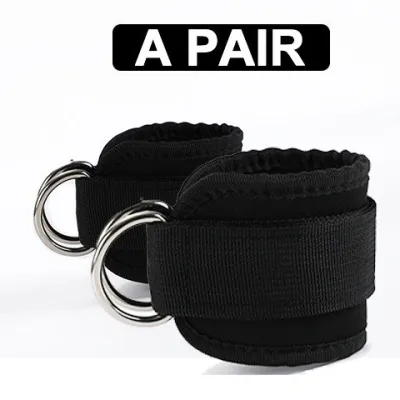
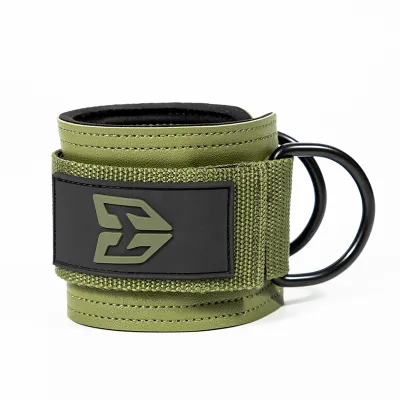
Prices are valid at publication and may change. Please refer to the product page for the latest price.
Set the cable pulley to the lowest setting on the vertical track. The pulley should align with your ankle height when you are standing. This low anchor point ensures that the resistance pulls horizontally or slightly downward, matching the natural arc of your leg during kickbacks or abductions.
Select a conservative starting weight on the selectorized stack. Cable resistance feels different from free weights because the tension is constant throughout both the lifting and lowering phases. Start with a light weight stack that allows you to complete your target repetitions with perfect control, avoiding any sudden jerking motions that could strain your lower back or hip joints.
Step-by-Step Guide to Securing the Ankle Strap
Begin by wrapping the padded portion of the strap around your lower leg, positioning it just above the ankle bone. Placing it too low can cause the strap to press painfully against your ankle bone or slip over your heel, while placing it too high reduces your leverage.

Ensure the padded side rests against your skin or sock, while the metal D-rings face the direction of the cable machine. For kickbacks, the rings should point forward or slightly to the side; for abductions, they should face the side closest to the machine. Proper alignment prevents the strap from twisting around your leg as you move, which can cause painful friction burns.
Thread the nylon strap through the metal buckle or D-ring, pulling it tight enough to prevent sliding. The fit should be snug but comfortable. You should be able to slip one finger between the strap and your leg. If your foot feels cold, tingly, or starts to tingle, loosen the strap immediately to restore proper blood circulation.
Press the hook-and-loop fastener down firmly along its entire length. In warm, humid gym conditions, sweat can reduce the grip of worn Velcro, so make sure the overlapping sections are fully aligned and pressed flat to maximize contact area. Give the strap a quick manual tug downward to ensure it holds firm against your leg before connecting it to the machine.
Open the cable machine’s carabiner and clip it through both D-rings of your ankle strap if your model features a double-ring design. Double-ring straps distribute the pulling force more evenly and provide an extra layer of safety. Verify that the carabiner gate is fully closed and locked before you step back to tension the cable.
Mastering the Cable Glute Kickback
To perform a cable glute kickback, stand facing the cable machine. Grasp the upright frame or handles with both hands to establish a stable base of support. Step back slightly with your non-working leg so there is light tension on the cable even at the starting position. Keep your feet hip-width apart to maintain lateral stability.
Hinge forward slightly at your hips, keeping your spine in a neutral, straight line from your head to your tailbone. Avoid rounding your shoulders or arching your lower back, as this can lead to spinal compression. Keep your supporting knee slightly bent to absorb pressure, engage your core, and maintain balance throughout the set.
Initiate the movement by driving the heel of your working leg straight back and slightly outward at a 30-degree angle. This slight outward angle aligns perfectly with the muscle fibers of the gluteus maximus. Focus entirely on contracting your gluteal muscles to move the weight, keeping your foot flexed to maximize posterior chain engagement.
At the top of the movement, squeeze your glutes briefly. You do not need to lift your leg excessively high; lifting it too high forces your lower back to arch, shifting the workload away from your glutes and placing dangerous pressure on your lumbar spine. Keep your hips square to the machine and avoid letting them rotate open.
Slowly return your leg to the starting position under complete control, resisting the pull of the cable. This eccentric phase should take approximately two to three seconds. Letting the weight stack slam down or using momentum to swing your leg back deprives your muscles of tension and increases the risk of joint strain.
Executing Cable Hip Abductions with Control
For cable hip abductions, position your body sideways to the cable machine. The leg closest to the machine will act as your supporting leg, while the outer leg will be the working leg. Hold the machine’s frame with your inner hand to maintain an upright, stable torso, and place your outer hand on your hip to monitor pelvic alignment.
Cross the working leg slightly in front of your supporting leg to create a pre-stretch in the outer glute muscles. Ensure the cable passes in front of your supporting ankle without rubbing against it. Keep your core engaged, your chest lifted, and your supporting knee slightly soft to prevent joint locking.
Sweep your working leg outward to the side in a controlled, smooth arc. Keep your toes pointed straight forward or slightly downward throughout the movement. Turning your toes upward rotates your hip externally, which shifts the focus to your hip flexors rather than the target gluteus medius and minimus.
Keep your torso as still as possible. A common form error is leaning your upper body away from the machine to help lift the leg. This lateral leaning reduces the range of motion of the hip joint and uses momentum instead of muscle strength. If you find yourself leaning, reduce the weight on the stack until you can maintain an upright posture.
Lower your leg back to the starting position slowly, maintaining tension on the cable. Do not let the weight drop quickly. Control the return path to maximize muscle engagement and protect your hip stabilizers from sudden, jarring forces.
Troubleshooting Discomfort and Form Breakdowns
If you experience chafing, pinching, or skin irritation around your ankle, adjust the strap’s position or wear a thick, breathable athletic sock. In tropical climates, sweat accumulation under the synthetic padding can increase friction, making a moisture-wicking sock an essential barrier between your skin and the strap. You can also look for straps lined with soft neoprene padding to minimize skin irritation.
Should you feel sharp, pinching, or persistent pain in your hip, knee, or lower back, stop the exercise immediately. This discomfort often indicates that the weight is too heavy, the pulley height is incorrect, or your spine is not neutral. Reassess your setup, reduce the weight, or consult a fitness professional to check your biomechanics. Continuing through joint pain can lead to chronic tendonitis or ligament strain.
If the ankle strap consistently slides down your leg or twists during the eccentric phase, re-evaluate the weight load and the tightness of the strap. A strap that slips usually indicates that the resistance is too high, causing the strap to pull down violently, or that the hook-and-loop fastener has lost its grip strength and needs replacement. Ensuring a tight, secure wrap before starting each set is the best way to prevent this issue.
Frequently Asked Questions (FAQ)
Can I use ankle straps for exercises other than kickbacks and abductions?
Yes, ankle straps are highly versatile tools for targeting various lower-body muscle groups. You can use them for cable hip adductions by standing sideways and pulling your outer leg inward across your body to target the inner thighs. They are also excellent for standing or prone hamstring curls, where you pull your heel up toward your glutes against the cable’s resistance. However, ankle straps are not designed for heavy axial loading, upright pulling exercises, or movements that require rigid foot placement, as the soft padding and Velcro closures cannot safely support extreme loads.
Should I wear the ankle strap over my shoe or directly on the skin?
It is highly recommended to wear the ankle strap over a sock or a low-cut athletic shoe rather than directly on bare skin. This setup creates a protective barrier that prevents friction blisters, skin tearing, and sweat-induced chafing. Never allow the hard metal D-rings, buckles, or the carabiner to press directly against your bare skin or sensitive areas like the Achilles tendon, as the concentrated pressure during a heavy lift can cause bruising or soft-tissue injury.
Community discussion
Share your experience or ask a question. Comments are reviewed before publication.