
Properly wrapping your hands for home boxing training is the single most important safety habit you can build before throwing a single punch. A high-quality hand wrap acts as a protective shield, binding the vulnerable structures of your hand together to prevent fractures, sprains, and joint displacement during heavy bag sessions or shadow boxing. By securing the wrist, thumb, and knuckles into a single cohesive unit, you ensure that the force of each impact is distributed safely through your forearm rather than concentrated on fragile bones.
Why Hand Wrapping is Essential for Bag Work and Shadow Boxing
The human hand contains 27 small bones, numerous delicate joints, and a complex network of tendons and ligaments that are not naturally designed to absorb high-velocity impacts. When you strike a heavy bag, the sudden deceleration forces these bones to compress and the wrist joint to flex under pressure. A hand wrap provides essential biomechanical alignment, binding the metacarpal bones together to prevent them from spreading or fracturing upon impact. This internal bracing keeps the wrist joint stabilized, ensuring that your wrist does not collapse or bend awkwardly when landing a punch.
It is vital to distinguish between the protective roles of your hand wraps and your boxing gloves. While boxing gloves offer external shock absorption to cushion the surface of your knuckles and protect your training partner, they do not prevent the internal bones of your hand from shifting. Wraps provide the structural tension that holds everything in place from the inside out, making them an indispensable partner to your gloves rather than an optional accessory. Together, they form a multi-layered defense system that allows you to train consistently without accumulating micro-trauma in your hands.
Products mentioned in this guide
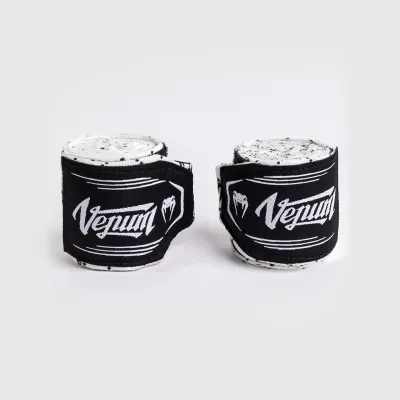
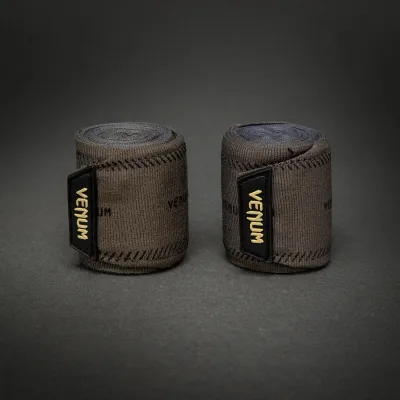
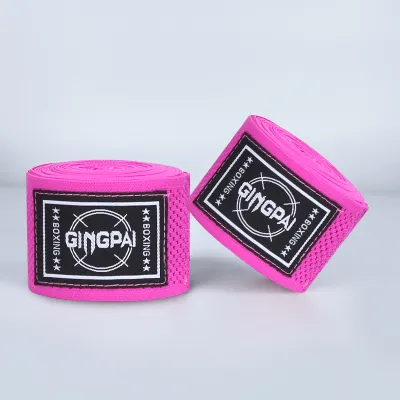
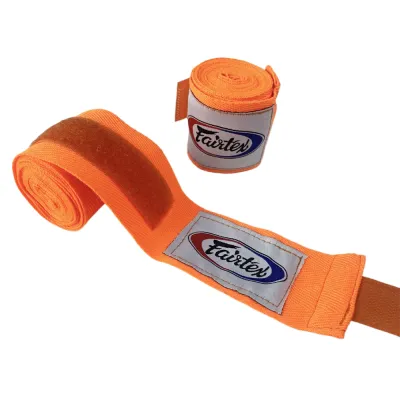
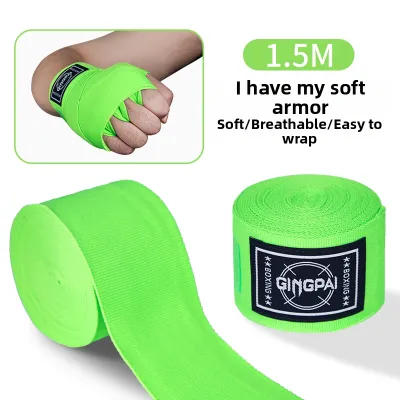
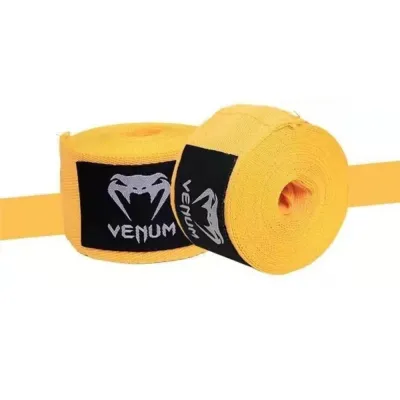
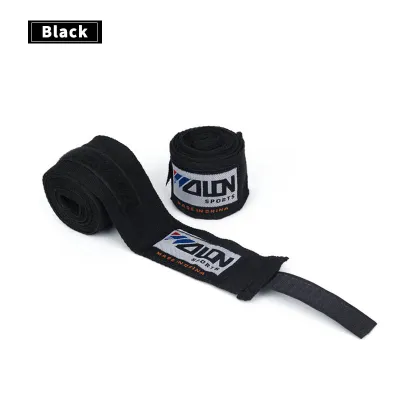
Prices are valid at publication and may change. Please refer to the product page for the latest price.
However, you must keep in mind that hand wraps are designed solely for preventative support and joint stabilization during active training. They are not medical devices and cannot replace professional medical braces, splints, or targeted physical therapy. If you have pre-existing hand, wrist, or finger injuries, or if you experience chronic pain during your workouts, you should consult a qualified healthcare professional or sports physician before continuing your training program.
How to Choose the Right Hand Wraps for Your Needs
Selecting the perfect hand wraps for your home gym setup depends heavily on your physical hand size, your training style, and the specific environmental conditions of your workout space. Finding the right balance of support, comfort, and breathability will directly impact how consistently you wrap your hands before training.

Comparing Lengths and Materials
The two most common lengths available are 120-inch and 180-inch wraps, each serving a distinct purpose based on hand anatomy. Standard 180-inch wraps are highly recommended for the majority of adults because they provide ample fabric to thoroughly secure the wrist, thumb, and knuckles while allowing for protective weaves between the fingers. In contrast, 120-inch wraps are best suited for individuals with smaller hands, youth boxers, or those performing quick shadow boxing sessions that require minimal knuckle padding.
When evaluating materials, you will primarily choose between traditional 100% cotton wraps and semi-elastic wraps, often referred to as “Mexican-style” wraps. Traditional cotton wraps are highly durable, thick, and exceptionally absorbent, making them excellent for heavy sweat, though they offer very little stretch and can feel stiff if wrapped too tightly. Semi-elastic wraps blend cotton with synthetic fibers like spandex or nylon, offering a contoured fit that stretches slightly to compress the hand comfortably without cutting off circulation. Before making a purchase from an online sports retailer, always check the product labels for specific stretch limits, fabric compositions, and manufacturer care instructions to ensure they match your preferences.
Washing and Drying in a Humid Climate
Training in the tropical and highly humid climate of the Philippines presents unique challenges for maintaining sports gear, as sweat-soaked wraps can quickly become breeding grounds for bacteria, mold, and sour odors. To keep your wraps hygienic and structurally sound, you must wash them after every heavy training session, or at least hang them to air-dry completely in a well-ventilated area immediately after your workout. Leaving damp wraps crumpled inside a gym bag or a dark corner of your home will rapidly degrade the fabric fibers and create persistent smells that are difficult to wash out.
To clean your wraps safely without ruining their elasticity or tangling them into a massive knot, use gentle washing techniques. Hand washing with a mild detergent in cool water is the most effective way to preserve the fabric, but you can also use a washing machine by placing the wraps inside a mesh laundry bag and running a gentle cycle. Always secure the Velcro tabs to their matching landing strips before washing to prevent the rough hooks from snagging the delicate woven fibers of the wrap or other clothing items.
When it comes to drying, avoid using high-heat tumble dryers, as the intense heat can melt the elastic synthetic fibers and cause the wraps to shrink or lose their shape permanently. Instead, hang the wraps flat or drape them over a drying rack in a well-ventilated, shaded area of your home. Keep them out of direct, harsh tropical sunlight, which can dry out the cotton fibers too quickly, making them brittle and prone to tearing over time.
Step-by-Step Hand Wrapping Technique
Learning to wrap your hands properly requires patience and practice, but following a structured sequence ensures that every critical joint is secured before you begin your home workout. By breaking the process down into logical phases, you can easily turn this preparation step into a seamless part of your pre-workout ritual.
Anchoring the Wrist and Thumb
Begin by preparing the wrap so that it is fully unrolled, with the thumb loop easily accessible and the fabric free of twists.
Step 1: Slide your thumb through the starter loop at the end of the wrap, ensuring that the fabric lies completely flat against the back of your hand without twisting. Make sure the side opposite the Velcro closure faces directly against your skin, which ensures the Velcro will align perfectly when you reach the end of the wrap.
Step 2: Bring the wrap down to your wrist and wrap around it 2 to 3 times to establish a solid, stable foundation. Keep your wrist in a completely straight, neutral alignment during this process, pulling the fabric snug enough to feel supportive but not so tight that it pinches your skin or restricts movement.
Step 3: From the wrist, bring the wrap diagonally up across your palm and loop it around the base of your thumb exactly once. This anchor wrap locks the thumb joint in place against the hand, preventing it from catching on the heavy bag or bending backward if you accidentally land an off-center hook punch.
Building the Knuckle Pad
With the wrist and thumb anchored, you can now transition to protecting the primary striking surface of your hand.
Step 4: Bring the wrap diagonally across the back of your hand from the thumb base up to the outside of your pinky knuckle, then wrap around your knuckles 3 to 4 times. Keep your fingers slightly spread apart while doing this to ensure the wrap does not compress your hand too tightly, which would make forming a fist painful later on.
Step 5: If you are using a standard 180-inch wrap, bring the fabric down to the wrist, then weave it between your fingers starting from the pinky and ring finger gap. Loop the wrap through each finger opening, running it back down to the wrist after each pass, to separate the metacarpal bones and prevent them from crushing together upon impact.
Step 6: After completing the finger weaves, bring the wrap back up and run it over the knuckles 1 to 2 times to secure the woven sections, smoothing out any wrinkles with your free hand to create a flat, uniform striking pad.
Locking the Wrap with Crosses
The final phase of the wrapping process integrates the knuckle pad and the wrist support into a single, unified protective structure.
Step 7: Use the remaining length of the wrap to create “X” patterns across the back of your hand, running diagonally from the wrist up to the opposite side of the knuckles and back down. These crossing patterns provide crucial lateral wrist support, preventing your wrist from twisting sideways when throwing high-impact punches.
Step 8: Finish the wrap by winding any remaining fabric around your wrist, ensuring that the tension remains uniform, and secure the end with the Velcro closure.
Make sure the Velcro tab sits completely flat on your wrist joint rather than overlapping onto the back of your hand or your palm. A misplaced Velcro strap can rub against the inner lining of your boxing gloves, causing abrasive friction, premature wear on your gloves, and uncomfortable chafing on your skin.
How to Verify the Fit and Tension of Your Hand Wraps
Once you have finished wrapping both hands, you must verify that the tension is correct before you put on your boxing gloves or begin hitting the bag. A perfectly wrapped hand should feel comfortable, secure, and fully supported without any restriction of blood flow.
To perform a quick self-assessment, use the “fist test.” Hold your hand open and relaxed; the wraps should feel relatively loose and comfortable against your skin. Next, squeeze your hand into a tight, correct punching fist. You should immediately feel the fabric tighten up, providing a firm, solid compression across your knuckles and keeping your wrist rigidly aligned. If the wrap feels the same whether your hand is open or closed, it is not providing adequate support.
Pay close attention to the physical warning signs of a wrap that has been applied too tightly. If you experience tingling, numbness, coldness in your fingertips, or if your fingernails begin to turn pale or blue, the wrap is acting as a tourniquet and cutting off your blood circulation. Conversely, if the fabric shifts, bunches up, or slides around when you make a fist, or if your wrist can bend easily in any direction without resistance, the wrap is too loose to offer any real protection.
You must adhere to a strict safety rule during your home workouts: if you experience any pain, numbness, throbbing, or tingling at any point during shadow boxing or heavy bag work, stop training immediately. Unwrap your hands completely, allow your circulation to recover fully, and reapply the wraps with a more balanced, moderate tension before resuming your session.
Common Wrapping Mistakes That Risk Injury
Many beginners training at home inadvertently make critical wrapping mistakes that can lead to acute injuries or chronic joint strain over time. Recognizing these common errors and learning how to correct them will keep your hands healthy and pain-free.
One of the most frequent mistakes is wrapping too tightly around the wrist in an attempt to maximize stability. This cuts off crucial blood flow to the hand muscles, causing premature fatigue, cramping, and weakened grip strength during your workout. The correct approach is to focus on snug, layered support that stabilizes the joint without compressing the blood vessels.
Another dangerous error is skipping the thumb loop or failing to anchor the thumb joint properly. This leaves the thumb completely loose and vulnerable to severe sprains, particularly when throwing hook punches or uppercuts on a heavy bag. Always ensure you loop the wrap securely around the base of the thumb before proceeding to wrap your knuckles.
Additionally, many beginners allow the fabric to bunch up or twist over the knuckles, creating thick, uneven lumps under the boxing glove. This bunching concentrates the impact force on a single point rather than distributing it evenly, which can lead to bruised knuckles or skin abrasions. To correct this, take your time during each rotation to smooth out the fabric with your free hand, ensuring every layer lies perfectly flat.
Finally, you must never rely on hand wraps to compensate for poor punching technique or incorrect wrist alignment. While wraps absorb minor structural vibrations and keep your joints aligned, they cannot protect you if you strike the bag with a bent wrist or land punches with the wrong knuckles. Focus on mastering proper alignment—landing with the two largest knuckles of your index and middle fingers—to ensure your wrist remains straight upon impact.
Frequently Asked Questions (FAQ)
Can I use hand wraps without boxing gloves for heavy bag work?
No, you should never use hand wraps alone for heavy bag training. While wraps are excellent for stabilizing the internal bones and joints of your hand, they do not possess the thick, specialized foam padding required to absorb the heavy external impact of striking a dense bag. Punching a heavy bag with only wraps will expose your hands to severe shock, which can quickly result in painful skin abrasions, bone bruises, joint damage, or even micro-fractures in your knuckles. For safe home training, always wear properly cushioned boxing gloves over your hand wraps whenever you are hitting a bag.
How long does it take to wrap my hands properly?
When you are first starting out, wrapping your hands can feel slow and clumsy, often taking between 3 to 5 minutes per hand as you adjust to the tension, routing, and fabric management. This is completely normal, and you should not rush the process at the expense of your safety. With consistent daily practice before your workouts, the movements will quickly become muscle memory, allowing you to wrap both hands perfectly in under 2 minutes per hand.
Community discussion
Share your experience or ask a question. Comments are reviewed before publication.