
Replacing a 12-speed bicycle chain at home is a highly manageable maintenance task that can save you significant workshop fees and prolong the life of your entire drivetrain. Because 12-speed systems operate with incredibly tight tolerances, a worn or improperly installed chain can quickly degrade your expensive cassette and chainrings. By learning to perform this replacement yourself, you ensure your bike shifts crisply and runs quietly on every ride.
Tools and Materials Needed
Before you begin, gathering the correct tools is essential for a smooth installation. You will need a chain breaker tool specifically rated for 12-speed chains, as older tools may have driving pins that are too wide for the narrow links of modern drivetrains. Master link pliers (also known as quick-link pliers) are indispensable for opening and closing the tight-fitting connecting links used on 12-speed systems. Additionally, prepare a high-quality degreaser, clean microfiber rags, and nitrile gloves to protect your hands from grease.
When selecting your new chain, verify that it matches your specific drivetrain brand and model. While some aftermarket brands offer cross-compatibility, manufacturers design their 12-speed chains with unique chamfering, plate shapes, and roller dimensions to optimize shifting on their proprietary cassettes. Always check the manufacturer’s packaging for specific instructions regarding chain directionality and whether the included master link is designed for single-use only, which is standard for almost all 12-speed systems.
Products mentioned in this guide
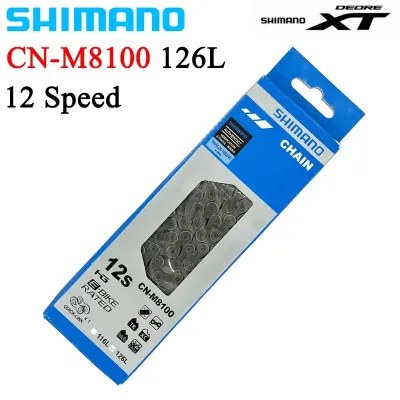
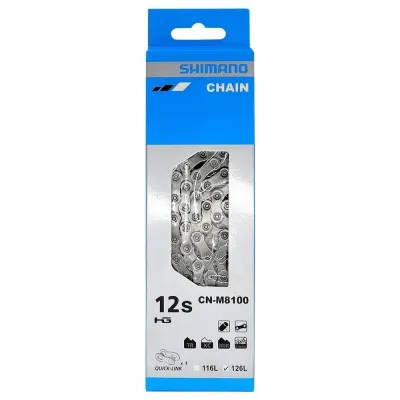
25 Lazada user ratings
Legit SHIMANO DEORE XT CN-M8100 12 Speed Chain👌 Basta shimano quality Salamat po🫡 SHIMANO ON TOP🙌
Quick link assembly, Improved chain retention, 12-speed compatibility, SIL-TEC coating,
Fast shipping service, Original Shimano part,
Napa Ganda quality na quality
what u see what you get ,👍
93 Lazada user ratings
🔨Durability:10 🔌Compatibility:10 🛠️Ease of Installation:10 overall 10/10Optimized for mountain biking, Durable MTB chain for off-road use, sa…Read full reviewShow less
🔨Durability:10 🔌Compatibility:10 🛠️Ease of Installation:10 overall 10/10Optimized for mountain biking, Durable MTB chain for off-road use, salamat seller and lazada sa mabilis na deliver
Nice! Delivered on time and fast, i hope its original and will be durable and serve its purpose well. perfect for my project bike. Thank you…Read full reviewShow less
Nice! Delivered on time and fast, i hope its original and will be durable and serve its purpose well. perfect for my project bike. Thank you seller! well recommended. 👍👍👍
looks genuine/original shimano. hope it is. packaging seems legit if not a bit crumples due to delivery handling. got it for a good sale pri…Read full reviewShow less
looks genuine/original shimano. hope it is. packaging seems legit if not a bit crumples due to delivery handling. got it for a good sale price.
Smooth and quiet operation, Quick link for easy installation, HYPERGLIDE technology for smooth shifting,
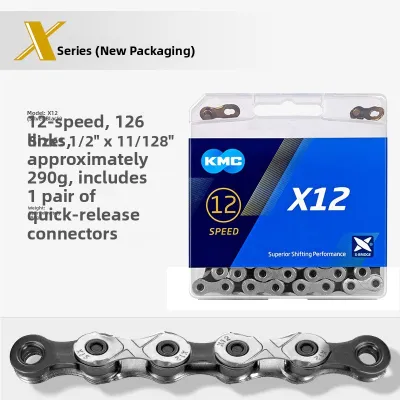
61 Lazada user ratings
KMC is a well-known brand, and while this one is a bit heavier compared to the hollow ones, it really shines in shifting performance. Plus, …Read full reviewShow less
KMC is a well-known brand, and while this one is a bit heavier compared to the hollow ones, it really shines in shifting performance. Plus, it looks great and can take a hit, so I recommend it!
🔌Compatibility:10/10 Smooth gear shifting, 🛠️Ease of Installation:9 🔨Durability:10/10 Durable performance
Fast shipping, 12-speed compatibility, High-quality material, Smooth gear shifting, Excellent value,
It's pretty good, fits the SRAM T-type shifting system, silver chain.
Pretty good, compatible with SRAM T-type gear system, silver chain.
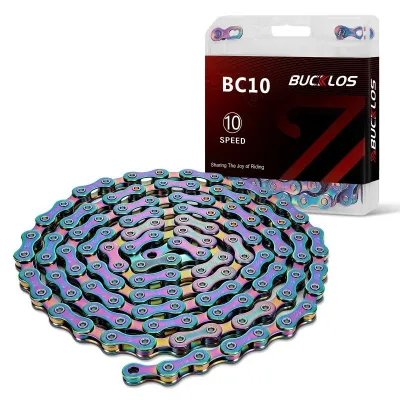
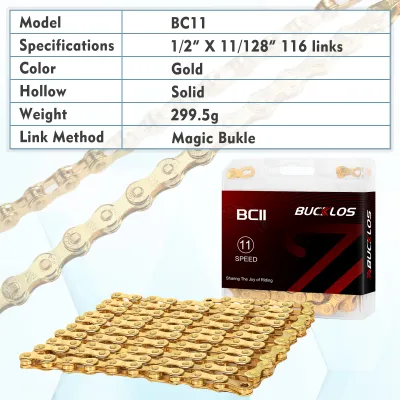
116 Lazada user ratings
naabot nah order thank u seller
the best slot
Thank you po.
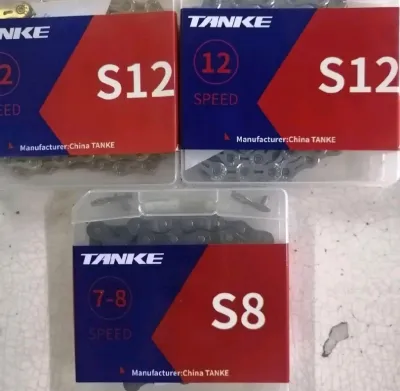
7 Lazada user ratings
appearance is good at affordable price very liget stores to buy
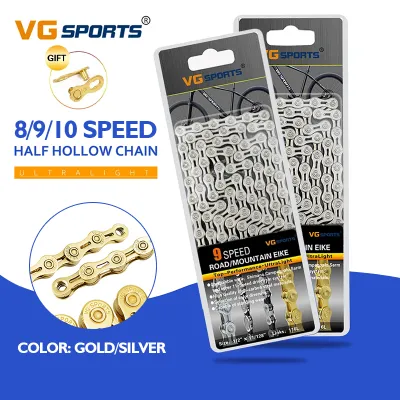
197 Lazada user ratings
🔨Durability:good 🔌Compatibility:good 🛠️Ease of Installation:good Smooth shifting, great chain!, Easy to install and maintain, Durable and rel…Read full reviewShow less
🔨Durability:good 🔌Compatibility:good 🛠️Ease of Installation:good Smooth shifting, great chain!, Easy to install and maintain, Durable and reliable for off-road biking, Silve color looks sleek and stylish, High-quality steel material, built to last,
Excellent value for the price, High-quality steel material, built to last, Silve color looks sleek and stylish, Smooth shifting, great chain…Read full reviewShow less
Excellent value for the price, High-quality steel material, built to last, Silve color looks sleek and stylish, Smooth shifting, great chain!, Easy to install and maintain, Durable and reliable for off-road biking, Smooth and precise gear changes,
napakaganda ng item mabilis rin dumating paayos pagkabalot maraming salamat sa seller pati na sa rider bibili ulit ako sa shop na to sana la…Read full reviewShow less
napakaganda ng item mabilis rin dumating paayos pagkabalot maraming salamat sa seller pati na sa rider bibili ulit ako sa shop na to sana lang tumagal mukha nman legit
AFTER 3 YEARS + NAKAPAGPALIT NA AKO KADENA 😂😂 MATIBAY ITO, MAGANDA PA. SAKTO NA DIN PRICE. OK NA DIN.ANG BILIS NA DIN NADELIVER SAKIN. BAGAY …Read full reviewShow less
AFTER 3 YEARS + NAKAPAGPALIT NA AKO KADENA 😂😂 MATIBAY ITO, MAGANDA PA. SAKTO NA DIN PRICE. OK NA DIN.ANG BILIS NA DIN NADELIVER SAKIN. BAGAY NA BAGAY SA BIKE KO
Silve color looks sleek and stylish, Smooth shifting, great chain!, Durable and reliable for off-road biking, Smooth and precise gear change…Read full reviewShow less
Silve color looks sleek and stylish, Smooth shifting, great chain!, Durable and reliable for off-road biking, Smooth and precise gear changes, lightweight.
Prices are valid at publication and may change. Please refer to the product page for the latest price.
Step 1: Removing the Old Chain
To begin the removal process, shift your bicycle’s derailleur so the chain rests on the smallest cog of the cassette and the smallest chainring at the front. This position minimizes tension on the rear derailleur cage, making the chain much easier to handle. If your rear derailleur features a clutch mechanism, disengage it or lock the cage forward using the manufacturer’s lock button to remove all tension from the chain span.

Next, locate the master link on your old chain. This link looks distinct from the others, featuring outer plates with slotted holes rather than standard round rivets. Position the master link along the bottom run of the chain between the chainring and the derailleur. Fit the tips of your master link pliers into the rollers on either side of the master link and squeeze the handles together to slide the pins inward, releasing the link. If your chain does not have a master link, position your chain breaker tool over any standard pin and turn the handle to push the pin out.
Carefully slide the old chain out of the derailleur pulleys and off the chainrings, taking care not to let it whip against your frame and scratch the paint. With the chain removed, you have an excellent opportunity to clean the drivetrain. Use your degreaser and clean rags to thoroughly wipe down the cassette cogs, the chainring teeth, and the derailleur pulley wheels. Removing accumulated grit and old grease from these components prevents premature wear on your brand-new chain.
Step 2: Sizing the New 12-Speed Chain
Sizing your new chain correctly is the most critical step of the installation process. Do not simply count the links on your old chain or match its physical length directly, as chains stretch over time, and the previous chain might have been sized incorrectly from the start. Instead, size the new chain using the “big-big” method, which ensures the chain is long enough to handle your largest gear combination without binding.
To use this method, wrap the new chain around the largest chainring at the front and the largest cog on your rear cassette, bypassing the rear derailleur entirely. Pull the two ends of the chain tight together until they meet. From this point of intersection, you must add the manufacturer-specified overlap. For most hardtail mountain bikes and road bikes, this overlap is typically two rivets (one inner link and one outer link) plus the master link itself. If you are sizing a chain for a full-suspension mountain bike, you must compress the rear suspension fully to account for chain growth before determining the final length.
Once you have identified the correct link to cut, mark it clearly. Ensure that you are cutting the chain so that you are left with two inner links at the ends, as the master link will act as the outer link to connect them. Place the chain into your 12-speed chain breaker tool, aligning the pin precisely with the rivet you need to remove. Slowly turn the handle of the tool to push the rivet completely out of the link, ensuring the tool remains perpendicular to the chain to avoid bending the outer plates.
Step 3: Routing and Connecting the Chain
With the chain cut to the correct length, you are ready to route it through the drivetrain. Begin by shifting your rear derailleur back to the smallest cog position. Feed one end of the chain over the smallest cassette cog, ensuring it sits securely in the teeth.
Next, thread the chain down through the rear derailleur cage. Pass the chain over the top of the upper guide pulley, then guide it down toward the lower tension pulley. You must pay close attention to the small metal tab located on the derailleur cage between the two pulleys. The chain must pass under or behind this tab, not rubbing against it. Routing the chain on the wrong side of this tab is a common mistake that causes severe friction, noise, and damage to both the chain and the derailleur.
Before connecting the ends, check the directionality of your new chain. Many 12-speed chains are directional; for example, Shimano chains typically require the stamped logos to face outward, away from the bicycle frame, while SRAM chains may have specific curved outer plates that must face a certain way. Once oriented correctly, insert one half of the master link into the inner link at one end of the chain, and the other half into the opposite end. Bring the two ends together and slide the pins into the slotted holes of the opposing plates.
Step 4: Seating the Link and Final Verification
To secure the connection, the master link must be fully expanded and locked into place. While you can sometimes use master link pliers designed for expanding links, the most reliable manual method involves using controlled pedal pressure. Rotate the drivetrain so that the master link is positioned on the top span of the chain, halfway between the cassette and the chainring.
Ensure the bicycle is resting firmly on the ground or is securely mounted in a work stand with the rear wheel clear. Stand over the bike, hold the rear brake lever tightly to lock the rear wheel, and place your foot on the pedal. Apply firm, gradual downward pressure on the pedal. You should hear and feel a distinct “click” as the pins of the master link slide into the locked position within the slotted outer plates. Visually inspect the link to confirm that both pins are fully seated and flush with the outer plates.
Next, check the entire length of the chain for any stiff links by slowly backpedaling the drivetrain by hand. Watch the chain as it passes through the tight bends of the derailleur pulleys; it should flow smoothly without jumping or causing the derailleur cage to twitch. If you notice a stiff link, gently flex the chain laterally at that point to loosen the plates.
Finalize the installation by testing shifting performance across the entire cassette. Once you verify that the shifting is crisp and precise, apply a high-quality bicycle chain lubricant to the rollers of the chain while backpedaling. Allow the lubricant to penetrate the links for a few minutes, then use a clean, dry rag to wipe off all excess lubricant from the outer plates to prevent attracting dirt during your ride.
Troubleshooting Common Installation Issues
If you experience persistent noise immediately after installation, the most common culprit is incorrect routing through the rear derailleur cage. Double-check that the chain is not rubbing against the metal tab between the pulley wheels. Another source of noise is a directional chain installed backward or a master link that has not been fully clicked into its locked position.
If the chain skips or jumps when you apply power on the pedals, this is often a sign of a worn cassette. While a worn chain and a worn cassette can wear down together and function passably, a brand-new chain will not mesh properly with worn, hook-shaped teeth on an old cassette. If your new chain skips on your favorite gears, you will likely need to replace the cassette as well.
Should you encounter shifting issues that cannot be resolved by basic barrel adjuster adjustments, or if you suspect your derailleur hanger is bent, stop and consult a professional bike mechanic. Trying to force a poorly shifting system can lead to chain breakage or damage to your frame.
Frequently Asked Questions (FAQ)
Can I use a 12-speed chain on an 11-speed drivetrain?
While a 12-speed chain can physically fit over the teeth of an 11-speed cassette, it is not recommended for regular use. A 12-speed chain is significantly narrower than an 11-speed chain, which can lead to slow, hesitant shifting, increased noise, and potential chain drops. For optimal performance and safety, always match your chain speed to the specific speed rating of your cassette and shifters.
How do I know when it is time to replace my bicycle chain?
The most accurate way to determine chain wear is by using a dedicated chain wear checker tool. For 12-speed drivetrains, which have incredibly tight tolerances, you should replace the chain once it shows 0.5% stretch. Waiting until the chain reaches 0.75% stretch, which is common for lower-speed drivetrains, will often result in irreversible wear to your cassette, forcing you to replace both components simultaneously.
Community discussion
Share your experience or ask a question. Comments are reviewed before publication.