
Replacing a worn-out paddle grip is one of the simplest ways to restore control, comfort, and precision to your game. Whether you play pickleball, tennis, or platform tennis, a secure connection to your handle prevents slipping during high-intensity rallies. The process involves stripping away the degraded material, cleaning the bare handle, wrapping the new grip with consistent tension, and securing the top with finishing tape.
In tropical climates, high humidity and intense heat accelerate the breakdown of grip materials. Sweat quickly saturates the handle, causing the adhesive to slip and the outer polyurethane layer to peel. Knowing how to execute a clean replacement ensures your equipment remains reliable under demanding court conditions.
Signs It Is Time for a Paddle Grip Replacement
A degraded grip does more than feel uncomfortable; it actively compromises your shot accuracy. When your hand slips even slightly during a swing, the paddle face rotates, sending the ball off-target. The most obvious signal that you need a replacement is a complete loss of tackiness, leaving the handle feeling slick or dry.
Products mentioned in this guide
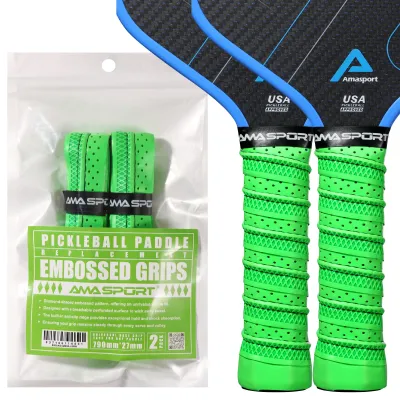
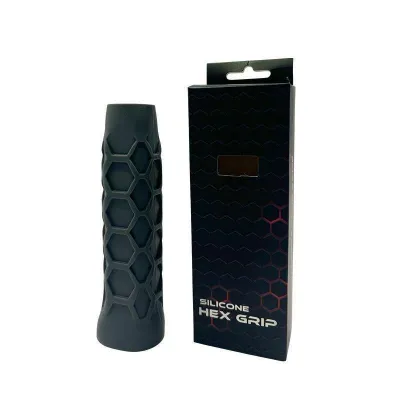
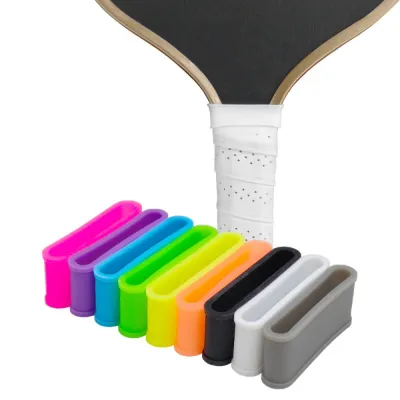
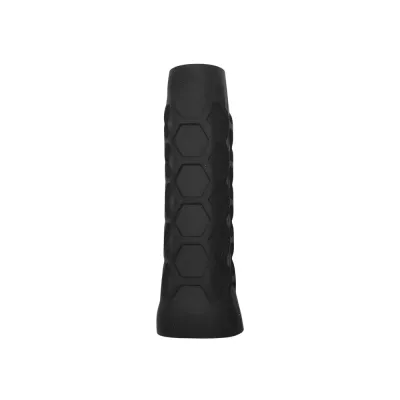
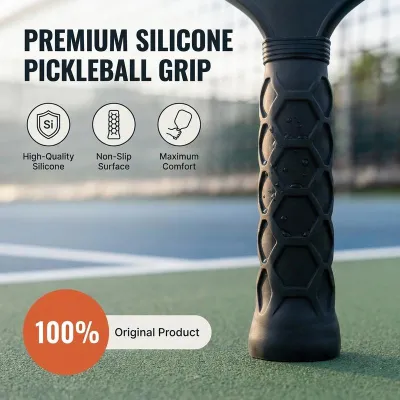
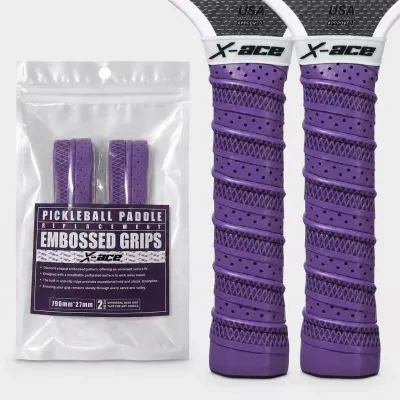
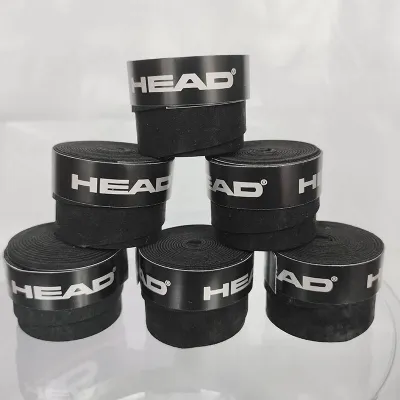
Prices are valid at publication and may change. Please refer to the product page for the latest price.
Physical degradation is another clear indicator. Look for peeling outer layers, visible tearing along the bevel edges, or dark discoloration from accumulated sweat and dirt. If you notice small flakes of synthetic material sticking to your palm after a game, the polyurethane layer has broken down completely.
Before applying new material, you must inspect the underlying handle structure. Strip away any temporary layers to check the wood, composite, or polymer base of the handle. In humid environments, sweat can seep through a worn grip, leading to moisture accumulation or structural softening. If the handle feels soft, smells musty, or shows deep water stains, it may require professional repair rather than a simple re-grip.
It is also essential to distinguish between a worn base grip and a worn overgrip. A base grip is the thick, cushioned layer applied directly to the bare handle structure. An overgrip is a thin tape wrapped over the base grip to adjust tackiness and absorb sweat. If the underlying cushion still feels firm and even, you might only need to swap out the thin overgrip.
Tools and Materials for Grip Replacement
Gathering the correct supplies before you begin prevents interruptions and ensures a clean, professional finish. The primary item you need is a dedicated replacement grip designed for your specific sport. These grips typically feature an adhesive backing and a tapered starting edge to facilitate a smooth wrap.

You will also need high-quality finishing tape, which is usually included in the replacement grip package. This specialized tape secures the top edge of the grip near the throat of the paddle. Standard electrical tape can serve as a reliable alternative if the included tape is too short or loses its stickiness during installation.
For preparation and cleaning, keep mild rubbing alcohol or a specialized adhesive remover nearby, along with a clean microfiber cloth. These supplies help dissolve old glue residue without warping the wooden or composite handle underneath. Avoid using harsh industrial solvents, which can degrade the structural resins of composite paddles.
A pair of sharp household scissors is indispensable for trimming the grip at a precise angle when you reach the top of the handle. If your paddle handle uses staples to anchor the grip at the butt cap, a small flathead screwdriver or a staple remover will help you safely pry them out. Finally, set up a clean, flat, well-lit workspace to keep dust and debris away from the fresh adhesive.
Always verify the thickness and length of the replacement grip by reading the product packaging before opening it. Racket handles come in various grip sizes, and using a replacement grip that is too thick can alter the handle bevels, making it difficult to feel the orientation of the paddle face.
Step 1: Removing the Old Grip and Preparing the Handle
Begin by peeling off the finishing tape at the top of the handle, near the paddle throat. Slowly unwrap the old grip, working your way down toward the butt cap. If the grip has been on the paddle for a long time, it may tear or leave large patches of foam and adhesive stuck to the handle.
If you encounter staples securing the grip at the butt cap, use your flathead screwdriver to pry them up gently. Work slowly to avoid gouging the plastic cap or splintering the wooden handle underneath. Once the staples are loose, pull them out with pliers and discard them safely.
With the old grip fully removed, you will likely see residual adhesive, dirt, and foam particles on the bare handle. Dampen your microfiber cloth with a small amount of rubbing alcohol and wipe down the handle surfaces. Rub firmly along the flat bevels to lift the sticky residue, but avoid soaking the handle, especially if it is made of wood.
Allow the handle to dry completely in a well-ventilated area. Applying a new grip to a damp handle traps moisture underneath, which can lead to mold growth, wood rot, or adhesive failure. Use this drying time to inspect the bare handle for structural issues like hairline cracks, deep splinters, or loose butt caps. If you detect structural damage to the core material, consult the manufacturer or a professional repair technician before proceeding.
Step 2: Aligning and Wrapping the New Replacement Grip
Unpack your new replacement grip and locate the tapered starting end. Most replacement grips feature a small adhesive tab on this tapered end to help anchor the start of the wrap. Peel off the protective backing from the first few inches of the grip, leaving the rest covered to prevent it from gathering dust.
Place the tapered end against the bottom edge of the butt cap. For right-handed players, wrap the grip in a clockwise direction as you look down from the top of the paddle; left-handed players should wrap counter-clockwise. This direction ensures that your fingers pull the grip tighter during play rather than peeling it open.
Anchor the starting edge firmly, ensuring the grip covers the bottom lip of the butt cap without hanging over excessively. Begin wrapping upward, maintaining steady, firm tension on the grip material. The tension must be consistent: too loose, and the grip will slip or bunch during play; too tight, and you will strip the cushioning properties out of the synthetic foam.
As you spiral up the handle, manage the overlap line carefully. Most replacement grips have a bevelled edge to help you align each wrap. Aim for a consistent overlap of about one-sixteenth to one-eighth of an inch. Keeping this overlap uniform ensures the handle maintains its original shape and bevel definition, which are critical for tactile feedback during shots.
Step 3: Securing the Grip and Final Adjustments
Once you reach the top of the handle near the paddle throat, hold the grip tightly to maintain tension. Use a pencil to mark a straight line around the handle where the grip should end, matching the angle of the collar or throat. Unroll a small portion of the grip, and use your sharp scissors to cut along this marked line.
This angled cut allows the grip to end in a perfectly flat, horizontal line around the top of the handle. Wrap this trimmed end tightly against the handle. While holding it in place with one hand, use your other hand to wrap the finishing tape tightly around the seam.
Apply the finishing tape in the same direction as the grip wrap, pulling it taut to create a secure, wrinkle-free seal. The tape should overlap both the top edge of the grip and the bare collar of the paddle. Press the tape down firmly along its entire length to activate the adhesive and eliminate any air bubbles.
Finally, perform a thorough tactile check of the entire handle. Squeeze the grip from the butt cap to the throat, feeling for any loose edges, gaps, or uneven ridges. If you detect a soft spot or an uneven overlap, it is best to unwrap the grip immediately and re-apply it before the adhesive cures fully.
Overgrip vs. Replacement Grip: Choosing the Right Option
Understanding the structural differences between a base replacement grip and an overgrip is vital for maintaining proper handle ergonomics. A replacement grip is thick, highly cushioned, and features a strong adhesive backing. It is designed to wrap directly onto the bare handle structure, providing the primary shock absorption and shape of the grip.
An overgrip, by contrast, is very thin, non-adhesive (except for a small starting tab), and designed to be wrapped over an existing base grip. Overgrips are highly absorbent and tacky, making them ideal for managing sweat in hot, humid conditions. They are meant to be replaced frequently, protecting the more expensive base grip underneath from sweat saturation and wear.
Never wrap a thick replacement grip over another replacement grip. Doing so increases the handle size dramatically, rounding off the bevels and making the paddle difficult to control. A handle that is too thick strains the muscles in your hand and forearm, increasing the risk of tennis elbow or wrist fatigue.
Check your paddle manufacturer’s guidelines to confirm the recommended grip thickness for your hand size. If you prefer a highly cushioned feel but want to maintain bevel feedback, use a standard replacement grip as your base, and apply a single, tightly wrapped overgrip on top. This combination offers excellent moisture management while preserving the structural shape of the handle.
Common Installation Mistakes and How to Avoid Them
One of the most common errors during installation is applying uneven tension while wrapping. If you pull too hard on one section and let the grip slacken on another, you will create uncomfortable ridges and soft pockets. Maintain a steady, firm pull throughout the entire wrapping process to keep the material flat.
Another frequent mistake is failing to align the overlap correctly, which leaves gaps of bare handle exposed. These gaps allow sweat to penetrate the handle core and cause the grip to unravel quickly. If you notice a gap forming, do not try to stretch the material to cover it; instead, unwrap that section and re-wrap it with proper alignment.
Managing the starting and ending points is also critical. If the starting edge at the butt cap is not anchored securely, the entire grip will twist and slide upward during aggressive swings. Ensure the first wrap is locked tightly against the butt cap before moving up the handle.
Know when to stop and restart. If the grip becomes severely misaligned, bunched, or twisted halfway up the handle, do not try to force it to fit. Peel the grip back gently, smooth out the material, and start wrapping again from the last clean section. Taking the time to correct mistakes during the process ensures a durable, comfortable finish that will last for many matches.
Frequently Asked Questions (FAQ)
How often should I change my paddle grip?
The frequency of grip replacement depends heavily on your play frequency, sweat levels, and local climate conditions. In hot, humid environments, you may need to replace your grip more often due to sweat saturation. Rather than following a strict calendar schedule, rely on physical indicators like a slick texture, visible peeling, or a lingering musty odor. If your hands slip during normal swings, or if the cushioning feels completely compressed and hard, it is time for a fresh grip.
Can I put a new replacement grip over the old one?
No, you should not install a new replacement grip directly over an old one. Replacement grips are thick and cushioned; layering them will distort the handle’s shape, round out the bevels, and make the grip excessively bulky. This loss of bevel definition reduces your control over the paddle face angle. If you want extra cushioning or sweat absorption without stripping the handle, install a single thin overgrip over a clean, structurally sound base grip instead.
Community discussion
Share your experience or ask a question. Comments are reviewed before publication.