
Replacing the grip tape on your badminton racket is one of the simplest yet most effective ways to maintain control, precision, and comfort on the court. Over time, sweat, dust, and friction degrade the surface of your racket’s handle, leading to slips and missed shots. Properly applying a fresh overgrip restores the essential friction between your hand and the racket, ensuring your smashes and net drops remain accurate. In tropical climates, where high humidity and intense heat cause rapid sweating, mastering this quick maintenance task is vital for every player.
While wrapping a racket might seem straightforward, doing it incorrectly can result in an uneven surface, bunching, or a grip that slips mid-swing. By learning the proper technique to strip, clean, and wrap your handle, you protect your equipment and ensure a consistent feel during play. This guide walks you through the entire process, helping you achieve a professional-grade wrap every time.
What You Need: Tools and Materials for Grip Replacement
Before you begin, gather the necessary materials to ensure a smooth and uninterrupted replacement process. Having the right tools on hand prevents you from making uneven cuts or using makeshift adhesives that could ruin your racket.
Products mentioned in this guide
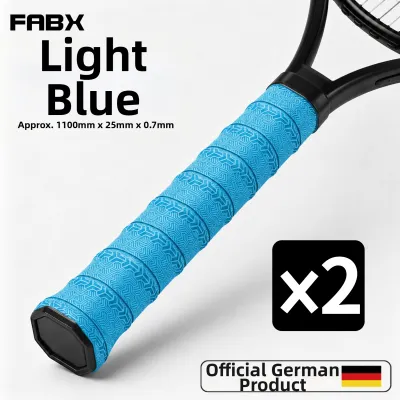
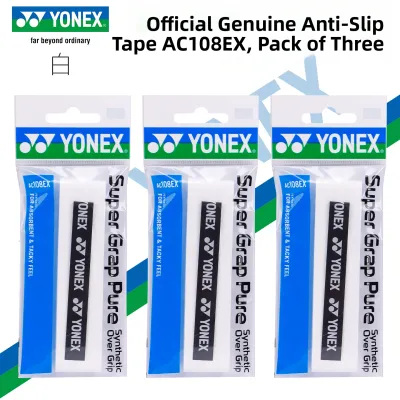
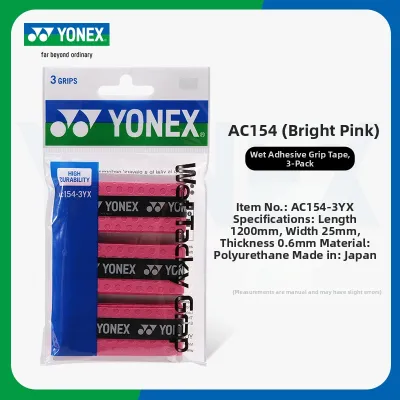
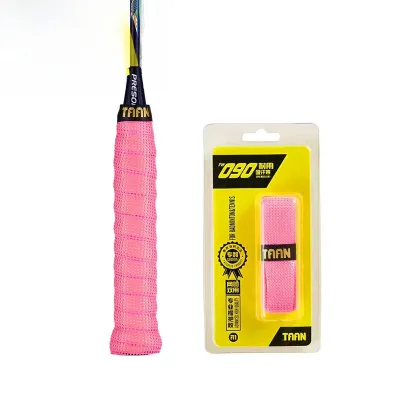
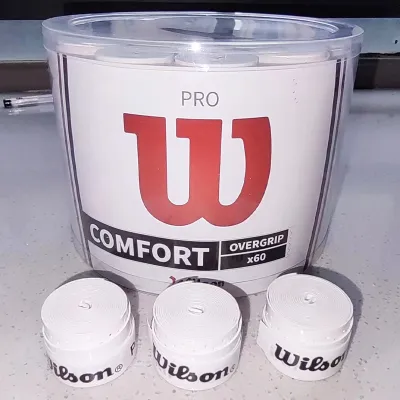
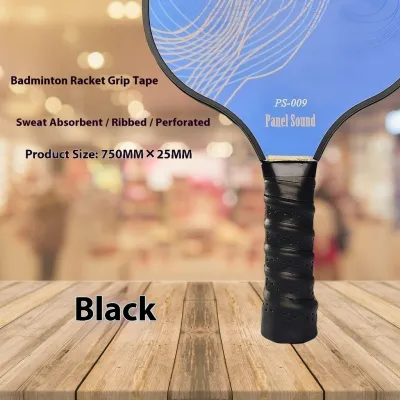
Prices are valid at publication and may change. Please refer to the product page for the latest price.
To complete this task, you will need:
- A new overgrip: This is the thin, external layer of tape that wraps over the base grip to provide tackiness and moisture absorption.
- Sharp household scissors: Clean cuts are essential for tapering the end of the grip and preventing the material from fraying.
- A clean microfiber cloth: This is used to wipe down the handle and remove sweat residue or dust.
- Finishing tape: This is a narrow, highly adhesive strip used to secure the top of the grip. It is almost always included in the packaging of your new overgrip.
It is important to understand the difference between an overgrip and a replacement grip. An overgrip is thin (usually between 0.5mm and 0.7mm) and is designed to be wrapped over an existing base. A replacement grip is much thicker, features a cushioned adhesive backing, and is applied directly to the bare wooden handle. This guide focuses on replacing the overgrip, which is the most frequent maintenance task for active players.
For players who want to customize their racket feel, optional accessories can be highly beneficial. An undergrip membrane (often called cushion wrap) can be wrapped around the bare wood before applying a grip to add shock absorption and adjust the handle size. Additionally, grip powder can be applied to the finished handle during matches to combat extreme sweat.
Step 1: Safely Removing the Old Grip Tape
The first step in the process is removing the worn-out overgrip without compromising the layers underneath. If you rush this step, you risk tearing the original base grip or leaving behind sticky residue that makes the new application uneven.

Begin by locating the finishing tape at the top of the handle, right below the plastic cone where the handle meets the shaft. Carefully peel back the edge of this tape. Once the finishing tape is removed, you can begin unrolling the old overgrip.
Unroll the old grip slowly and at a shallow angle. Avoid pulling the tape straight up or yanking it aggressively. Pulling too hard can tear chunks out of the underlying base grip, especially if the old overgrip has been left on for too long and has fused with the layer beneath it.
As you unwrap, you may notice sticky adhesive residue left behind on the base grip or the wood. To clean this up, rub the affected areas firmly with a dry microfiber cloth; the friction will often cause the adhesive to ball up and peel off. For stubborn, sticky patches, check your racket manufacturer’s care instructions first, then apply a tiny amount of mild, wood-safe adhesive remover to your cloth and gently wipe the residue away.
Never soak the wooden handle with water or use harsh chemical solvents like acetone or paint thinner. Wood is highly porous, and liquid can easily seep into the fibers. Excessive moisture or harsh chemicals can warp the wood, degrade the structural glue holding the handle to the steel or carbon shaft, and permanently ruin your racket.
Step 2: Cleaning and Inspecting the Wooden Handle
Once the old grip is completely removed, take a moment to clean and inspect the handle. This is especially critical if you are replacing the base grip or if sweat has seeped through the overgrip layers down to the bare wood.
To clean the handle, use a slightly damp microfiber cloth to wipe away accumulated dust, dried salt crystals from sweat, and dirt. Immediately follow this with a dry towel to absorb any surface moisture.
Ensure the handle is completely dry before you begin wrapping the new tape. Wrapping a new grip over a damp handle traps moisture underneath, creating a breeding ground for bacteria and mold while weakening the wood over time.
In humid, tropical environments, mold and mildew are common issues for sports gear stored in dark bags. If you spot surface mold on the wooden handle, wipe it away thoroughly with a dry cloth. You can lightly mist a cloth with a mild disinfectant, wipe the wood, and then let the racket air-dry completely in a well-ventilated indoor area away from direct sunlight, which can crack the wood.
During this stage, perform a quick structural inspection of the wooden handle. Press down along the bevels to check for soft spots, deep cracks, or signs of wood rot. If the wood feels soft, spongy, or shows severe water damage, stop the process. A compromised handle can snap during a high-velocity smash, which poses a safety risk to you and other players. In this scenario, consult a professional racket stringer for a handle replacement or consider replacing the racket.
Step 3: Wrapping the New Overgrip for a Secure Hold
Applying the new overgrip requires a blend of patience, consistent hand coordination, and steady tension. Taking your time during this phase ensures that the grip lies flat against the handle bevels, providing a clean, professional finish that won’t shift during intense rallies.
Anchoring the Base
To begin, unroll your new overgrip and peel off the protective plastic film from the surface. Locate the tapered starting edge of the grip, which usually features a small adhesive strip on the underside to help hold it in place.
Place the tapered starting edge against the bottom of the handle, aligning it flush with the bottom edge of the butt cap. The adhesive strip should press firmly against the starting point to prevent it from sliding.
Wrap the first full turn straight around the base of the handle, keeping it tight and perfectly horizontal. This initial anchor turn must cover the bottom edge completely. Ensuring there is no exposed wood or base grip at the very bottom prevents the tape from unraveling from the base upward during play.
Applying Even Tension and Overlap
Once the base is anchored, begin wrapping upward toward the shaft. The key to a smooth grip is maintaining a steady, moderate pulling tension on the tape with your dominant hand as you wrap.
If you pull the overgrip too tightly, you will overstretch the polyurethane material, stripping away its natural cushioning and making it highly susceptible to tearing. Conversely, wrapping too loosely will leave air pockets, causing the grip to slide, bunch up, or shift when you quickly transition between forehand and backhand grips.
As you spiral up the handle, manage the overlap carefully. Aim for a consistent overlap of about 1 to 2 millimeters. Most high-quality overgrips feature a faint guide line or a slightly thinned edge to help you judge this distance visually.
To make the process easier, use your non-dominant hand to slowly rotate the racket shaft while your dominant hand guides the tape at a consistent diagonal angle. This two-handed coordination keeps the tension uniform across all eight bevels of the handle.
Trimming and Securing the Top
Continue wrapping upward until you reach the top of the wooden handle, just below the plastic cone. Do not wrap onto the cone itself yet, as this can make the grip feel bulky where your thumb rests during net play.
Hold the grip firmly against the handle to maintain tension, and use your scissors to cut the remaining tape at a diagonal angle. Cutting a diagonal taper allows the end of the grip to wrap flatly and horizontally around the top of the handle, creating a clean, flush edge.
Wrap the provided finishing tape tightly around this tapered edge to lock the overgrip securely in place. Make sure the finishing tape sits entirely on the handle or the base of the plastic cone. Avoid wrapping the tape onto the actual flexible shaft of the racket, as restricting the shaft’s natural flex can alter its performance and feel.
Troubleshooting Common Wrapping Mistakes
Even with careful preparation, minor errors can occur. Recognizing these common wrapping mistakes allows you to make quick adjustments before you step onto the court.
Wrinkles and Bunching
- Cause: This occurs when the wrapping tension is uneven or the diagonal angle is too steep, causing the material to fold over itself.
- Solution: Gently unwrap the grip down to the wrinkled section. Re-wrap the area, applying firmer, more consistent tension while ensuring the tape lies flat against the flat bevels of the handle.
Grip Slipping During Play
- Cause: Slippage is typically caused by failing to pull the tape tight enough during application, or not securing the anchor turn at the butt cap.
- Solution: Remove the grip and start over. Pay extra attention to the first anchor turn, pulling it firmly to establish a secure foundation before spiraling upward.
Exposed Wood at the Bottom
- Cause: This happens when you start the wrap too high on the butt cap, leaving the bottom edge of the handle bare.
- Solution: Exposed wood can cause painful friction blisters on the heel of your palm. Unwrap the grip completely, realign the tapered starting edge flush with the very bottom of the butt cap, and restart the process.
Bulky, Uneven Feel
- Cause: Overlapping the tape by more than 2 millimeters creates thick ridges along the handle, which distorts the octagonal shape of the grip.
- Solution: Unwrap the grip and apply it again, using the printed guide lines to maintain a minimal, consistent overlap of 1 to 2 millimeters.
Grip Care and Replacement Signs in Humid Weather
In tropical climates, high humidity and heavy sweating accelerate the degradation of grip tape. Sweat contains salts and acids that break down the polyurethane synthetic fibers, reducing tackiness and turning the grip into a breeding ground for bacteria.
To maximize the lifespan of your grip, never store a damp racket inside an airtight bag immediately after a session. Take the racket out of your bag as soon as you get home and let it air-dry completely in a well-ventilated room. Alternatively, use a racket bag with built-in mesh ventilation panels, or leave your bag’s main zipper open to allow moisture to escape.
Keep an eye out for the physical signs that indicate your grip tape needs to be replaced:
- Loss of tackiness: The surface feels slick, dry, or slippery, forcing you to squeeze the handle harder to maintain control.
- Visible wear: The outer layer begins to peel, flake, or show tears near the thumb and index finger placement zones.
- Hardened texture: The grip loses its cushion and feels stiff or crusty due to dried sweat salts.
- Odor: The handle emits a musty, sour smell, indicating bacteria or mold growth within the fibers.
For active players, it is highly recommended to keep two or three spare overgrips in your sports bag at all times. A pack of quality overgrips is a low-cost investment, typically ranging from ₱50 to ₱150 per roll. Replacing your grip every two to four weeks—or as soon as you notice a loss of traction—keeps your hands comfortable and ensures your racket remains a reliable extension of your arm.
Frequently Asked Questions (FAQ)
Should I remove the original base grip before applying an overgrip?
No, you do not need to remove the original base grip. Overgrips are specifically designed to be wrapped on top of the factory-installed base grip to provide a tacky surface and protect the underlying layers from sweat. You should only remove the base grip if it is severely damaged, rotting, or if you prefer a much thinner handle and plan to use specialized cushion wrap directly on the bare wood.
How do I know when it is time to change my grip tape?
You should change your grip tape when it loses its tackiness, starts to slip in your hand, shows visible peeling or tearing, or develops a musty odor. Playing with a worn-out grip reduces your control over shot angles and increases the risk of the racket slipping out of your hand during a fast swing, which can damage the frame or injure other players.
Community discussion
Share your experience or ask a question. Comments are reviewed before publication.