
Installing a wall-mounted basketball ring on a masonry wall requires careful planning, the correct anchoring hardware, and an understanding of your wall’s structural limits. Because basketball play exerts significant dynamic forces on a rim—especially during rebounds or accidental rim contact—a standard mounting job meant for static fixtures will quickly fail. To ensure a safe, long-lasting setup on concrete or concrete hollow blocks (CHB), you must match your installation method to the specific masonry type, use rated expansion anchors, and verify that the wall itself can handle the load.
Assessing Your Wall and Space Before Installation
Before purchasing any mounting hardware, you must determine whether your wall is made of solid poured concrete or concrete hollow blocks (CHB). Concrete hollow blocks are the most common building material for residential walls in the Philippines. Because of their hollow cores, they lack the uniform density of solid concrete, which changes how you must anchor the basketball ring.
To identify your wall type, tap the surface. A hollow, echoing sound indicates hollow blocks, while a dull thud suggests solid concrete. For a definitive check, drill a small pilot hole with a thin masonry bit; if the drill suddenly plunges forward after about an inch, you have hit a hollow cavity.
Products mentioned in this guide
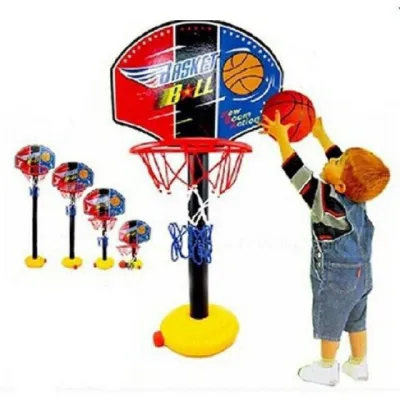
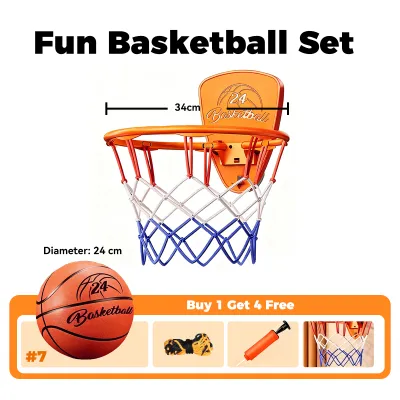
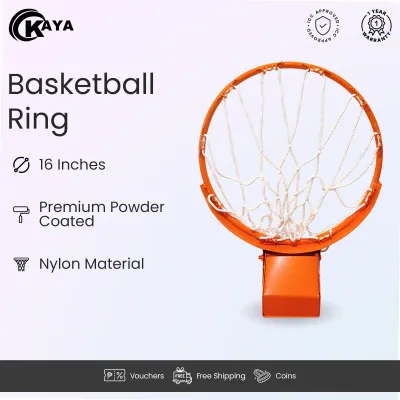
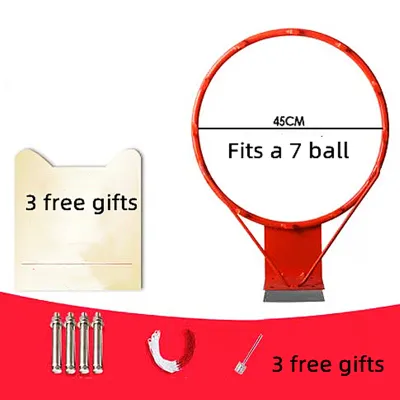
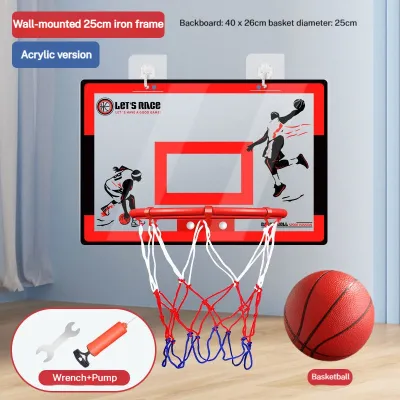
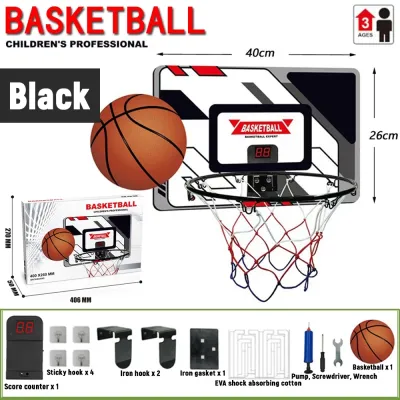
Prices are valid at publication and may change. Please refer to the product page for the latest price.
Next, inspect the wall for deep cracks, crumbling mortar, or moisture damage. A degrading wall cannot safely support the repetitive vibrations of a basketball setup. Additionally, use a wall scanner to check for hidden water pipes or electrical conduits in the drilling zone.
Finally, ensure the play area is flat, level, and clear of glass windows, low-hanging roof eaves, or overhead utility lines. If the wall is too thin—such as a single-layer four-inch hollow block wall without structural columns—it cannot support a basketball ring safely.
Selecting the Correct Tools and Masonry Anchors
Securing a basketball ring to masonry requires specialized tools and hardware designed to withstand dynamic, repetitive impacts rather than static loads. A standard rotary drill is insufficient for this task; you will need a hammer drill or a rotary hammer. Hammer drills combine rotation with rapid pulsing impacts, allowing the carbide-tipped masonry bit to pulverize the tough concrete as it penetrates.

The choice of anchor depends entirely on your wall assessment. For solid concrete walls or structural concrete columns, steel wedge anchors are the industry standard. These anchors expand deep inside the solid concrete as you tighten the nut, creating a permanent, high-strength mechanical bond. However, wedge anchors should never be used in hollow blocks, as they can easily crack the thin outer shell or fail to expand properly inside the hollow cavities.
For concrete hollow blocks, sleeve anchors or heavy-duty toggle bolts are much safer choices. Sleeve anchors feature a split sleeve over a threaded bolt; as the bolt is tightened, the sleeve expands outward against the inner walls of the block’s shell, distributing the load over a wider surface area. Alternatively, heavy-duty toggle bolts can be inserted through the hollow cavity, where the spring-loaded wings flip open to grip the back of the block’s face.
Given the tropical climate of the Philippines, characterized by high humidity and heavy seasonal rainfall, hardware selection must also account for corrosion. Always choose hot-dip galvanized or stainless steel anchors and brackets. Standard carbon steel will quickly rust when exposed to the elements, leading to structural weakness and unsightly rust stains on your wall. Verify the load ratings on the anchor packaging to ensure they are rated for heavy-duty structural use.
Step-by-Step Mounting Process for Masonry Walls
To begin the installation, measure and mark the official rim height, which is 10 feet (3.05 meters) from the playing surface to the top of the ring. If you are installing the hoop for younger children, you can adjust this height accordingly, but ensure the mounting bracket remains level. Hold the mounting bracket against the wall at the desired height and use a spirit level to ensure it is perfectly straight, then mark the drilling points with a pencil.
When working with hollow blocks, try to align your drilling marks with the solid vertical webs of the blocks or the solid concrete columns adjacent to the wall. Avoid drilling directly into mortar joints, as mortar is significantly weaker than the concrete blocks themselves and will crumble under the stress of play.
Equip your hammer drill with a masonry bit that matches the exact diameter specified by your anchor manufacturer. Hold the drill perfectly perpendicular to the wall to ensure the hole is straight. Apply steady, moderate pressure, letting the hammer action of the drill do the work. Avoid forcing the drill, as excessive pressure can cause the back of the hollow block shell to blow out, leaving a large, irregular cavity that cannot hold an anchor.
Once the holes are drilled, it is critical to clean them thoroughly. Use a hand pump, blow bulb, or a vacuum to remove all concrete dust and debris from inside the holes. Leftover masonry dust acts as a lubricant, which can prevent expansion anchors from gripping the concrete properly and lead to premature failure.
Insert the anchors through the mounting bracket and push them into the drilled holes. If necessary, tap them gently with a hammer until the bracket is flush against the wall. Slide on the washers and thread the nuts by hand. Finally, use a torque wrench to tighten the nuts to the manufacturer’s specified torque. Do not over-tighten, as excessive force can easily crack concrete hollow blocks, while under-tightening will allow the bracket to wobble and loosen over time.
Post-Installation Safety Checks and Routine Maintenance
Before allowing anyone to shoot hoops, you must conduct a thorough safety inspection. Begin with a controlled load test by applying gradual downward pressure on the rim with your hands while keeping your feet firmly on the ground. Do not jump, hang, or attempt to dunk on the rim. While applying pressure, observe the mounting bracket and the surrounding masonry for any signs of shifting, wobbling, or cracking.
Inspect the wall surface immediately surrounding the anchors for hairline cracks. If you notice any new cracks forming in the concrete or mortar, the wall may be too weak to support the load, and you should dismantle the setup immediately to prevent structural failure.
Establish a routine maintenance schedule to keep the installation secure over time. The vibrations from basketballs bouncing off the backboard and rim will naturally cause hardware to loosen. Check the tightness of all bolts after the first week of use, and perform monthly inspections thereafter. Additionally, apply a rust-inhibiting spray to the metal bracket and rim annually to protect them from tropical moisture and prevent rust from compromising the hardware.
When to Stop and Hire a Professional Contractor
While installing a basketball ring can be a rewarding DIY project, certain scenarios require the expertise of a professional contractor. If your wall consists of old, crumbling, or poorly grouted hollow blocks, standard DIY anchors will not provide a safe hold. A professional can assess the wall and install specialized solutions, such as through-bolting with a steel backing plate on the opposite side of the wall to sandwich the masonry.
Working at heights also introduces significant safety risks. If you need to mount the basketball ring high on a two-story wall or an exterior firewall, attempting the installation on a standard ladder is highly dangerous. Professional installers have the proper scaffolding, safety harnesses, and heavy-duty rotary hammers required to complete the job safely and efficiently.
If you encounter extremely hard, high-PSI concrete that your standard DIY hammer drill cannot penetrate, do not force the tool. Forcing an underpowered drill can damage the wall or cause the drill bit to bind and kick back, leading to injury. A professional contractor has access to industrial-grade rotary hammers that can drill clean holes in high-strength concrete without damaging the surrounding structure.
Frequently Asked Questions (FAQ)
Is a breakaway rim necessary for wall-mounted setups?
Yes, a breakaway rim is highly recommended for wall-mounted installations, especially on masonry walls. Unlike standard rigid rims that transfer 100% of the impact force directly into the backboard and the wall anchors, a breakaway rim features an internal spring mechanism. When a high-impact force is applied—such as a hard rebound or accidental contact—the rim flexes downward to absorb the energy before snapping back into place. This significantly reduces the dynamic stress transferred to your concrete or hollow block wall, preventing the anchors from pulling out or cracking the masonry. Always verify that your backboard is designed to support the specific mounting pattern of a breakaway rim.
Community discussion
Share your experience or ask a question. Comments are reviewed before publication.