
Setting up a boxing reflex ball in a limited home space requires careful planning to ensure both structural safety and an effective workout. Unlike a commercial gym with expansive high-ceiling zones, a small apartment or condominium demands a precise installation that respects the physical limits of your room. By identifying a solid structural support, clearing a dedicated movement zone, and using the correct hardware, you can build a highly functional training corner without risking damage to your living space.
Assessing Ceiling Height and Floor Clearance
Before purchasing any mounting equipment, you must evaluate the vertical and horizontal dimensions of your intended training area. A standard ceiling height in modern residential units often ranges from 2.4 to 2.7 meters. To calculate the required chain or cord drop, stand in your training stance and measure the distance from the ceiling to your eye level. The target area of the boxing reflex ball should ideally align with your chin or eyes to promote proper guard habits and realistic striking angles.
Horizontal clearance is equally critical for safety. While the ball itself is relatively small, your body requires room to step, slip, pivot, and duck. Aim for a clear floor radius of at least 1.5 meters in all directions from the center point of the mount. This prevents your hands, elbows, or feet from colliding with walls, glass windows, or furniture during high-intensity drills. Be sure to account for the swing path of the ball, which can expand significantly when struck with high velocity.
Products mentioned in this guide
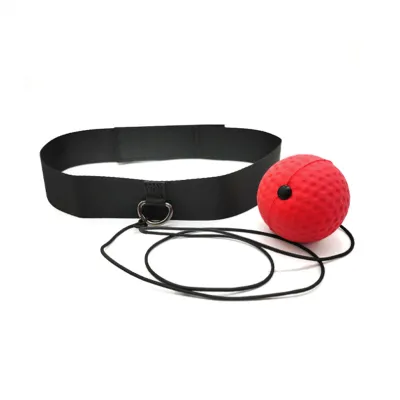
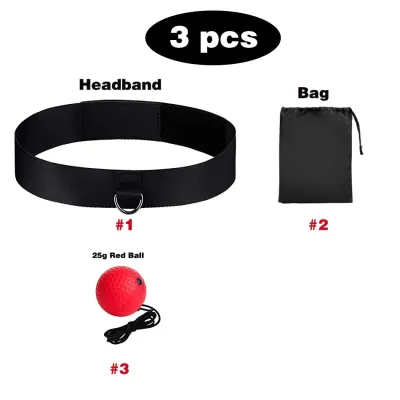
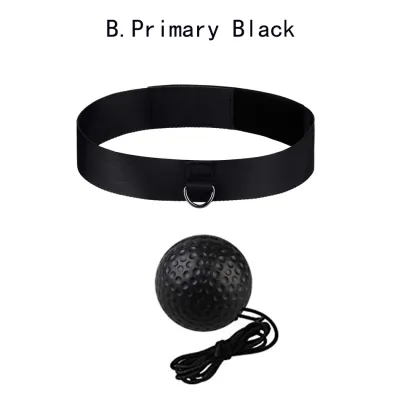

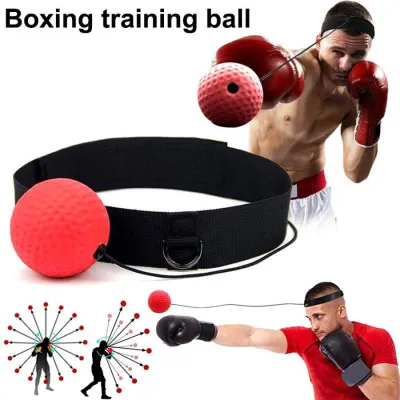
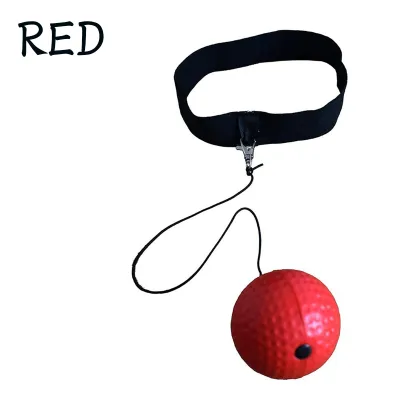
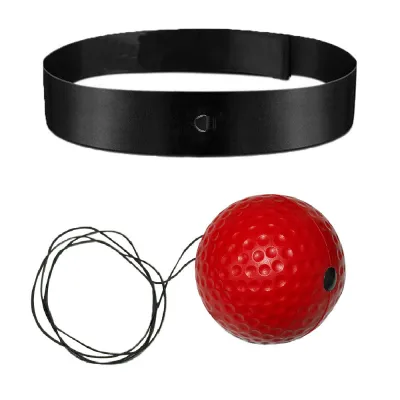
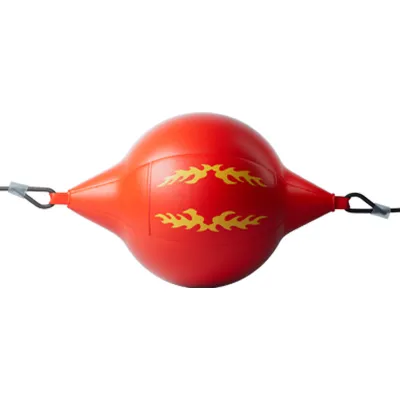
Prices are valid at publication and may change. Please refer to the product page for the latest price.
Finally, inspect the composition of your ceiling. Many residential spaces utilize suspended gypsum board, fiber cement boards, or plywood to conceal utility pipes and electrical wiring. These materials are purely cosmetic and cannot support the dynamic pull of training equipment. You must locate the solid wooden joists or concrete slabs hidden behind these panels to anchor your mount securely.
Selecting Mounting Hardware for Your Ceiling Type
Choosing the right hardware prevents structural damage and ensures your equipment remains anchored during intense workouts. Always consult the manufacturer’s specifications for your specific boxing reflex ball to verify its weight and the recommended mounting style. While a reflex ball is lighter than a traditional heavy bag, the constant, multi-directional pulling forces place unique stress on fasteners.

For wooden joists, a heavy-duty steel eye bolt or a dedicated ceiling swivel mount is the standard choice. Swivel mounts are highly recommended because they allow the ball to rotate and swing smoothly in 360 degrees, reducing friction and preventing the chain or cord from binding. If you are mounting to a concrete ceiling, you will need specialized expansion anchors or sleeve anchors designed to grip masonry.
Gathering the correct tools before you begin will streamline the installation process. You will need a reliable stud finder to locate wooden joists, a power drill with wood or masonry drill bits, a socket wrench to tighten lag bolts, and safety goggles. In humid tropical environments, look for zinc-plated or stainless steel hardware to resist rust and maintain structural integrity over years of use.
Step-by-Step Installation Guide
Installing your mount correctly requires a methodical approach to ensure the anchor point is perfectly centered on a structural beam. Begin by using your stud finder to locate the edges of the wooden joist. Mark both edges with a pencil, then mark the exact center between them. Anchoring your screw directly into the center of the joist ensures maximum thread engagement and prevents the wood from splitting under tension.
Once you have marked the center, select a drill bit that is slightly smaller than the shank of your lag screw. Drill a straight pilot hole into the joist to a depth matching the length of the screw. This pilot hole guides the screw and prevents the dense wood from cracking as you drive the fastener home. Align your mounting bracket or eye bolt over the hole and use a socket wrench to tighten the lag screw until the bracket is completely flush against the ceiling surface.
With the mount securely in place, you can attach the swivel, chain, or elastic cords of your boxing reflex ball. Adjust the height of the ball so that the center of the striking target rests at your eye or chin level. If your setup uses elastic tension cords anchored to both the ceiling and a floor weight, ensure the tension is balanced so the ball does not sag or pull excessively to one side. Take a moment to step back and visually verify that the entire assembly hangs straight and true.
Safety Checks and Small-Space Training Adjustments
Before throwing your first combination, perform a systematic safety check to verify the integrity of your installation. Begin with a gradual load test by applying downward pressure on the mount with your hands. Listen closely for any creaking, popping, or shifting sounds, and watch for falling plaster dust, which indicates that the drywall is rubbing against the bracket. If the mount moves even slightly, tighten the fasteners or relocate the anchor point.
In a tight room, you must actively manage the swing radius of the ball to protect your surroundings. If you find the ball swinging too close to a nearby wall or an overhead light fixture, shorten the chain or adjust the tension of the elastic cords. This limits the maximum travel distance of the ball, keeping it safely within your cleared training zone. Remember that equipment cannot replace proper control; focus on precision and rhythm rather than raw power when training in confined spaces.
Establish clear stop conditions to prevent accidents during future workouts. Inspect the mounting bracket weekly for any signs of loosening, metal fatigue, or structural wear. If you notice hairline cracks developing in the surrounding ceiling plaster, or if the swivel mechanism begins to bind and jerk the mount, suspend your training immediately. Do not resume workouts until you have tightened the hardware, lubricated the swivel, or reinforced the ceiling structure.
Frequently Asked Questions (FAQ)
Can I mount a boxing reflex ball on a concrete ceiling?
Yes, mounting on a concrete ceiling is highly secure but requires specialized hardware. Instead of standard wood screws, you must use concrete sleeve anchors or wedge anchors to grip the masonry. Use a hammer drill equipped with a masonry drill bit of the exact diameter specified by the anchor manufacturer. If you live in a high-rise condominium with pre-stressed concrete slabs, consult your building administration or a professional contractor before drilling to avoid damaging internal structural cables.
Are tension rods or doorway pull-up bars safe for mounting?
Tension rods and friction-based doorway pull-up bars are not recommended for mounting dynamic striking equipment. While they may support static downward weight, the rapid, multi-directional lateral forces generated by a swinging reflex ball can easily cause friction mounts to slip and fail. This poses a significant risk of injury if the bar dislodges mid-workout. For a safe training experience, stick to permanent structural ceiling mounts or utilize a dedicated, freestanding heavy bag stand.
How do I protect my walls and furniture in a tight room?
To safeguard your home environment, lay down interlocking foam mats beneath your training zone to protect the floor from dropped gear and dampen the sound of your footwork for downstairs neighbors. Position your training corner away from glass windows, delicate light fixtures, and sharp furniture corners. If your space is exceptionally tight and you must train near a wall, consider placing temporary foam padding or wall protectors over the drywall to prevent accidental scuffs and impacts.
Community discussion
Share your experience or ask a question. Comments are reviewed before publication.