
Properly securing a climbing rope to a carabiner or hook is one of the most fundamental safety skills in vertical sports. In high-risk climbing environments, a specialized hook for rope—such as a certified climbing carabiner or anchor hook—serves as the primary link between your safety harness, the rock wall protection, and the rope itself. Making a mistake during this connection can lead to accidental unclipping, gear failure, or catastrophic falls.
While the mechanical steps of clipping a rope may seem simple, executing them flawlessly under physical and mental stress requires systematic practice. This guide details the essential techniques for attaching a rope to non-locking and locking carabiners, outlines critical gear inspection routines, and highlights common mistakes to avoid.
Understanding Carabiners, Hooks for Rope, and Safety Boundaries
Climbing hardware is engineered to withstand extreme dynamic forces, but each piece of equipment has a highly specific design and safety boundary. Standard climbing carabiners are divided into non-locking models, which are typically used on quickdraws for rapid clipping during lead climbing, and locking models, which require a manual or automatic action to secure the gate. Specialized anchor hooks, such as skyhooks or cliff hangers, are used primarily in aid climbing to hook onto rock edges and are never intended to hold dynamic falls on their own.
Products mentioned in this guide
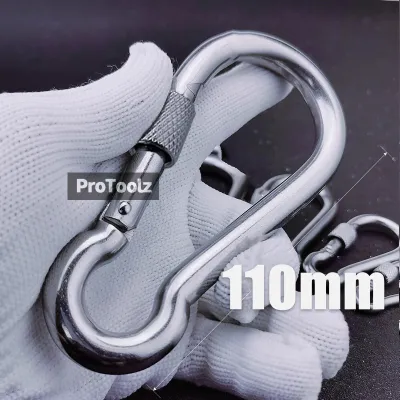
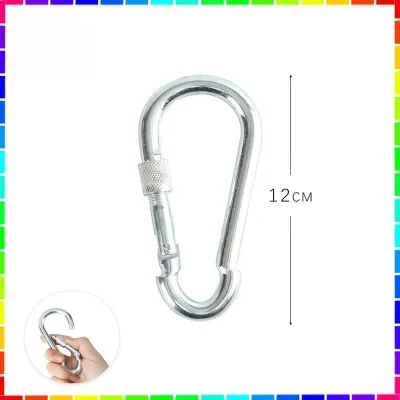
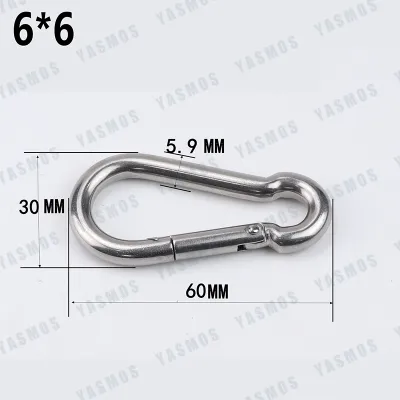
![[COD] 304 Stainless Steel Spring Carabiner Snap Hook Keychain Quick Link Lock Buckle](https://img.lazcdn.com/g/p/ae30b42efa77e792054aa40a300198ba.jpg_400x400q80.jpg_.webp)
Prices are valid at publication and may change. Please refer to the product page for the latest price.
Before practicing any rope-attachment techniques, you must recognize that reading an online guide cannot replace hands-on training from a certified professional. In the Philippines, seek instruction from guides certified by recognized national climbing bodies or international organizations like the AMGA. Professional instruction provides the real-time feedback and safety oversight necessary to master these life-safety systems.
Establishing strict stop conditions is vital for survival on the rock. If you are ever unsure about the integrity of your gear, the structure of a knot, or whether a rope is clipped correctly, you must not proceed with the climb. Specialized climbing equipment is designed to support your skills, but it can never substitute for sound personal judgment, proper training, and situational awareness.
Essential Gear and Pre-Climb Inspections
Before attempting to attach your rope to any hardware, you must perform a thorough, multi-point inspection of all equipment. In tropical climbing environments, such as the humid limestone cliffs of Cantabaco in Cebu or the coastal crags of El Nido, gear is exposed to high moisture, sweat, and salt air, which can accelerate wear and corrosion.

Rope Integrity Check
- Run the entire length of the climbing rope through your hands to feel for "core shots" (soft, mushy spots where the internal core is damaged while the outer sheath remains intact).
- Visually inspect the sheath for flat spots, severe abrasion, fuzziness, or discoloration from chemical exposure.
- Check the rope ends to ensure the middle marker is clearly visible and that the ends are properly whipped or heat-sealed.
Carabiner and Hook Inspection
- Test the gate action of every carabiner to ensure it snaps shut instantly and completely when released; a sluggish or sticky gate is an immediate safety hazard.
- Inspect the locking mechanism (screwgate or auto-lock) to verify it engages smoothly and locks securely without binding.
- Run your fingers along the rope-bearing surfaces to check for sharp edges, deep grooves worn by the rope, or signs of pitting corrosion from salt air.
Harness and Helmet Checks
- Examine your climbing harness webbing for fraying, cut stitching, or faded colors that indicate UV damage.
- Verify that the buckle systems operate correctly and double-back smoothly according to the manufacturer's instructions.
- Inspect your climbing helmet for any cracks in the outer shell or compression in the inner foam liner.
All climbing gear has a finite lifespan. You must retire any soft goods (ropes, slings, and harnesses) immediately if they show structural damage, or if they have reached the maximum lifespan specified on the manufacturer’s label—typically 5 to 10 years from the manufacture date, even if unused. For hard goods like carabiners, retire them immediately if they exhibit cracks, deep grooves deeper than one millimeter, or gates that fail to close flush with the nose.
Step-by-Step: Clipping the Rope into a Non-Locking Carabiner
During lead climbing, you must quickly and securely clip your rope into non-locking carabiners attached to quickdraws. Correct clipping prevents the rope from accidentally releasing during a fall.
Gate Orientation
- Ensure the carabiner gate faces opposite to your direction of travel.
- If you are climbing upward and traversing to the right, the gate of the carabiner should face to the left.
- This orientation prevents the rope from dragging across the gate and accidentally opening it as you climb past.
Correct Clipping Direction
- The rope must always enter the carabiner from the back (the side closest to the rock face) and exit through the front (the side facing away from the rock, toward you).
- This is often referred to as the "back-to-front" rule.
- Visually verify that the rope running to your harness is the one exiting the front of the carabiner.
Avoiding Dangerous Clipping Errors
- Back-Clipping: This occurs when the rope enters from the front and exits through the back. If you fall while back-clipped, the rope can wrap over the gate, force it open, and unclip itself completely.
- Upside-Down Clipping: This happens when the quickdraw is twisted or the rope is forced into the carabiner in a way that flips the hardware. This positioning can cause the rope to run over the locking nose, leading to accidental release under a dynamic load.
Hand Positioning Techniques
- The Thumb Clip (Gate facing away from your hand): Grip the spine of the carabiner with your fingers, stabilize the bottom with your pinky, and use your thumb to push the rope down through the gate.
- The Index Finger Clip (Gate facing toward your hand): Stabilize the spine of the carabiner with your thumb, hook your index finger through the gate to pull it open, and feed the rope through with your remaining fingers.
- Always keep your fingers clear of the gate opening to avoid getting pinched or dropping the rope.
Step-by-Step: Attaching a Rope to a Locking Carabiner or Anchor Hook
For top-rope setups, belaying, or building anchors, you must attach the rope to a locking carabiner or a dedicated anchor hook. This requires tying specific, high-strength knots and managing the locking mechanism correctly.
Tying the Figure Eight on a Bight
- Double a section of the rope to form a loop (a bight) approximately 1 meter long.
- Twist the bight 360 degrees around the standing line to form a loop that looks like an "8".
- Pass the end of the bight back through the top loop of the eight.
- Pull all four strands tight to dress the knot, ensuring the strands lie parallel without crosses.
- Clip the loop of the finished Figure Eight directly into the locking carabiner.
Tying the Clove Hitch
- Form two adjacent loops in the rope, twisting them in the same direction.
- Slide the second loop behind the first loop.
- Clip both loops together into the locking carabiner.
- Pull both ends of the rope to tighten the hitch against the carabiner spine.
- Note: The Clove Hitch is highly adjustable, making it ideal for anchoring, but it must only be used on locking carabiners and should be tied close to the anchor point.
Securing and Verifying the Lock
- Screwgate: Thread the sleeve upward until it stops. Do not over-tighten it while the carabiner is under load, as it can lock up permanently once unloaded.
- Twistlock / Auto-lock: Release the gate and allow the spring-loaded collar to automatically rotate and snap into the locked position.
- The Squeeze Test: Always perform a physical check by squeezing the gate of the locking carabiner with your hand to verify that it cannot open.
Proper Carabiner Orientation
- Position the carabiner so that the load runs along its major axis (the long spine of the carabiner).
- Never allow the rope or knots to slide down to the minor axis (the short side), which drastically reduces the carabiner's holding capacity.
- Ensure the locking sleeve does not rest against any rock protrusions, which could force the gate open under tension.
Common Attachment Mistakes and Risk Management
Even experienced climbers can make critical errors when attaching ropes to hardware. Understanding the physics behind these mistakes is essential for effective risk management.
The Danger of Cross-Loading
- Carabiners are designed to be exceptionally strong when loaded along their major axis (typically rated to 20 kilonewtons or more).
- If a carabiner rotates and is loaded along its minor axis (cross-loading), its strength is reduced by up to 60%, often failing at just 7 to 9 kilonewtons.
- To prevent cross-loading, use specialized directional carabiners with internal wire gates that trap the rope or harness loop in the correct orientation, or select keylock noses that resist snagging.
Understanding Gate Flutter
- When a climber falls, the rapid movement of the rope and the sudden impact against protection can cause high-frequency vibrations in the carabiner.
- These vibrations can cause the gate of a non-locking carabiner to cycle open and closed rapidly, a phenomenon known as gate flutter.
- If the carabiner is subjected to a load while the gate is fluttered open, its strength drops to its "open-gate" rating (which is often only one-third of its closed-gate strength).
- Minimize this risk by using wire-gate carabiners, which have lower gate mass and are highly resistant to gate flutter.
The Hazards of Non-Climbing Hardware
- Never use standard utility hooks, dog leash clips, or hardware store snap hooks for climbing applications.
- These generic hooks are designed for static, low-weight utility tasks and are not rated for dynamic impact loads.
- They lack certified locking mechanisms, are made from inferior metals prone to sudden brittle fracture, and do not carry safety certifications like UIAA (International Climbing and Mountaineering Federation) or CE standards.
Final Verification and When to Stop
Before your feet leave the ground, you and your climbing partner must perform a systematic buddy check. This final safety protocol is your last line of defense against oversight and complacency.
Buddy Check Protocol (BARK):
[B] Buckles: Verify both harnesses are snugly fitted and buckles are doubled back.
[A] Anchor & Belay: Check that the belay device is loaded correctly and the carabiner is locked.
[R] Rope & Knots: Confirm the tie-in knot is a dressed Figure Eight with a proper tail.
[K] Kevlar & Helmet: Ensure helmets are buckled, secure, and free of damage.
During this check, physically touch and verbally confirm every element. Verify that the lead climbing quickdraws are hung correctly, that the rope runs cleanly through the belay device, and that all locking carabiners pass the squeeze test.
Knowing when to call off a climb is just as important as knowing how to tie the knots. Abort the climb immediately if you observe any of the following stop conditions: a carabiner gate feels sticky or fails to snap shut, a rope shows signs of internal core damage, an anchor hook shows rust or deep wear, or environmental conditions deteriorate. In the Philippines, sudden tropical downpours can quickly slick the rock, turn dry cracks into muddy channels, and make managing gear highly dangerous. Never hesitate to retreat safely to climb another day.
Frequently Asked Questions (FAQ)
Can I use a standard hardware snap hook instead of a climbing carabiner?
No, you must never use a standard hardware store snap hook for climbing. These utility hooks are not rated for dynamic loads, lack certified locking mechanisms, and can fail catastrophically under the force of a fall. Only use UIAA or CE-certified climbing carabiners that are specifically rated for life-safety applications.
How do I know if my carabiner gate is worn out?
Your carabiner gate is worn out and must be retired if it exhibits a sluggish return, fails to close completely flush with the nose, or has a sticky locking mechanism that does not engage smoothly. Additionally, inspect the rope-bearing surface; if you see visible grooves deeper than one millimeter or sharp edges worn into the metal, the carabiner is no longer safe for use.
Community discussion
Share your experience or ask a question. Comments are reviewed before publication.