
Setting up a dedicated boxing corner at home brings the intensity of the gym into your personal space. Among the various pieces of equipment you can install, the speed bag is one of the most dynamic and rewarding. It sharpens your hand-eye coordination, builds shoulder endurance, and refines your rhythm. However, the rapid, repetitive impact of speedbag boxing generates significant dynamic force that can easily damage your home if the installation is rushed.
A poorly mounted platform will vibrate excessively, ruin the rebound rhythm of the bag, and eventually pull loose from the wall. To ensure a safe and effective training session, you must secure the platform to a solid structural foundation. This guide walks you through the process of assessing your space, gathering the correct hardware, and executing a rock-solid installation that stands up to your hardest workouts.
In tropical environments like the Philippines, where residential construction often relies on concrete hollow blocks and high humidity can affect building materials, taking extra care with your mounting strategy is essential. By selecting the right anchors and protecting your equipment from moisture, you can build a home boxing setup that lasts for years.
Products mentioned in this guide

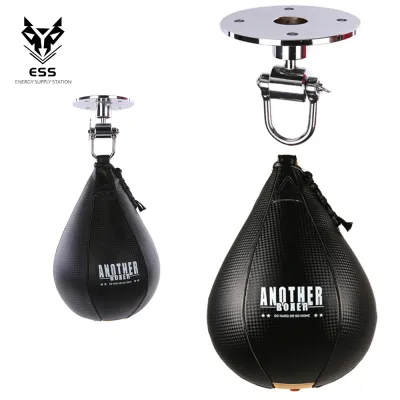
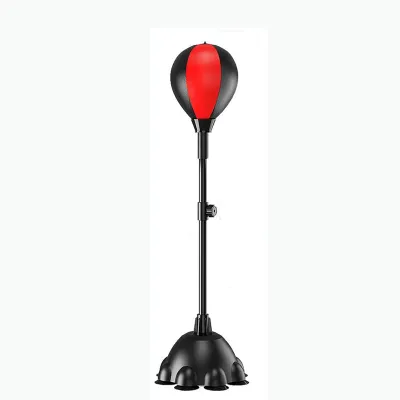
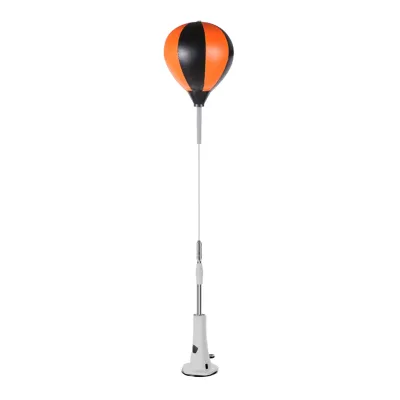
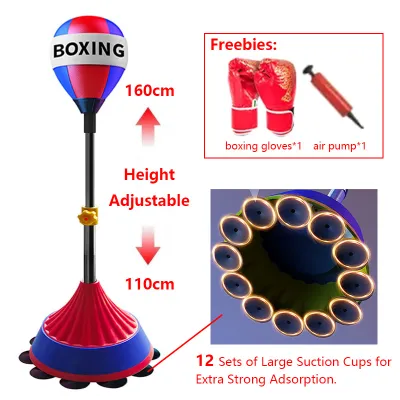
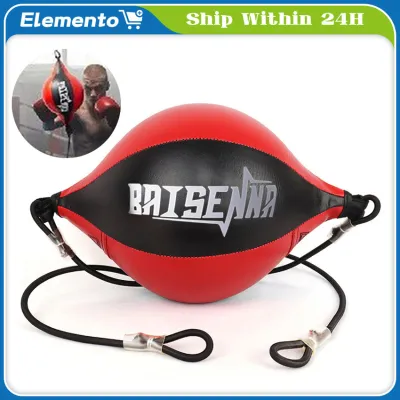

Prices are valid at publication and may change. Please refer to the product page for the latest price.
Assessing Your Space and Wall Structure for Speed Bag Installation
Before purchasing any mounting brackets, you must evaluate your training area’s physical dimensions. A speed bag requires ample lateral clearance so your elbows and hands do not strike nearby walls, shelves, or furniture during high-speed combinations. Plan for at least one meter of unobstructed space in all directions around the platform to allow for natural movement and safe rebound clearance.
Ceiling height is another critical factor to consider before drilling. The platform must sit high enough to align the bag with your face while leaving enough overhead clearance for the mounting brackets and the natural swing of your arms. If your ceiling is exceptionally low, you may need to look for low-profile mounting brackets or adjust your stance during training.
The composition of your wall dictates your entire installation strategy. In many modern homes, interior walls consist of drywall over wooden or light metal studs. For these structures, you must anchor the platform directly into the center of the wooden studs; mounting directly into drywall alone using standard plastic anchors will inevitably fail under the vibration of speedbag boxing.
If you are installing the platform in a garage, basement, or against a typical concrete hollow block wall, you are dealing with masonry. Masonry provides an incredibly stable foundation, but it requires specialized hammer drills and expansion sleeve anchors to handle the dense material.
Be cautious of lightweight partition walls, plaster-and-lath structures, or single-layer wooden panels. These materials cannot absorb the continuous vibrations and will warp, crack, or transfer loud, disruptive noise throughout your home. If a solid wall is unavailable, consider a heavy-duty freestanding speed bag frame as an alternative to protect your home’s structure.
Tools and Hardware Required for a Secure Setup
A successful installation relies on having the correct tools prepared before you begin drilling. Start by thoroughly reading your speed bag platform’s instruction manual to verify the manufacturer’s recommended hardware sizes, weight capacities, and specific drill bit requirements.

For wood stud installation, you will need a reliable stud finder to locate the exact edges and center of the wooden framing. A bubble level or digital level is non-negotiable; even a slight tilt in the platform will cause the speed bag to rebound at an angle, disrupting your training rhythm and causing uneven wear on the swivel.
A high-torque power drill is essential for creating clean pilot holes. If you are drilling into concrete or brick, ensure your drill has a hammer function and that you are using carbide-tipped masonry drill bits matched to the size of your wall anchors.
Do not compromise on safety gear during the installation process. Always wear protective goggles to shield your eyes from falling plaster, concrete dust, or wood shavings, and use a dust mask when drilling into masonry to avoid inhaling fine particulates.
When selecting fasteners, choose heavy-duty lag screws (typically 3/8-inch diameter and at least 3 inches long) for wood studs. For concrete or hollow block walls, opt for steel sleeve anchors or wedge anchors that expand inside the pre-drilled holes to lock the bracket permanently in place.
Step-by-Step Guide to Mounting the Speed Bag Platform
Begin by positioning the mounting brackets against the wall at your desired height. Use a pencil to mark the exact locations of the mounting holes on the wall surface, ensuring you have a clear view of the marks before proceeding.
Place your bubble level across the top of the brackets to confirm they are perfectly horizontal before marking. Double-check your measurements from the floor to ensure both sides of the bracket are even, as an uneven platform will ruin the bag’s rebound dynamics.
If you are mounting to wood studs, use your stud finder to verify that your pencil marks align perfectly with the center of the studs. Drilling into the edge of a stud can split the wood and compromise the structural integrity of the mount, leading to eventual failure.
Carefully drill pilot holes at your marked spots. For wood studs, use a drill bit slightly smaller than the shank of your lag screws to ensure the threads bite deeply into the wood without splitting it.
When drilling into concrete or masonry, hold the hammer drill perfectly perpendicular to the wall. Drill slightly deeper than the length of your sleeve anchors to allow room for any dust that cannot be fully cleared from the hole.
If you feel the drill suddenly slip, drop in resistance, or hit hard metal, stop immediately. This could indicate you have encountered electrical conduit, water pipes, or structural rebar inside the wall; relocate your mounting points slightly to avoid catastrophic damage.
Clear all dust from the drilled holes using a hand pump, vacuum, or a small brush. Clean holes ensure the anchors can grip the interior walls of the masonry or wood effectively without slipping.
Insert your wall anchors or lag screws through the mounting bracket and into the holes. Tighten them gradually in an alternating pattern—top left, bottom right, top right, bottom left—to distribute the tension evenly across the bracket.
Once fully tightened, grasp the platform firmly with both hands and apply downward manual pressure. There should be absolutely no flex, shifting, or creaking; if you detect any movement, tighten the fasteners further or inspect the wall material for hidden damage.
Attaching the Swivel and Hanging the Speed Bag
With the platform securely mounted, you can now install the swivel mechanism to the underside of the wooden drum. The swivel is the heart of your speedbag boxing setup, allowing the bag to pivot rapidly in all directions.
Align the swivel precisely in the center of the platform. Most platforms have pre-drilled holes or markings for this purpose; if not, measure carefully from the edges to find the exact center point to ensure an even rebound.
Secure the swivel using the provided screws or bolts, tightening them to the manufacturer’s specified torque. Avoid over-tightening, which can strip the threads in wooden platforms, but ensure there is no play between the swivel base and the board.
Before hanging your speed bag, it must be inflated correctly. Locate the inflation valve on the bottom of the bag and moisten the pump needle with a drop of water or silicone oil to protect the rubber bladder from damage.
Use a manual hand pump to inflate the bag slowly. Check the recommended pressure rating printed near the valve; the bag should feel firm but still have a slight amount of give when squeezed with your thumbs.
In warm, humid climates, air inside the bladder can expand slightly as temperatures rise. Avoid over-inflating the bag, as excessive pressure combined with high ambient heat can stretch the leather seams or cause the inner bladder to pop during intense training sessions.
Attach the loop of the speed bag to the hook or pin of the swivel. Ensure the locking pin, clip, or screw-gate mechanism is fully engaged and locked to prevent the bag from flying off during rapid strikes.
Testing, Adjusting, and Safety Checks
Before launching into a high-intensity workout, perform a series of light test strikes to evaluate the installation. Hit the bag gently and observe the rebound path; it should bounce straight back and forth off the platform without drifting to the side.
Listen closely during these initial strikes. Any loud rattling, buzzing, or metallic clicking indicates loose hardware either on the swivel, the platform brackets, or the wall anchors.
Observe the wall around the mounting brackets for any visible flexing or vibration. If the wall shakes excessively, you may need to add a backing board (such as a thick piece of plywood secured across multiple studs) to distribute the force over a larger surface area.
Adjust the height of the platform so that the belly (the widest part) of the speed bag aligns perfectly with your mouth or chin level. Training with a bag that is too high or too low forces your shoulders into unnatural angles, leading to rapid fatigue and poor boxing form.
Establish a strict routine inspection schedule for your home setup. The high-frequency vibrations of speedbag boxing naturally loosen threaded fasteners over time.
Once every two weeks, check and tighten all bolts on the wall brackets, the swivel, and the platform itself. Inspect the wall surface for hairline cracks, plaster dust, or signs of anchor slippage, especially in humid environments where moisture can slowly degrade wood fibers or loosen masonry anchors.
Frequently Asked Questions (FAQ)
Can I mount a speed bag platform on a drywall ceiling?
Mounting a speed bag platform directly onto a standard drywall ceiling is highly discouraged due to the intense dynamic forces involved. Speedbag boxing generates rapid downward and lateral vibrations that will quickly pull standard drywall anchors loose, causing the entire platform to fall and potentially causing serious injury.
If you must use a ceiling mount, you must anchor the brackets directly into the solid wooden ceiling joists. Use heavy-duty lag screws that penetrate at least two inches into the center of the joists, and consider adding a thick plywood backing board across multiple joists to distribute the vibration safely.
What is the ideal height for a speed bag platform?
The standard rule of thumb for setting the height of a speed bag platform is to align the widest part of the bag—often called the belly—with your eye or nose level when standing in your boxing stance. This positioning allows your hands to strike the bag at a natural, comfortable angle without forcing your elbows too high or straining your shoulders.
If multiple people of different heights will be using the same setup, look for an adjustable speed bag platform that utilizes a crank or pin system to slide the drum up and down. If you are installing a fixed-height platform, mount it to suit the tallest user, and provide a sturdy, non-slip step platform for shorter users to maintain proper form.
Community discussion
Share your experience or ask a question. Comments are reviewed before publication.