
Setting up a dedicated home workout space requires a balance of functional layout, safety considerations, and structural awareness. When integrating a boxing punching machine into your home, this balance becomes even more critical due to the high-impact forces, rapid footwork, and structural vibrations involved in combat sports training. Whether you are setting up in a spacious suburban garage or a compact high-rise condominium in Manila, organizing your training corner systematically ensures your workouts remain safe, effective, and respectful of your living space and neighbors.
Assessing Space, Clearance, and Structural Requirements
A functional boxing corner requires significantly more space than the physical footprint of the machine itself. To train effectively, you must account for your full range of motion, which includes forward steps, deep lateral pivots, slips, and rapid retreats. A safe striking zone typically demands a clear, unobstructed radius of at least 1.5 to 2 meters around the equipment. This clearance prevents you from colliding with walls, furniture, or structural pillars during high-intensity combinations.
Ceiling height is another vital factor that is easily overlooked during initial planning. Dynamic movements, high-intensity punches like uppercuts, and supplementary overhead exercises require ample vertical clearance. In many residential settings, you must carefully inspect the ceiling for low-hanging beams, light fixtures, or electric ceiling fans. Ensure that your fully extended fists or training accessories have at least 30 to 50 centimeters of clearance below any overhead fixture to avoid painful accidents.
Products mentioned in this guide
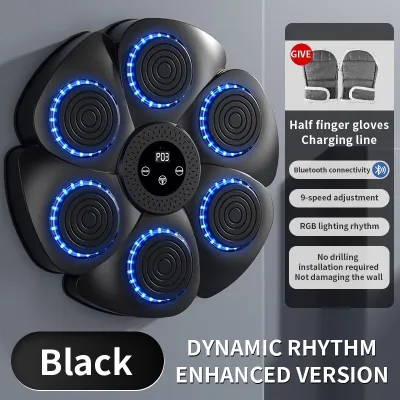
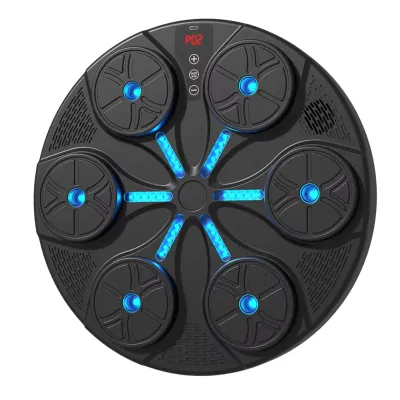

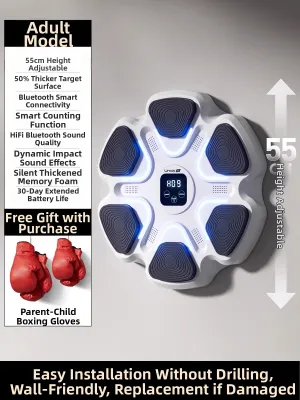
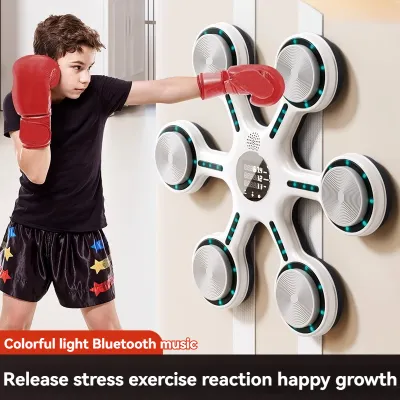

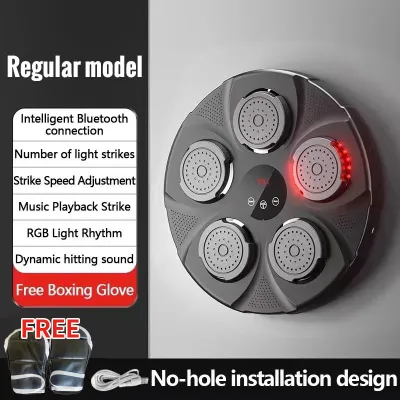
Prices are valid at publication and may change. Please refer to the product page for the latest price.
For those living in multi-story townhouses or high-rise apartments, floor load capacity is a primary safety concern. A heavy-duty freestanding punching machine often requires filling its base with water or sand, resulting in a concentrated weight of 100 to 150 kilograms over a very small surface area. When you add the dynamic force of your strikes, the pressure exerted on the floor slab increases exponentially. Always consult your building management office or review the structural guidelines of your home to verify that the floor can safely support these localized, dynamic loads.
The tropical climate of the Philippines introduces unique challenges regarding heat and humidity. High-intensity boxing sessions generate significant sweat, which can quickly turn a poorly ventilated corner into a humid, stuffy environment. To maintain air quality and prevent premature wear on your equipment, position your training corner near large windows or under a dedicated wall fan. If training in an enclosed room, utilizing an air conditioner or a dehumidifier helps manage moisture levels, protecting both your physical stamina and your gear from mold.
Gathering Essential Equipment and Accessories
The centerpiece of your setup is the boxing punching machine. Before purchase, you must decide between a freestanding model and a wall-mounted electronic target. Freestanding units offer portability but require a large, heavy base to prevent tipping. Wall-mounted smart targets save floor space but must be anchored into solid masonry or concrete hollow block walls. Additionally, if you select an electronic model with interactive targets, ensure you have a safe, nearby power source that matches local voltage standards without relying on hazardous extension cords.

To train safely, protective gear must never be treated as optional. Striking a heavy machine barehanded can lead to wrist sprains, skin abrasions, and fractures. Invest in high-quality hand wraps to support your wrists and protect the small bones in your hands. Pair these with properly padded boxing gloves—typically 12-ounce to 16-ounce gloves depending on your body weight and training goals. Finally, wear dedicated indoor training shoes with non-slip rubber soles to maintain reliable traction on sweat-slicked floors.
A complete training corner should support a well-rounded workout routine. Incorporating supplementary accessories like heavy-duty resistance bands, a compact agility ladder, and light dumbbells (ranging from 1 to 3 kilograms) allows you to perform dynamic warm-ups and target-specific shoulder conditioning. These tools help build the muscular endurance needed to sustain proper punching form throughout your training sessions.
Assembling your equipment correctly requires the proper tools. Keep a basic toolkit on hand, including an adjustable wrench, a socket set, a screwdriver, a high-quality measuring tape, and a spirit level. Using a spirit level is particularly important to ensure the machine stands perfectly vertical, as even a minor tilt can cause uneven wear on the joints and lead to instability during heavy training sessions.
To keep your training corner organized and free of tripping hazards, integrate dedicated storage solutions. Wall-mounted hooks are ideal for hanging hand wraps to dry, while sturdy racks or open bins can hold your gloves, resistance bands, and towels. In humid tropical environments, hanging your gear immediately after a workout is essential to promote proper airflow, allowing sweat to evaporate and preventing the buildup of unpleasant odors and bacteria.
Step-by-Step Setup and Placement Guide
Assembling and Positioning the Punching Machine
Before starting assembly, carefully unbox all components and lay them out on a clean, flat surface. Inspect each part for shipping damage, missing bolts, or structural defects. Verifying that you have all necessary components beforehand prevents frustrating delays mid-assembly.
Follow the manufacturer’s specified assembly sequence precisely. When tightening structural joints and base bolts, use a cross-pattern method to distribute pressure evenly across the frame. Avoid over-tightening, which can strip threads, but ensure every connection is firm and secure to minimize rattle.
Position the machine on a completely level surface. Avoid areas exposed to direct tropical sunlight, as prolonged UV exposure can degrade synthetic leather, vinyl covers, and plastic electronics. Additionally, keep the setup away from high-traffic household pathways to ensure family members can move around safely while you train.
Securing the base is critical for freestanding models. If the manufacturer recommends filling the base with water or sand, choose your material carefully. Water is easier to fill and drain but can slosh and shift weight; dry play sand provides a denser, more stable base but requires patience to pour through narrow fill holes. For wall-mounted models, use heavy-duty masonry anchors to secure the mounting bracket directly into solid concrete walls, ensuring the unit cannot shake loose.
Warning: If you encounter misaligned bolt holes or if the structure feels wobbly after assembly, stop immediately. Do not attempt to force components together or use non-standard hardware. Consult the manufacturer’s manual or reach out to their customer support team to resolve structural irregularities before striking the machine.
Arranging Accessories and Optimizing the Layout
Once the machine is secure, organize the surrounding area to optimize your workflow. Position your storage racks and gear hooks within easy reach, but place them strictly outside your active striking and stepping zone. This ensures you can grab a towel or change gloves without risk of bumping into sharp metal corners or wooden shelves during movement.
For electronic or smart punching machines, managing power cables is a vital safety step. Route all power cords flat along the baseboards, securing them with adhesive cable clips or heavy-duty rubber cord covers. Never allow cables to run loose across your training floor, as they present a severe tripping hazard during fast-paced footwork drills.
Designate a small, clear zone adjacent to the punching machine for warm-ups, stretching, and floor exercises. Laying down a non-slip yoga mat in this area provides a comfortable space for jumping jacks, shadowboxing, and core workouts, allowing you to transition smoothly between different phases of your training routine.
Managing Flooring, Noise, and Vibration
When setting up a home gym, it is crucial to understand the difference between protecting your floor from cosmetic damage and absorbing high-impact vibrations. Dropping sweat or sliding a plastic base can scratch tiles or hardwood, which simple thin mats can prevent. However, absorbing the heavy, repetitive impact of punches requires specialized flooring materials designed to dampen structural vibrations.
Select your flooring mats based on the total weight of your setup and the intensity of your training. High-density rubber floor tiles, ideally 15mm to 20mm thick, are highly recommended for heavy boxing equipment. Unlike soft EVA foam puzzle mats, which compress easily and cause the machine’s base to wobble, high-density rubber provides a solid, stable foundation while absorbing significant impact energy.
Noise reduction is essential for maintaining a peaceful home environment, especially in shared residential buildings or apartments. Placing specialized anti-vibration pads directly under the base of your punching machine can dramatically reduce the low-frequency thuds that travel through concrete floors. Additionally, establish respectful training hours with your family or neighbors, avoiding early morning or late-night sessions to minimize disruption.
Before making any modifications to your flooring or base setup, review the manufacturer’s warranty terms. Some warranties may be voided if the machine is operated on unsuitable surfaces, or if unauthorized DIY modifications are made to the base anchoring system. Using approved mats and following official setup guidelines protects both your investment and your physical safety.
Verifying Stability and Safety Before Training
Before throwing your first full-power punch, perform a physical “shake test” to verify the structural integrity of your setup. Firmly grasp the neck or upper tower of the punching machine and shake it in multiple directions. If you detect any excessive wobbling, sliding at the base, or rattling hardware, tighten the bolts and check the base weight before proceeding.
Inspect the floor surface and the base of the machine for any signs of sinking, tilting, or uneven settling. Over time, the heavy weight of the base can cause softer flooring materials to compress unevenly, leading to a dangerous tilt. Ensure the machine remains perfectly vertical and that there are no signs of water or sand leakage from the base seals.
Take a moment to double-check your training clearance zone. Verify that all power cables, warm-up mats, and storage racks are completely clear of your stepping, pivoting, and retreat paths. A clean, unobstructed floor allows you to focus entirely on your form, speed, and footwork without fear of tripping.
Establish a regular maintenance schedule to keep your home boxing corner in peak condition. Check and retighten all structural bolts at least once a month, as repetitive vibrations naturally loosen hardware over time. Additionally, clean the striking surface after every workout using a mild, non-corrosive disinfectant spray and a microfiber cloth to remove sweat, dirt, and oils, preserving the durability of the synthetic leather.
Frequently Asked Questions (FAQ)
Can I place a punching machine on a carpeted floor?
Placing a heavy punching machine directly on a carpeted floor is generally not recommended. Thick or plush carpeting creates an unstable, uneven surface that can cause the machine to wobble or tip during high-impact training. Additionally, carpets can trap sweat and moisture, leading to mold growth and unpleasant odors in humid climates. If you must set up on carpet, place a thick, rigid plywood board or high-density rubber mat over the carpet to create a stable, level, and hygienic subfloor.
How much clearance do I need behind the punching machine?
As a general rule, you should maintain a minimum clearance of 1.5 to 2 meters of open space behind and around your punching machine. This distance should comfortably accommodate at least two full steps backward, as well as rapid lateral movements, matching your full height plus your extended arm reach. Always refer to your specific machine’s user manual, as manufacturers often provide exact clearance metrics tailored to the rebound and swing radius of their equipment.
Community discussion
Share your experience or ask a question. Comments are reviewed before publication.