
Kite fishing is a highly effective technique for presenting live or dead bait to pelagic species without spooking them with your boat’s shadow or engine noise. By using a specialized kite flown from a dedicated kite rod, you can suspend your bait right at the water’s surface, mimicking a struggling baitfish. This setup allows you to target offshore waters from coastal spots or extend your reach far beyond the boat’s wake.
To execute this technique successfully, you must coordinate two separate setups: the kite system that provides lift and the fishing rod system that holds your bait and fights the fish. Managing these dual lines requires a clear understanding of rigging mechanics, release clip tension, and wind dynamics. With the right preparation, you can safely deploy this system and target prized saltwater species like giant trevally (talakitok), Spanish mackerel (tanguigue), and mahi-mahi.
Essential Gear for Saltwater Kite Fishing
Unlike standard recreational kites, a fishing kite must handle the constant downward drag of a heavy line, release clips, and active bait. These kites are engineered with reinforced frames, durable synthetic fabrics, and specific bridle angles to maintain stability in various wind conditions. When purchasing a kite, always check the manufacturer’s wind rating labels to ensure it matches the typical coastal breezes of your fishing location.
Products mentioned in this guide
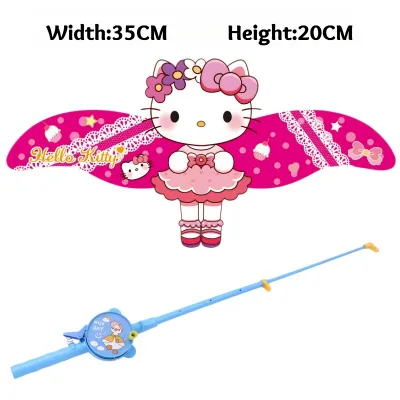
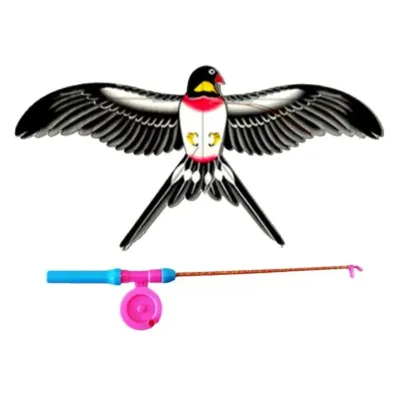
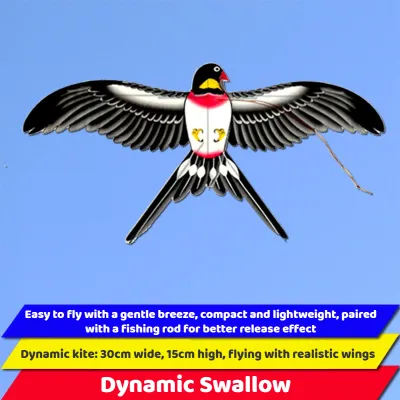
Prices are valid at publication and may change. Please refer to the product page for the latest price.
To fly the kite, you need a specialized kite rod and reel setup. This is typically a short, stubby rod—often only three to four feet long—built with heavy-duty roller guides to minimize line friction. The reel must have a high line capacity and be spooled with 50- to 80-pound test braided flying line. Because saltwater environments are highly corrosive, prioritize reels constructed with high-grade anodized aluminum or graphite components.
The connection between your kite line and your fishing line relies on specialized rigging components. You will need adjustable kite release clips, high-quality barrel swivels to act as line stops, and heavy monofilament or fluorocarbon leader lines. These clips hold your fishing line suspended in the air but release it instantly when a fish strikes the bait.
Safety gear is a mandatory part of this setup and should never be overlooked. Heavy braided line under high tension can easily slice through skin, making heavy-duty, cut-resistant gloves essential for launching and retrieving the kite. Additionally, keep a dedicated line cutter or a sharp hook cutter within arm’s reach to handle emergency tangles or sudden line wraps quickly.
Step 1: Preparing the Kite and Bridle
Before heading out to the shore or launching from a boat, lay your kite flat on a clean, dry surface for a thorough pre-trip inspection. Check the sail fabric for any small tears, pinholes, or weakened seams that could split under wind pressure. Examine the carbon fiber or fiberglass spars for hairline cracks, and inspect the bridle lines for fraying caused by salt crystallization or friction.

To assemble the frame, carefully slide the structural spars into their designated sleeves or connectors. Ensure each spar is fully seated and locked in place according to the manufacturer’s instructions. A partially inserted spar can easily puncture the sail fabric or snap when subjected to a sudden tropical gust, causing the kite to crash into the water.
Once the frame is secure, locate the reinforced tow points on the kite to attach the bridle. Connect the bridle lines securely, verifying that the geometry is perfectly symmetrical on both sides. An asymmetrical bridle will cause the kite to pull heavily to one side, making it impossible to fly stably or position your bait accurately over the target water zone.
Finally, tie the main braided flying line from your kite rod to the bridle’s central tow ring. Use a highly reliable, non-slip knot such as a bowline or a double clinch knot to secure the connection. Pull firmly on the knot to test its integrity, ensuring there is no slippage that could lead to a lost kite in deep water.
Step 2: Rigging the Fishing Rod and Release Mechanism
Thread the heavy braided flying line through the guides of your short kite rod, ensuring it passes smoothly without any twists. Spool the line tightly and evenly onto the reel drum to prevent loose wraps. Loose braided line can dig into itself under the tension of a flying kite, leading to sudden line lockups and potential breakages during deployment.
Next, slide your graduated release clips onto the kite line. These clips are designed to slide up the line until they hit a designated stop, such as a crimp or a barrel swivel positioned at a specific distance. The clip features an adjustable tension gate that holds your fishing line, keeping your bait suspended until a fish strikes and pulls the line free.
On your primary fishing rod, run your main line through the guides and tie it to a heavy-duty swivel, followed by your leader line, hook, and bait. Place a small plastic bead or a loop of dental floss above your leader. This bead or loop will be inserted into the gate of the kite’s release clip, connecting your fishing line to the flying kite line.
Before launching, perform a manual tension test on the release clip to ensure it functions correctly. Pull the fishing line from the clip to verify that it releases with moderate pressure. The tension must be tight enough to hold the weight of your live bait and the drag of the wind, but loose enough to pop open cleanly when a target fish strikes, preventing the line from snapping under sudden tension.
Step 3: Launching the Kite and Deploying the Bait
Begin by assessing the wind speed and direction using a handheld anemometer or local marine weather forecasts. In coastal areas, wind conditions can change rapidly, so always launch with the wind blowing directly away from you. Avoid strong, unpredictable offshore winds if you are fishing from a high cliff or a narrow beach where retrieval is physically restricted, as a sudden drop in wind can drape your gear across sharp coastal rocks.
To launch the kite, stand facing downwind and have a partner hold the kite up, letting the breeze catch the sail. As the kite catches the wind, slowly release the line from the kite reel while maintaining steady tension. Do not let the line free-spool, as sudden slack can cause the kite to stall and dive. Let the kite climb to a stable altitude where the wind is consistent.
Once the kite is flying stably, lock the kite reel and prepare your bait. Take the rigged leader from your fishing rod and clip the release loop into the gate of the kite line’s release clip. If you are using live bait, handle the fish gently with wet hands to preserve its protective slime coat before lowering it into the water.
Slowly feed out line from both the kite reel and your fishing reel simultaneously. The flying kite will carry the release clip outward, pulling your fishing line along with it. Coordinate the release of both lines so that the bait remains suspended just at the water’s surface, splashing enticingly. Keep the two lines at a wide angle to prevent them from twisting around each other.
Once the bait is perfectly positioned in your target strike zone, place both rods into secure, heavy-duty rod holders or deeply anchored sand spikes. Set the drag on your fishing reel to a moderate level. This allows a hooked fish to run freely after the line releases from the kite clip, preventing a sudden break.
Adjusting for Wind, Currents, and Tides
If the wind intensifies and your kite begins to loop, dive, or shake violently, retrieve it slightly and attach a dedicated kite tail or a drogue. This adds drag to the rear of the kite, stabilizing its flight path in gusty conditions. For high-wind scenarios, you may also need to switch to a smaller, heavy-wind kite model designed to handle high velocity without collapsing.
In light breezes, your kite may struggle to stay aloft and lose elevation. If your kite features an adjustable bridle, shift the tow point forward slightly to increase the angle of attack, which generates more lift in lighter air. Alternatively, swap to a specialized ultra-lightweight carbon-frame kite designed specifically for light wind conditions.
Strong cross-currents or shifting winds can push your fishing line into a large, curved belly in the air or water. This slack delays your ability to feel a strike or set the hook effectively. To combat this, raise your kite rod higher or reel in excess slack from your fishing line to maintain a direct, straight connection from the release clip to the bait.
Safety must always come first when managing gear in changing weather. Immediately ground your kite if you observe signs of an approaching tropical storm, lightning, or if the wind drops below the kite’s minimum operating threshold. Severe line twisting that prevents the release clip from sliding freely is also an immediate stop condition; reel everything in to untangle the rig before attempting to fish again.
Retrieval, Safety, and Common Mistakes
When it is time to pack up or move locations, always retrieve your gear in a structured sequence. First, reel in your fishing line to bring the bait close to the boat or shore, and unclip it from the kite line. Once the fishing tackle is safely secured, slowly and steadily reel in the kite line, keeping constant tension on the reel to prevent backlashes.
When a fish strikes, the line will pop out of the release clip. Immediately focus your attention on the fishing rod to set the hook and fight the fish. Leave the kite flying aloft; its high angle keeps the kite line safely out of the way of your active fishing line. If you are fishing alone, secure the kite rod in its holder while you land the fish, or have a partner slowly reel the kite down to prevent it from drifting into obstructions.
Never fly a fishing kite near overhead power lines, bridges, or busy public beaches. Always wear heavy-duty, cut-resistant gloves when handling high-tension braided lines, as a sudden surge from the wind or a fish can cause severe friction burns or deep cuts. Ensure bystanders remain well clear of your launch and landing zones to avoid accidents.
Saltwater and tropical humidity are highly destructive to outdoor gear. After every outing, thoroughly rinse the kite fabric, carbon spars, rod guides, and reels with fresh, clean water to remove salt deposits. Allow the kite to dry completely in a shaded, well-ventilated area before packing it away, preventing mold growth and fabric degradation.
Frequently Asked Questions (FAQ)
Can I use a regular recreational kite for saltwater fishing?
No, standard recreational or stunt kites are not built to withstand the unique vertical forces of kite fishing. Fishing kites feature heavy-duty, reinforced frames and specialized bridle systems designed to lift heavy baits and survive the sudden downward shock of a fish strike. A standard toy kite will likely collapse, tear, or dive into the water under these loads.
What is the best wind speed for flying a fishing kite?
While the ideal wind speed depends on the specific design of your kite, most standard fishing kites perform best in steady breezes between 10 and 18 knots. Always check the wind range printed on your kite’s manufacturer label before launching. Utilize local marine weather forecasts to plan your trips, as guessing the wind speed can result in lost gear or an inability to fly.
How do I prevent the kite line from snapping when a large fish strikes?
The key to protecting your kite line is the proper setup of your release clip. When a fish strikes, the release clip must open instantly, transferring all the tension of the fighting fish to your fishing rod and reel. Ensure your fishing reel’s drag is set correctly to absorb the initial shock, and use a high-quality leader line matched to your target species’ weight and teeth.
Community discussion
Share your experience or ask a question. Comments are reviewed before publication.