
Setting up a bike trainer indoor cycling station in a compact Philippine condominium requires a careful balance of spatial planning, noise mitigation, and moisture management. A typical studio or one-bedroom unit, often ranging from 22 to 36 square meters, can easily accommodate a dedicated training area if you select your equipment strategically and optimize your layout. By understanding how to position your trainer, protect your floors, and manage heat, you can maintain a consistent training regimen without disrupting your living space or disturbing your neighbors.
Assessing Your Condo Space and Layout
Before purchasing any gear, measure your available floor space to map out the exact footprint of your bike and trainer. A standard road or mountain bike paired with an indoor trainer typically occupies a rectangular footprint of about 1.5 to 1.8 meters in length and 0.8 meters in width. You should add at least 30 centimeters of clearance on all sides to allow you to mount and dismount safely, and to prevent your handlebars or elbows from clipping walls or furniture during high-intensity efforts.
Check the clearances of your condo’s hallways, doorways, and elevator. Navigating narrow corridors with a fully assembled bike can be challenging, so ensure your entryways are wide enough—typically at least 75 centimeters—to transport your equipment without scratching the walls or damaging your bike’s delicate components. If your layout is exceptionally tight, you may need to practice removing the front wheel to navigate sharp corners in your unit’s entryway.
Products mentioned in this guide
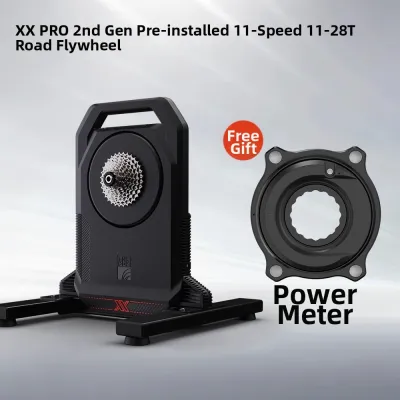
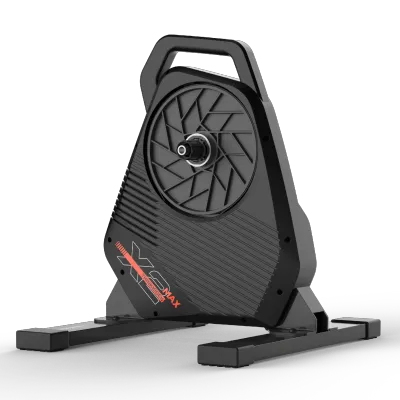
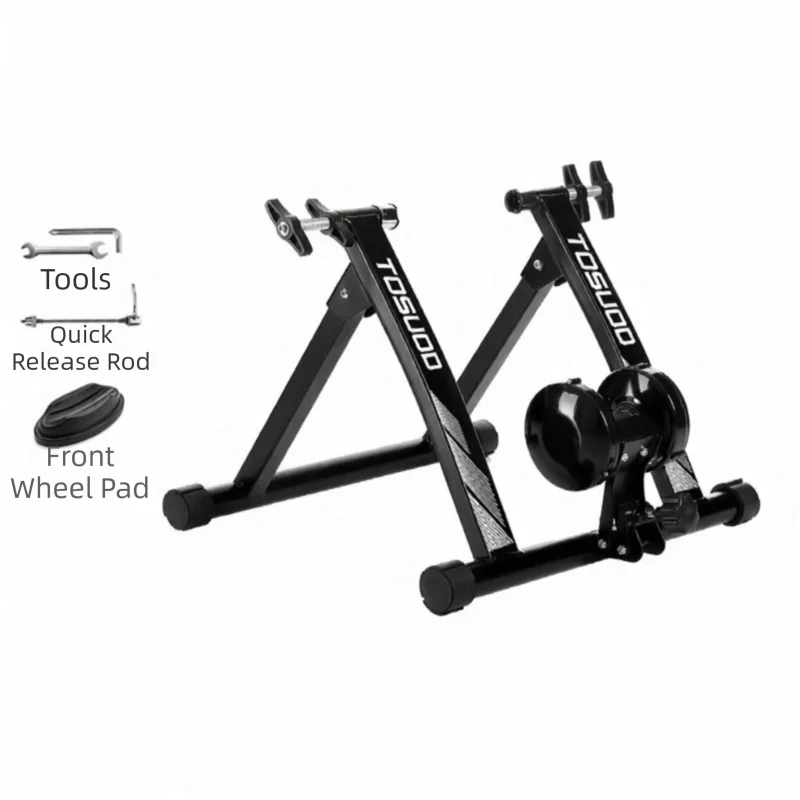


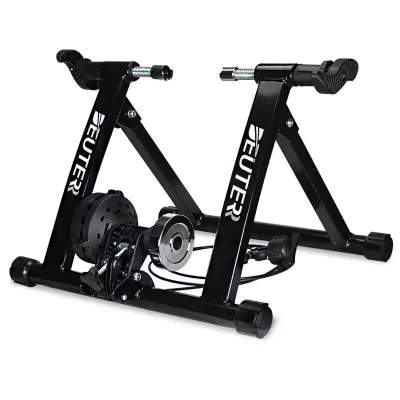
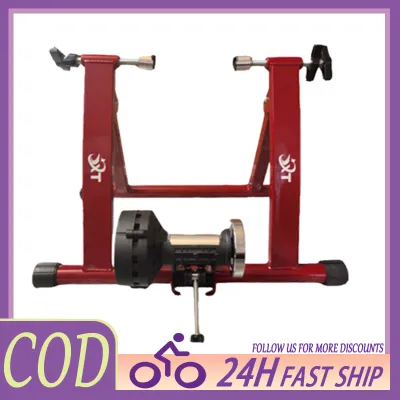
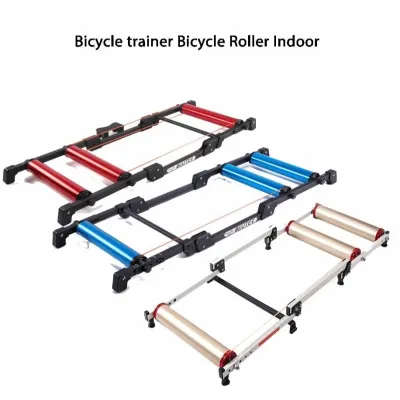
Prices are valid at publication and may change. Please refer to the product page for the latest price.
Plan where the equipment will go when it is not in use. If you do not have a dedicated corner, identify storage zones such as a utility closet, the space behind a sofa, or under a bed frame with sufficient vertical clearance. Keep in mind that proximity to a power outlet is essential for smart trainers; map out your cable routing to avoid creating tripping hazards across your main living areas.
Identify safe setup zones away from high-traffic areas, kitchen prep spaces, and balcony doors. Avoid setting up directly in front of sliding glass doors or fragile glass furniture, as high-wattage efforts can cause minor lateral sway that could lead to accidental contact. Additionally, keep the setup clear of direct sunlight from large windows to prevent your bike’s rubber and plastic components from degrading prematurely under intense UV exposure.
Choosing the Right Bike Trainer for Limited Spaces
Selecting the right hardware is the foundation of a successful condo training setup. Your choice between different trainer designs directly influences how much space the unit occupies when in use, how easily it can be tucked away, and how much noise it generates through your shared walls and floors.

Direct Drive vs. Wheel-On Trainers
Direct-drive trainers require you to remove your bike’s rear wheel and mount the frame directly onto the trainer’s built-in cassette. While these units tend to have a wider, heavier leg span to ensure stability, they often feature folding legs that reduce their storage footprint significantly when tucked away. They also eliminate tire slip and the associated rubber dust, making them a cleaner choice for indoor living spaces.
Wheel-on trainers, which press a roller against your rear tire, are generally lighter and easier to move around, but they require a consistent setup routine. You must adjust roller tension and tire pressure before every ride to ensure accurate resistance, which can add friction to a quick daily workout routine in a cramped space. Additionally, the physical footprint when unfolded is often comparable to direct-drive models, but without the benefit of ultra-stable, folding stabilizer legs.
Consider the storage overhead of each system. A direct-drive trainer requires you to store your detached rear wheel somewhere in your condo, along with any necessary thru-axle adapters and tools. Conversely, a wheel-on trainer keeps your bike fully assembled but may require you to purchase and swap on a dedicated trainer tire to prevent rapid wear and black tire dust from coating your living room floor. In terms of cost, wheel-on trainers are often more budget-friendly, typically ranging from ₱10,000 to ₱20,000, while direct-drive smart trainers generally represent a larger investment of ₱30,000 to ₱60,000 or more.
Folding and Compact Storage Solutions
For multi-use rooms, look for trainers featuring quick-release folding mechanisms or integrated carrying handles that allow you to collapse the unit’s support legs within seconds. Check the manufacturer’s specifications for folded dimensions to confirm if the unit can slide flat under your bed or stand vertically in a narrow closet. Some high-end direct-drive models fold down to less than 20 centimeters in width, making them highly compatible with small-space living.
Be cautious with vertical storage schemes or wall-mounting. While hanging a trainer or storing it on high shelves saves floor space, these units can weigh anywhere from 15 to 25 kilograms. Always verify the weight limits of your storage racks and the structural integrity of your condo’s walls before mounting. If your unit uses lightweight drywall partitions rather than solid concrete, avoid hanging heavy trainers on them entirely.
Some riders prefer to leave the bike permanently attached to the trainer and store the entire rig vertically against a wall. If you choose this route, verify that your trainer’s frame and your bike’s dropouts are rated for vertical storage, and secure the front wheel with a strap to prevent the handlebars from swinging and marking your walls. Never store a hydraulic disc brake bike vertically for extended periods without checking the manufacturer’s guidelines, as air bubbles can migrate into the brake calipers.
Managing Noise and Vibration in an Apartment Building
In high-density condominiums, structural noise transfer is a common source of friction with neighbors. The primary culprit is not the high-pitched whine of the trainer’s internal belt, but rather the low-frequency vibrations generated by your drivetrain and flywheel, which travel directly through the concrete floor slab into the ceiling of the unit below. This hum can be highly disruptive, even if the ambient noise in your own room seems minimal.
To mitigate this, invest in a high-density, closed-cell PVC or rubber anti-vibration mat specifically designed for heavy fitness equipment. For maximum isolation, some condo riders create a “sandwich” barrier using a layer of interlocking EVA foam gym tiles underneath a heavy-duty trainer mat, which effectively decouples the trainer from the tiled or hardwood floor. Avoid using soft yoga mats, as they compress too easily and fail to absorb low-frequency structural vibrations.
Your riding style and gear selection also dictate noise levels. High-cadence spinning and sudden, out-of-the-saddle sprints generate substantial lateral forces and low-frequency vibrations. Keeping your efforts smooth and seated during late-night or early-morning sessions helps maintain a quiet environment. Additionally, choosing a direct-drive trainer over a wheel-on model significantly reduces high-frequency tire whine, which can easily penetrate thin drywall partitions.
Regular drivetrain maintenance is crucial for keeping mechanical noise to a minimum. Clean and lubricate your chain, cassette, and chainrings weekly to eliminate grinding sounds, and if you use a wheel-on trainer, ensure your rear tire is inflated to the manufacturer’s recommended pressure to prevent squealing and slipping against the roller. A dry or dirty chain can increase the ambient noise of your setup by several decibels.
Always review your condo corporation’s house rules or building guidelines regarding acceptable noise levels and designated quiet hours. Even with the best dampening setup, scheduling your high-intensity workouts outside of typical rest hours—such as avoiding sessions between 10:00 PM and 6:00 AM—is a vital courtesy to your neighbors. If you live in a building with strict acoustic rules, communicating your training schedule with your downstairs neighbor can help prevent formal complaints.
Ventilation and Cooling for Indoor Cycling
Indoor cycling generates an immense amount of body heat, which can quickly turn a small, enclosed condo room into a humid sauna, especially during hot and humid afternoons in the Philippines. Without the natural wind cooling of outdoor riding, your core temperature will rise rapidly, degrading your performance and increasing sweat production. Proper airflow is not just a matter of comfort; it is essential for preventing dehydration and heat exhaustion.
Position at least one high-velocity floor fan or air circulator directly in front of your setup, angled upward toward your chest and face. Ensure the fan’s airflow path does not block or blow directly into the trainer’s internal cooling vents, as some smart trainers rely on unobstructed airflow to prevent their internal electronics from overheating during prolonged climbs. For optimal cooling, a dual-fan setup—one low-angle floor fan and one elevated fan—creates a wind-tunnel effect that mimics outdoor riding.
Manage sweat runoff aggressively to protect both your equipment and your condo’s flooring. Use an absorbent fabric sweat guard stretched between your seatpost and handlebars, and drape a clean towel over your handlebars to catch sweat before it drips onto your bike’s headset, bottom bracket, or shifters, where it can cause rapid corrosion. Highly acidic sweat can ruin aluminum handlebars under bar tape and damage the delicate electronics of your trainer over time.
Keep windows or balcony doors slightly ajar to encourage cross-ventilation and help lower the ambient humidity in the room. If you run an air conditioner during your workouts, position your setup so the cool air stream circulates effectively, but be mindful of your condo’s layout to ensure condensation does not pool on sensitive electrical outlets or the trainer’s power brick. Running a dedicated dehumidifier alongside your air conditioner can also help manage the moisture levels in a tight studio space.
Step-by-Step Setup and Safety Checks
Before mounting your bike, place your trainer on a completely flat, level surface. Many condo units have slightly uneven tile grout lines or sloping floors; use the adjustable leveling feet on your trainer’s support legs to eliminate any wobble, ensuring all contact points touch the floor securely. A rocking trainer can damage your bike’s frame and compromise your balance during high-wattage efforts.
Mount your bike frame onto the trainer, securing the rear axle, quick-release skewer, or thru-axle according to the precise torque specifications provided in your bike and trainer manuals. If you are using a carbon fiber frame, ensure the trainer is specifically certified as compatible by the bike manufacturer to avoid voiding your warranty. A loose or incorrect connection can damage your bike’s dropouts and risks a dangerous detachment mid-ride.
Verify that your handlebars, pedals, and knees have clear paths of motion. Double-check that your front wheel is resting securely in a riser block (if required by your trainer type) to level the bike’s geometry and prevent the front wheel from turning unexpectedly during your workout. If your front wheel is lower than your rear wheel, it can place excessive pressure on your hands, wrists, and soft tissues.
Conduct a brief, low-intensity stability test before starting your training session. Spin the pedals slowly at a low resistance, shift through all your gears to ensure smooth shifting, and gently rock the bike side-to-side to confirm that the trainer remains firmly planted and that no components are rubbing or vibrating abnormally. If you hear any unusual clicking or rubbing, stop immediately and inspect your axle engagement and derailleur alignment.
Frequently Asked Questions (FAQ)
Can I leave my bike trainer set up permanently in a small room?
Leaving your bike trainer permanently set up is highly convenient, but it requires careful management of your condo’s living space and equipment health. If you choose a permanent setup, use a lightweight, breathable cover to protect the bike and trainer from household dust, pet dander, and cooking grease. For wheel-on trainers, always release the tension knob on the rear roller when not in use to prevent flat spots from forming on your tire, and check your tire pressure before every ride.
Do I need a specific type of floor mat for condo tiles or hardwood?
Yes, the type of mat you choose should match your flooring material to prevent permanent damage. For hardwood or engineered wood floors, avoid cheap PVC mats that contain plasticizers, as these chemicals can react with and stain the wood’s polyurethane finish over time; instead, opt for natural rubber or specialized polyurethane mats. For tiled floors, ensure the mat has a non-slip textured underside to prevent the entire setup from sliding on smooth tiles during high-intensity efforts, and always wipe up any sweat that seeps under the mat to prevent mold or grout discoloration.
Community discussion
Share your experience or ask a question. Comments are reviewed before publication.