
Setting up a parking tent for car at a campsite requires a systematic approach to ensure your vehicle remains shielded from intense tropical sun, falling debris, and sudden downpours. Securing these large-format shelters involves selecting a level site, assembling the frame systematically with a partner, and anchoring the structure using heavy-duty stakes and tensioned guylines. Because these tents present a large surface area to the wind, proper anchoring is the difference between a reliable shelter and a hazardous runaway canopy. By following a methodical setup process, you can protect your vehicle and maintain a safe campsite throughout your outdoor stay.
Preparing Your Campsite and Gathering Tools
Before unboxing your parking tent for car, you must evaluate the terrain to find a safe and stable location. Look for a level area of ground that is large enough to accommodate both your vehicle and the footprint of the tent, allowing ample clearance on all sides for anchoring. Avoid pitching the tent on steep slopes or in low-lying depressions where rainwater naturally pools during sudden tropical downpours. Clear the chosen spot of sharp rocks, thick roots, fallen branches, and any debris that could puncture the canopy fabric or interfere with the placement of the frame legs.
Overhead hazards require careful inspection before you begin assembly. Scan the canopy above your vehicle for dead tree branches, loose limbs, or low-hanging power lines that could fall or sway during high winds. In tropical environments, heavy coconut palms or rotting branches pose a significant risk to both the fabric roof and your vehicle underneath. Position your shelter clear of these drop zones to minimize the risk of impact damage.
Products mentioned in this guide
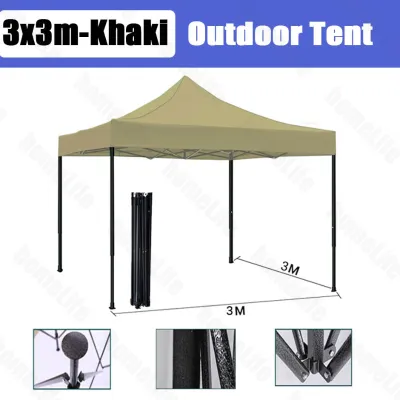
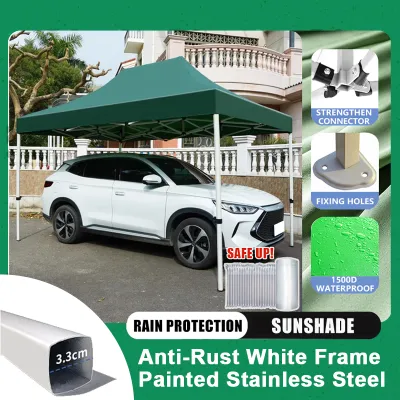
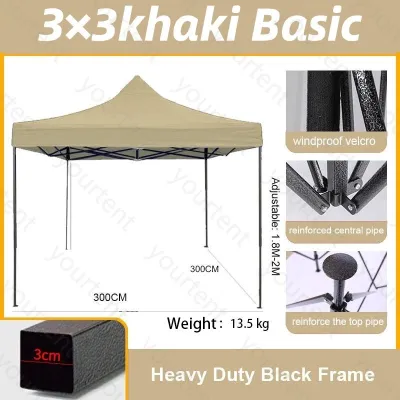
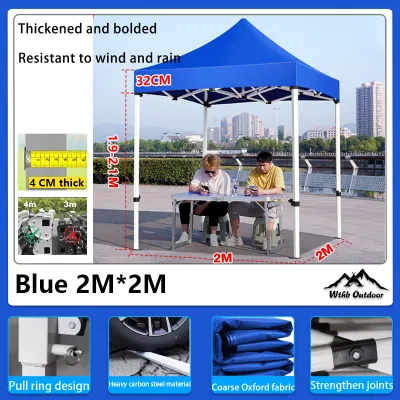
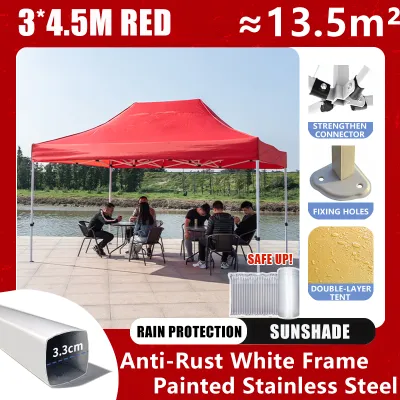
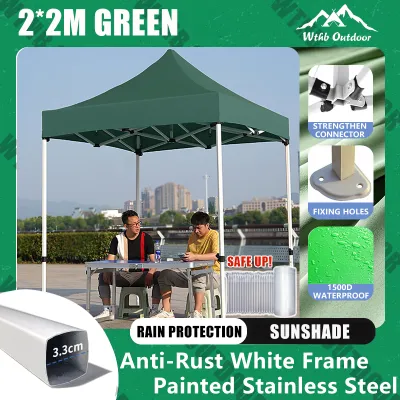
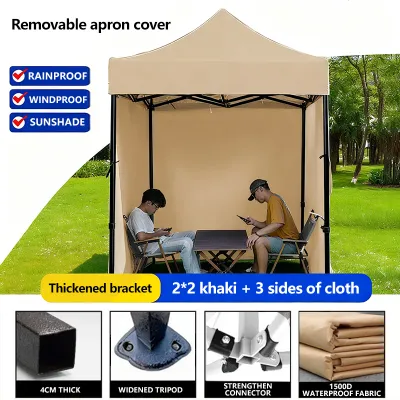
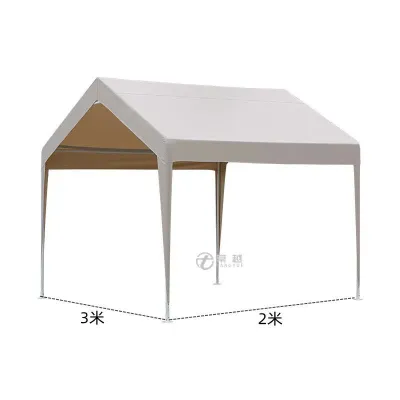
Prices are valid at publication and may change. Please refer to the product page for the latest price.
Gathering all necessary tools and components beforehand prevents interruptions during the setup process. Lay out your inventory to verify you have a heavy-duty mallet, high-tensile stakes suitable for the local soil type, adjustable guylines, and the manufacturer’s instruction manual. If your campsite features soft, sandy soil or muddy ground, standard thin metal pegs will not suffice; you will need wider, heavy-duty plastic or steel stakes designed to grip loose earth. Keep a roll of utility tape and a basic tool kit nearby to handle any minor adjustments or component checks during the build.
Assembling the Frame and Canopy
Erecting a large parking tent for car is a multi-person task that requires a logical, step-by-step sequence to prevent structural damage. Begin by laying out all the frame components on a clean, flat surface, grouping similar poles, connectors, and corner joints together. Refer directly to the manufacturer’s manual to identify each piece, as mixing up structural poles can place uneven stress on the joints and lead to a bent frame. Avoid forcing any connections; if a pole does not slide easily into a joint, check for dirt blockages or alignment issues before proceeding.

Raising the frame must always be done with at least one partner to distribute the weight evenly and prevent structural failure. Attempting to lift a large car canopy alone can easily bend the metal poles or snap plastic connectors under the twisting force of an uneven lift. Work in tandem to raise the frame gradually, lifting one side or section at a time while keeping the structure as level as possible. If your tent uses telescoping legs, extend them incrementally, securing each locking pin or button fully before moving to the next leg.
Once the frame is partially raised or fully assembled at its lowest height setting, carefully drape the canopy or roof fabric over the top. Ensure the fabric is centered and aligned with the corners of the frame, checking that no sections are twisted, caught, or under excessive tension. Secure the canopy to the upper frame members using the integrated straps, hook-and-loop fasteners, or ties provided by the manufacturer. Attaching the fabric while the frame is at a lower height prevents unnecessary stretching and allows you to secure all interior fasteners safely without overreaching.
Anchoring and Tensioning for Maximum Stability
Anchoring is the most critical phase of setting up a parking tent for car, as an unsecured canopy can easily lift off the ground in moderate wind gusts. Drive your heavy-duty stakes into the ground at a 45-degree angle, pointing away from the tent structure. This angle provides the maximum resistance against the upward and outward pull of the tent legs. Ensure the stakes are driven flush with the ground or left with only the attachment hook exposed to prevent tripping hazards and maximize soil grip.
Guylines must be attached to the designated anchor points on the canopy frame and run outward to the stakes to distribute wind loads evenly. When tensioning the guylines, apply firm, even pressure using the inline tensioners or sliders, but avoid over-tightening. Excessive tension can warp the frame poles, tear the fabric seams, or pull the stakes loose from the ground. The goal is to achieve a taut, stable structure where the guylines share the load symmetrically across all sides of the tent.
After completing the initial tensioning, step back to verify that the entire frame remains plumb and level. Check each leg to ensure it stands vertically and is not bowing inward or outward under the tension of the guylines. If any leg is misaligned, loosen the corresponding guylines, adjust the leg position, and retighten the lines gradually. Walk around the perimeter to inspect every anchor point, ensuring the stakes are firmly seated and the canopy fabric is free of loose, flapping sections that could catch the wind.
Weather Monitoring and Safety Stop Conditions
Even a properly anchored parking tent for car has physical limits, making continuous weather monitoring essential for campsite safety. Regularly inspect the structure for visual signs of stress, such as sagging roof fabric, bowing frame poles, or guylines that have lost their tension. In highly humid or rainy tropical conditions, fabrics can stretch slightly over time, requiring periodic adjustments to maintain proper tension and prevent wind from catching loose material.
You must establish clear safety stop conditions based on local weather forecasts and observable environmental changes. If you experience sustained high winds, heavy tropical storms, or lightning, you must prioritize safety over equipment protection. Large car tents act like sails and can become highly dangerous projectiles if their anchors fail in severe weather. If extreme conditions are imminent, safely dismantle the canopy fabric to reduce wind resistance, or take the entire structure down and seek shelter in a permanent building or your vehicle.
Perform routine maintenance checks at least twice a day during your camping trip to ensure the shelter remains secure. Check that the stakes have not loosened in wet soil, as rain can soften the ground and reduce the holding power of your anchors. Clear any accumulated leaves, twigs, or debris from the roof to prevent weight buildup and fabric damage. Taking a few minutes to retighten loose lines and inspect joints ensures your vehicle remains safely protected throughout your outdoor stay.
Frequently Asked Questions (FAQ)
Can I Anchor a Parking Tent for Car on Hard Surfaces?
Yes, you can secure a parking tent for car on hard surfaces like concrete, asphalt, or packed gravel, but you must use alternative anchoring methods since stakes cannot penetrate the ground. Utilize heavy weighted anchors, such as specialized canopy sandbags, concrete blocks, or large water barrels filled to capacity, attaching them securely to each leg of the frame. Always consult the manufacturer’s guidelines to verify the minimum weight required per leg to keep the structure stable on hard surfaces. Avoid relying on light weights or makeshift anchors, as hard-surface setups are highly susceptible to sliding or lifting in windy conditions.
How Do I Prevent Water from Pooling on the Roof?
Preventing water pooling requires maintaining high tension across the entire canopy fabric during the initial setup. Ensure the roof material is pulled completely taut and secured tightly to the frame corners, which encourages rainwater to run off the sides naturally. If you notice water beginning to pool during heavy rainfall, check if the frame legs are set to equal heights, as an uneven frame can create low spots in the fabric. You can also adjust the height of the legs to create a steeper pitch or use approved auxiliary support poles to lift sagging areas, ensuring water drains away immediately to prevent structural collapse.
Community discussion
Share your experience or ask a question. Comments are reviewed before publication.