
Setting up a laser dry fire system at home is one of the most effective ways to build muscle memory, refine trigger control, and practice sight alignment without the ongoing expense of live ammunition. In the Philippines, where ammunition costs can range from ₱20 to ₱50 per round and access to shooting ranges may require long travel times, home-based training offers a highly practical alternative. However, because this training involves handling an actual firearm, safety is the absolute priority. No piece of training equipment can replace formal safety instruction, range discipline, or sound personal judgment. Before you begin, you must establish a strict safety protocol, verify your equipment, and prepare a dedicated practice space.
To get the most out of your training, you must understand how to properly configure your hardware and software. A successful setup requires a systematic approach that covers environmental safety, physical installation, sensor calibration, and structured practice drills. By following a disciplined routine, you can transform your living room or study into a safe, highly productive training environment that delivers real-time feedback on your shooting mechanics.
Preparing Your Space and Firearm for Dry Fire
Before you touch your laser training equipment, you must establish a completely sterile training environment. Select a dedicated room where you will not be disturbed by family members or pets, and choose a safe direction for your dry fire practice. A safe backstop is an interior wall that can reliably stop a projectile in the highly unlikely event of an accidental discharge. In many homes in the Philippines, interior walls made of solid concrete or concrete hollow blocks filled with mortar serve as excellent natural backstops. Avoid pointing your firearm toward windows, exterior doors, or thin drywall partitions where someone could be walking on the other side.
Products mentioned in this guide
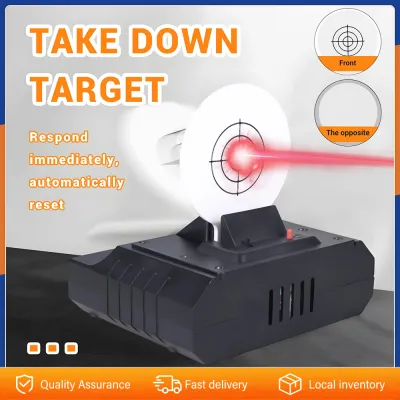
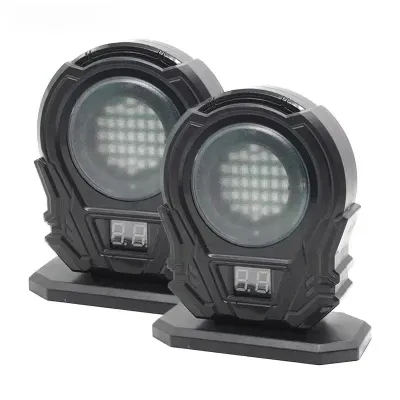
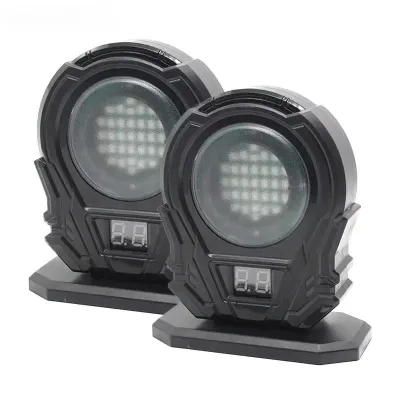
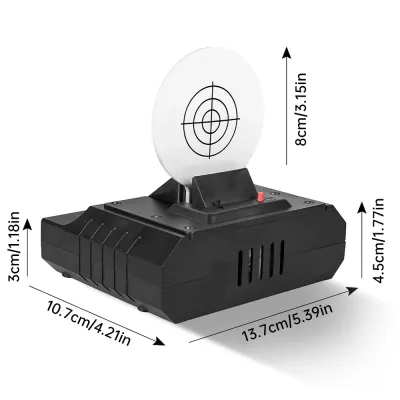
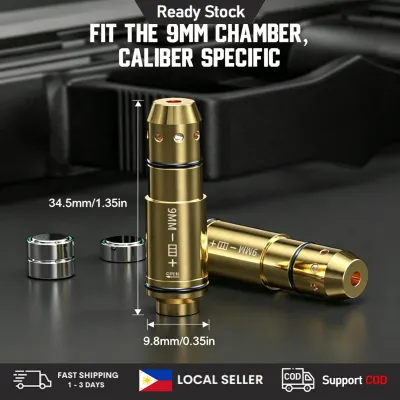
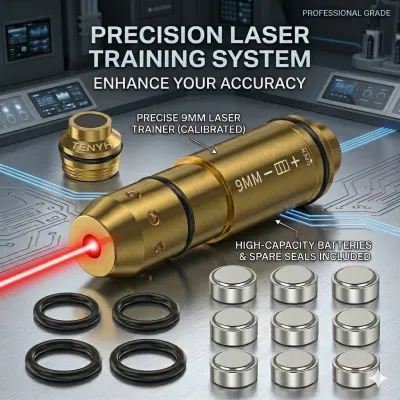
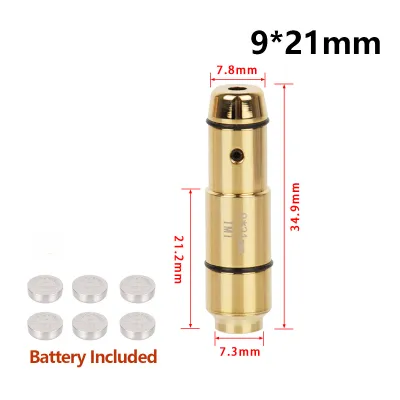
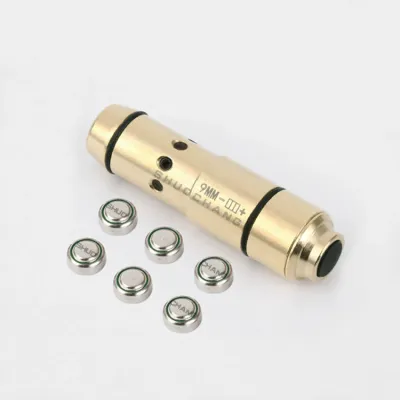
Prices are valid at publication and may change. Please refer to the product page for the latest price.
Once you have selected your safe direction, clear the designated practice area of all live ammunition. Remove all loaded magazines, loose cartridges, and boxed ammunition from the room entirely. Place them in a separate locked container or another room before starting your session. This physical separation is a critical safety barrier that prevents the accidental loading of live rounds during your dry fire practice.
Next, perform a rigorous visual and physical inspection of your firearm to verify that it is completely unloaded. Start by removing the magazine from the magazine well. Pull the slide back and lock it in the open position, or open the cylinder or action depending on your firearm type. Visually inspect the chamber to ensure no cartridge is present, and look down the magazine well to confirm it is empty. After the visual check, insert your index finger into the chamber to physically verify that it is clear. Repeat this visual and physical inspection process at least twice to ensure absolute certainty.
Finally, consult your firearm manufacturer’s manual to confirm that your specific model is safe for dry firing without additional mechanical protection. While most modern centerfire handguns can be dry fired safely, some rimfire models and older firing pin designs can suffer structural damage if the firing pin strikes the empty breech face repeatedly. If your manual advises against dry firing on an empty chamber, you must verify that your laser cartridge provides adequate mechanical cushioning or use a dedicated chamber safety plug before proceeding.
Step-by-Step Setup of Your Laser Dry Fire System
With a safe environment established, you can begin the physical installation of your laser dry fire system. Most systems utilize a laser cartridge that fits directly into the chamber of your firearm. Before inserting the cartridge, inspect the rubber O-rings on the exterior of the brass casing. Apply a very light coat of gun oil or silicone lubricant to these O-rings to ensure a smooth fit and to prevent them from tearing when the cartridge is chambered or extracted. Gently insert the laser cartridge into the chamber, ensuring it sits flush. If your system uses a barrel-mounted emitter instead, slide the device into the muzzle according to the manufacturer’s instructions, ensuring the expansion collet or mounting screw is tightened securely to prevent movement.

Next, position your electronic target or smartphone setup. If you are using an app-based system, mount your smartphone on a stable tripod at approximately eye level. Position the phone so that its rear-facing camera has a clear, unobstructed view of your physical target sheet. The target should be placed against your designated safe backstop. Ensure the distance between your shooting position and the target matches the recommendations of your training software, which typically ranges from three to ten meters for indoor environments.
Calibrating the system is essential for accurate shot detection. Open your companion training application and follow the on-screen prompts to align the camera’s field of view with the target boundaries. You will need to adjust the ambient lighting in your room to ensure the sensor can reliably detect the brief pulse of the laser. In tropical climates, bright afternoon sunlight streaming through windows can wash out the laser strike or cause false detections on the camera sensor. Close your curtains or blinds to create consistent, moderate indoor lighting.
Once the target is aligned, perform a few test shots to verify calibration. Aim at the center of the target and press the trigger. If the app does not register the hit, or if it registers hits that you did not make, adjust the sensitivity slider within the application settings. Continue testing until every trigger press results in a single, accurately placed hit indicator on your screen.
Conducting a Safe and Effective Practice Session
A productive dry fire session relies on structured drills rather than aimless shooting. Begin your practice with fundamental drills designed to isolate specific mechanics. Start with basic sight alignment and trigger control. Focus your eyes on the front sight post (or the reticle of your red dot sight) and slowly press the trigger straight to the rear. Your goal is to break the shot without causing the sights to wobble or drift. The laser strike on your target will provide immediate visual confirmation of whether your muzzle remained steady during the trigger press.
As you gain consistency, introduce target transitions and holster draws into your routine, provided your skill level and equipment allow for safe execution. When practicing draws, start at a slow, deliberate pace to ensure your finger remains outside the trigger guard until the muzzle is oriented toward the safe backstop. Use the system’s feedback mechanisms, such as shot timers and hit zone indicators, to analyze your performance. If the software shows your shots consistently landing low and to the left (for a right-handed shooter), this is a common indicator of flinching or anticipating the break. Use this feedback to slow down your pace and focus entirely on a smooth, continuous trigger press.
To maintain safety throughout your session, establish a strict protocol for taking breaks or adjusting your equipment. If you need to adjust your smartphone tripod, step away to answer a phone call, or take a short rest, always place the firearm in a safe, designated spot with the action open. When you return to the training area, treat the firearm as if it has just been reloaded. Re-verify that the chamber is clear and that no live ammunition has entered the space.
Never transition directly from a dry fire session to handling live ammunition in the same room. When you decide to end your practice, pack away all dry fire gear, close the training application, and physically move to a different area before handling any live rounds. This clear mental and physical boundary is essential for preventing accidental loading accidents.
Tracking Progress and Maintaining Your Equipment
To achieve long-term skill development, you must track your training data over time. Most modern laser dry fire applications automatically save your session logs, tracking metrics such as reaction times, split times between targets, and overall accuracy percentages. Review these logs at the end of each week to identify persistent weak points. For example, if your draw-to-first-shot times are improving but your accuracy is decreasing, you may need to dedicate your next few sessions to slower, more controlled trigger presses.
Maintaining your physical equipment is equally important for ensuring reliable performance. The humid tropical climate of the Philippines can accelerate dust accumulation and moisture buildup on optical components. Regularly clean the glass lens of your laser cartridge or barrel emitter using a dry microfiber cloth or specialized lens cleaning paper. Avoid using harsh chemical solvents that could damage the lens coating or degrade the rubber O-rings. Similarly, wipe down the camera lens of your smartphone and any electronic target sensors to keep them free of dust and smudges.
Proper battery management will extend the lifespan of your laser system. Always remove the batteries from your laser cartridge or emitter when storing them for more than a few days. Leaving batteries inside the device in high-humidity environments can lead to corrosion, battery leakage, and permanent damage to the internal circuitry. Store your laser cartridge, spare O-rings, and mounting tools in a padded, airtight container with a small desiccant packet to absorb any residual moisture.
Frequently Asked Questions (FAQ)
Do I need a snap cap when using a laser dry fire cartridge?
In most cases, you do not need a separate snap cap because the laser dry fire cartridge itself acts as a protective buffer. The rear of the cartridge features a rubber or spring-loaded activation switch where the firing pin strikes. This design absorbs the impact of the firing pin, preventing the metal-on-metal wear that can occur when dry firing on an empty chamber. However, you should always verify this by checking the user manual for both your specific firearm and the laser cartridge to ensure complete compatibility.
Can I use my laser dry fire system outdoors or in bright sunlight?
Using a laser dry fire system outdoors in direct sunlight is generally not recommended. Bright ambient light and UV rays can easily wash out the red or green laser dot, making it difficult or impossible for electronic targets and smartphone camera sensors to detect the strike. For the most reliable tracking and performance, conduct your training sessions indoors where you can control the lighting, or limit outdoor use to deeply shaded areas during overcast days.
Community discussion
Share your experience or ask a question. Comments are reviewed before publication.