
Dry fire training with a laser target allows you to build muscle memory, refine trigger control, and practice sight alignment safely indoors without spending money on live ammunition. Setting up this system involves preparing a completely sterile safety environment, positioning a sensor-based target at eye level, and inserting a caliber-specific laser cartridge or mounting an external emitter to your firearm. By receiving instant visual or auditory feedback every time the firing pin strikes, you can diagnose shooting errors from the comfort of your home.
Using these electronic systems bridges the gap between traditional dry fire practice and live-range sessions. Instead of guessing whether your sights were perfectly aligned at the moment of the trigger break, the laser strike provides an objective point of impact. This immediate feedback loop helps prevent the reinforcement of bad habits and makes indoor practice highly engaging.
Essential Safety Checks Before Setting Up
Safety is the absolute priority when conducting any form of firearms training at home. Before you touch your training equipment or laser target, you must establish a strict safety protocol to ensure the training environment is completely sterile. This protocol must be followed diligently every single time you practice.
Products mentioned in this guide
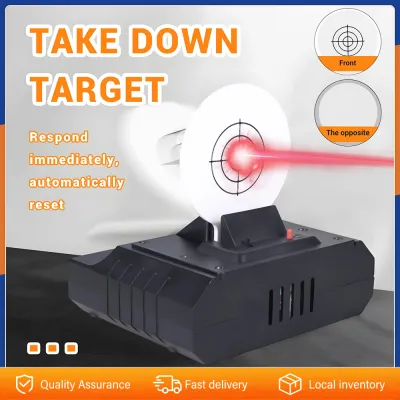
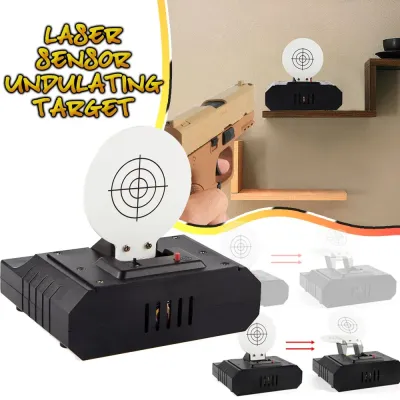


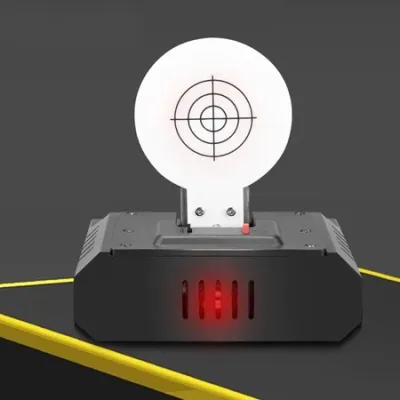
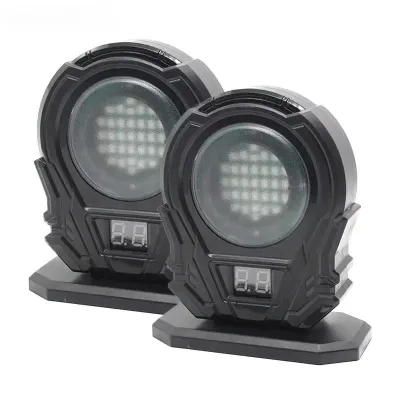
Prices are valid at publication and may change. Please refer to the product page for the latest price.
First, perform a thorough physical and visual inspection of your firearm. Remove the magazine, lock the slide to the rear or open the cylinder, and visually inspect the chamber to ensure no round is present. Physically insert a finger into the chamber and the magazine well to confirm that the firearm is completely unloaded.
Second, designate a safe direction for your practice session. This direction must point toward a wall or backstop that can safely contain a projectile in the highly unlikely event of an accidental discharge. Avoid pointing the firearm toward windows, thin interior doors, or shared walls where other household members or neighbors might be present.
Third, remove all live ammunition from your designated training room. Place all live rounds, loaded magazines, and spare ammunition in a separate room entirely. This physical separation eliminates the risk of accidentally loading a live round during your dry fire session and ensures a clear boundary between live-fire preparation and dry-fire practice.
Choosing the Right Space and Equipment
Selecting the proper indoor environment ensures your laser target functions reliably and safely. Start by evaluating the physical dimensions of your room. Most laser targets require a minimum distance between the shooter and the sensor to register hits accurately, which typically ranges from three to ten meters depending on the manufacturer’s specifications.

Your setup requires three primary components: a laser target, a compatible laser emitter or training cartridge designed for your firearm’s specific caliber, and a stable mounting surface. Ensure that the laser cartridge matches your firearm’s chamber dimensions perfectly to prevent damage to the firing pin or the chamber walls.
Ambient lighting is a critical factor, especially in tropical regions like the Philippines where bright, direct sunlight can flood indoor spaces. Excessive sunlight or harsh overhead fluorescent lights can overwhelm the optical sensors on your laser target, causing missed shots or false detections. Position your target away from direct window light, and use curtains or blinds to create a controlled, moderately lit environment.
Step-by-Step Setup for Your Laser Target System
Setting up your system requires a logical sequence to ensure the hardware and software align perfectly. By systematically preparing your target and firearm, you can avoid calibration errors and ensure every simulated shot is recorded accurately.
Mounting and Aligning the Target
Begin by securing your laser target to a stable platform. Depending on your specific model, you can use a wall mount, a standard camera tripod, or a dedicated freestanding base. A stable mount is essential; any wobbling or shifting during practice can throw off your alignment and distort your training data.
Adjust the height of the target so that it aligns naturally with your eye level when you are in your preferred shooting stance. If you practice both standing and kneeling positions, adjust the target height accordingly to maintain realistic sight pictures. Aligning the target with your natural point of aim prevents you from developing bad habits, such as dropping your head or hunching your shoulders.
Before powering on the system, inspect the sensor surface. Wipe away any dust, smudges, or fingerprints using a clean, dry microfiber cloth. Obstructions on the sensor can block the low-power laser pulse, leading to inconsistent feedback and missed shots during your drills.
Configuring the Laser Cartridge or Emitter
Next, prepare your firearm’s laser emission device. If you are using an in-chamber laser cartridge, apply a light coat of manufacturer-approved lubricant to the rubber O-rings to ensure smooth insertion and extraction. Gently slide the cartridge into the chamber, ensuring it sits flush. A dry O-ring can tear during insertion, which may cause the cartridge to sit crookedly and throw off your point of impact.
Power on the target and the laser emitter. Perform a manual test pulse by pointing the firearm in a safe direction at the target and cycling the action to strike the primer-switch on the cartridge. Confirm that the target registers the strike with its designated visual or auditory indicator.
If your system features adjustable sensitivity or pulse duration settings, calibrate them now. In highly humid environments, electronic contacts can sometimes require minor adjustments to ensure the sensor reads the quick pulse of light without lag. Refer to your product manual to fine-tune these settings for your specific room lighting.
Executing Your First Dry Fire Drill
With your system calibrated, you can begin your first structured training session. Start at a close distance, approximately three meters, to focus entirely on your fundamentals without the distraction of trying to hit a tiny, distant target. This close-range practice builds confidence and verifies that the system is reading your inputs correctly.
Focus on basic sight alignment and trigger control. As you press the trigger, keep your eyes focused on your front sight post or red dot reticle, and observe whether the sight moves as the firing pin strikes. The laser target will provide immediate feedback, showing you exactly where the muzzle was pointed at the microsecond of the break.
Analyze the feedback to diagnose common shooting errors. If the laser strike consistently registers low and to the left for a right-handed shooter, you may be anticipating the shot or slapping the trigger. A clean, straight-back trigger press should result in a centered laser strike with zero movement of the sights.
Establish clear stop conditions for your session. Cease training immediately if you experience physical fatigue, if the firearm’s trigger mechanism feels unusual, or if the laser fails to register consistently. Most importantly, if you must leave the room or if your attention is interrupted, stop the session and re-verify the safety status of your firearm before resuming.
Tracking Progress and Adjusting Difficulty
To gain the maximum benefit from dry fire training, you must progressively challenge your skills. Use your system’s built-in scoring modes or shot-timer features to measure your speed and consistency. A shot timer introduces a par time—a set limit within which you must complete your draw and fire—which helps bridge the gap between slow, deliberate practice and real-world application.
As your fundamentals improve at close range, gradually increase the difficulty. You can step back to increase the distance, transition between multiple targets if your system supports it, or practice shooting from different stances. If you are an advanced user, incorporate drawing from a holster, ensuring you maintain strict muzzle discipline throughout the movement.
Keep a simple training log, either on your phone or in a notebook. Record key metrics such as your average reaction time, accuracy scores, and the number of clean trigger presses completed. Tracking these numbers over several weeks provides tangible proof of your improvement and helps identify specific areas that require more focus.
Maintenance and Storage of Laser Training Gear
Proper maintenance ensures your electronic training gear remains reliable and functional for years. Always remove the batteries from your laser cartridges, emitters, and targets when they are not in use. Leaving batteries inside electronic devices can lead to slow power drainage or, worse, battery leakage and corrosion that can permanently damage the internal circuitry.
Keep the optical sensors clean. Wipe the target’s sensor panels and the lens of your laser cartridge with a dry, soft microfiber cloth. Avoid using harsh chemical cleaners, solvents, or wet wipes, as moisture and chemicals can degrade the specialized coatings on the optical elements.
Store all components in a dry, temperature-controlled environment. In tropical climates with high relative humidity, storing your gear in a sealed, padded case with a few silica gel packets is highly recommended. This prevents moisture buildup and protects the sensitive electronics from mold and corrosion.
Frequently Asked Questions (FAQ)
Can I use a laser target with any type of firearm?
Compatibility depends entirely on the design of your specific laser system. Chamber-inserted laser cartridges are caliber-specific, meaning you must match the cartridge size to your firearm’s chamber. Alternatively, universal rail-mounted emitters attach to standard accessory rails, making them compatible with a wider variety of handguns and rifles regardless of caliber. Always check the manufacturer’s compatibility list to verify that the emitter fits your specific platform and action type before purchasing.
Do I need to wear eye protection during laser dry fire practice?
Most consumer-grade dry fire laser cartridges and emitters utilize low-power lasers that are designed to be safe for brief, indirect exposure. However, you should never look directly into the emitter lens or point the laser at anyone’s eyes. To ensure maximum safety, check the laser classification label on your product packaging and follow the manufacturer’s specific safety guidelines regarding protective eyewear.
Community discussion
Share your experience or ask a question. Comments are reviewed before publication.