
Choosing the right boat fuel tank capacity for an inflatable boat requires balancing your outboard motor’s fuel consumption with the physical limits of your vessel. There is no single universal tank size that fits every setup, as your needs depend directly on your motor’s horsepower, your typical trip duration, and the weight your boat can safely carry.
To find the ideal capacity, you must estimate your engine’s maximum fuel consumption rate and multiply it by your planned cruising hours, always factoring in a dedicated safety reserve. This baseline requirement must then be cross-referenced with your outboard motor’s official owner’s manual to ensure accuracy.
Finally, you must weigh this calculated fuel volume against the physical space and weight capacity of your inflatable boat. A tank that is too small limits your range and compromises safety, while an oversized tank adds unnecessary weight that can degrade boat performance and stability on the water.
Products mentioned in this guide
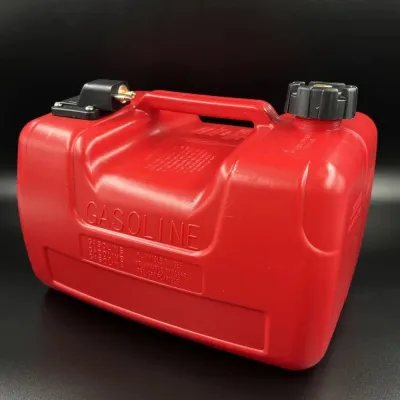
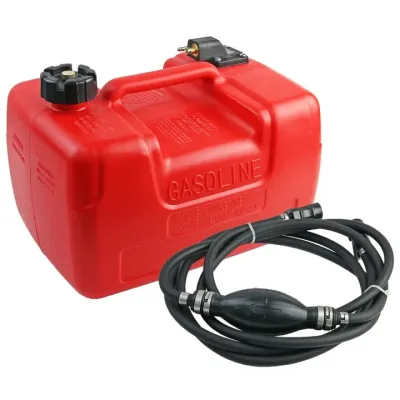
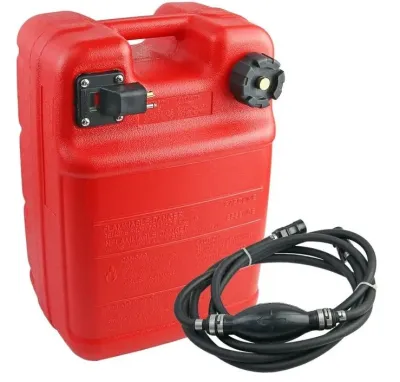
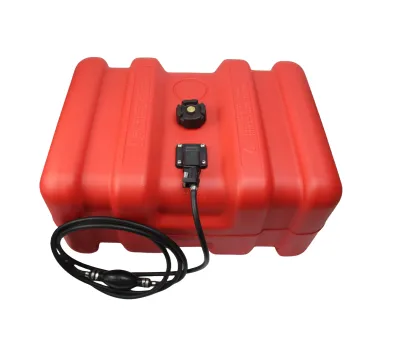
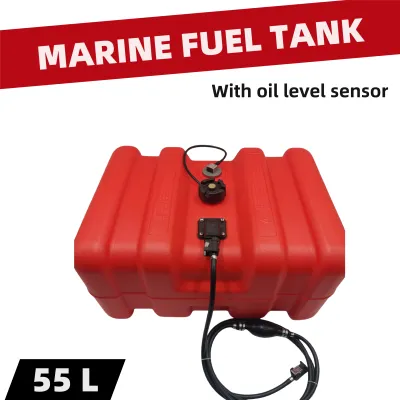
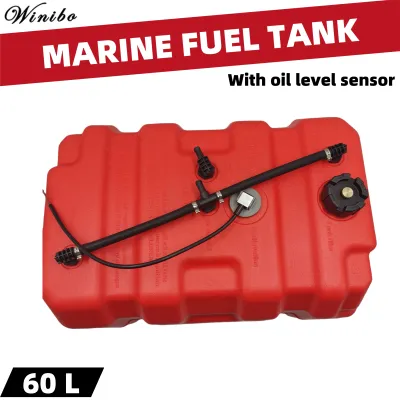
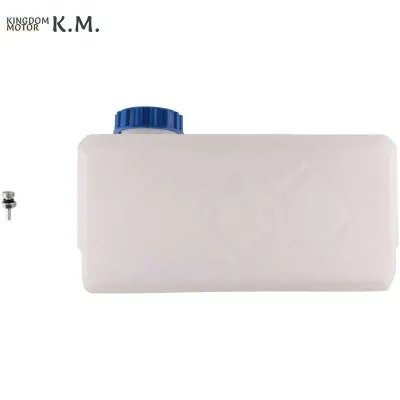
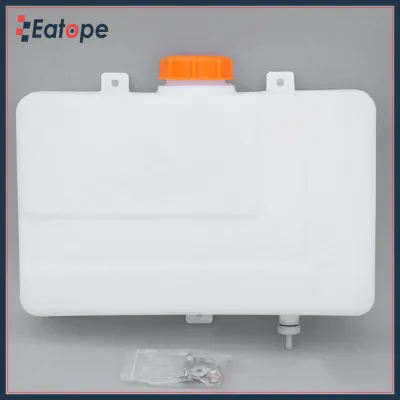
Prices are valid at publication and may change. Please refer to the product page for the latest price.
Calculating Fuel Needs Based on Outboard Specifications
To establish a realistic baseline for your boat fuel tank capacity, you must first understand how much fuel your outboard motor consumes under different operating conditions. The most reliable source for this information is your engine manufacturer’s manual, which typically lists fuel consumption rates at Wide Open Throttle (WOT) as well as optimal cruising speeds.
When official manual data is unavailable, boaters often estimate maximum hourly fuel consumption using general industry formulas. For traditional two-stroke outboard motors, a common estimation variable is to divide the engine’s horsepower by ten to estimate the gallons of fuel consumed per hour at WOT. Modern four-stroke outboards are generally more efficient, often estimated by dividing the horsepower by twelve or thirteen to find the hourly consumption rate.
These formulas provide a starting point, but actual fuel consumption is highly variable and depends on several external factors. Carrying a heavy load of passengers, packing extra gear, or dealing with hull drag from marine growth will force your outboard to work harder, significantly increasing its hourly fuel draw.
Environmental conditions also play a major role in how quickly your engine burns through fuel. Operating in areas with strong tropical currents, high winds, or choppy coastal waters requires more throttle to maintain headway, which rapidly decreases your fuel efficiency compared to cruising on calm, flat inland waters. High humidity and warm air temperatures, common in tropical environments like the Philippines, can also slightly reduce engine efficiency, meaning your motor may require more fuel to achieve the same performance as it would in cooler climates.
Matching Tank Capacity to Your Typical Boating Trips
Once you have estimated your outboard’s hourly fuel consumption, you can match your boat fuel tank capacity to the specific types of trips you plan to take. A short coastal run or a quick trip to a nearby fishing spot requires far less fuel than a full-day exploration cruise along remote shorelines.

To manage your fuel safely on the water, always apply the classic marine “one-third rule.” This safety framework dictates that you allocate one-third of your total fuel capacity for the outbound journey, one-third for the return trip, and keep the remaining one-third in the tank as an untouched safety reserve.
Applying this rule prevents you from running out of fuel if you encounter unexpected delays or changing weather conditions. For example, if your estimated round-trip fuel consumption is calculated to be 12 liters, your portable tank should have a minimum capacity of 18 liters to satisfy the one-third safety margin. If you plan to spend the day hopping between islands, this reserve ensures you have enough fuel to navigate around unexpected obstacles or head to an alternative landing site if your primary destination is inaccessible.
A common mistake among new boaters is sizing a fuel tank based solely on ideal, calm-water cruising conditions. In reality, heading home against a strong headwind or fighting a rising tide will dramatically increase your fuel consumption, making that one-third reserve absolutely vital for reaching the shore safely.
Managing Weight, Space, and Stability on Inflatable Boats
Inflatable boats are highly sensitive to weight distribution, making the physical size and weight of your portable boat fuel tank a critical safety consideration. Gasoline weighs approximately 0.75 kilograms per liter, meaning a fully loaded 24-liter tank adds roughly 18 kilograms of deadweight to your vessel, excluding the weight of the tank itself.
Before purchasing a tank, you must evaluate your inflatable boat’s available floor space and its maximum transom weight rating. Placing a heavy fuel tank too close to the transom alongside a heavy outboard motor can easily overload the stern, causing the bow to rise excessively, which compromises your steering and increases the risk of swamping.
The physical shape of the tank also influences how well it fits and functions within your boat’s layout. Low-profile, wide-bottom tanks are generally preferred for inflatable boats because they distribute weight over a larger surface area and have a lower center of gravity, making them less likely to tip over in rough water. Tall, narrow tanks may save floor space but are prone to tipping if not secured properly.
The type of floor your inflatable boat uses also dictates how you should secure the tank. For boats with aluminum slats or rigid floorboards, you can often mount dedicated tie-down brackets to keep the tank from sliding. For high-pressure air deck floors, you must use soft strap systems secured to existing D-rings to prevent the tank from shifting and chafing the fabric.
Liquid movement inside the tank, known as sloshing, can also affect the handling of lightweight inflatable hulls. As you turn or navigate waves, the shifting weight of the fuel can cause sudden changes in stability, which is why securing your tank with heavy-duty tie-down straps to the boat’s floor or frame is essential for maintaining control.
Essential Fuel Tank Features and Pre-Trip Safety Checks
Operating a portable boat fuel tank safely requires high-quality hardware designed specifically for harsh marine environments. Look for tanks constructed from high-density, UV-resistant polyethylene, which can withstand intense tropical sunlight and resist degradation from fuel exposure over time.
The tank must feature a reliable venting mechanism—either an integrated automatic vent or a manual vent screw on the cap—to prevent dangerous pressure buildup as temperatures rise during the day. Secure, leak-proof quick-connect fittings are also essential to ensure a reliable connection between the tank and your outboard’s fuel line.
Your fuel delivery system must utilize marine-grade fuel lines equipped with a compatible primer bulb. Route the hose carefully along the deck of your inflatable boat, ensuring it is free from tight bends, kinks, or areas where it might rub against rough surfaces or get pinched by gear. Investing in high-quality marine-grade fuel lines, which often cost around ₱2,000, is a critical step to prevent fuel leaks and engine starvation.
Before every launch, perform a thorough visual inspection of your entire fuel system. Check the fuel for signs of degradation or water contamination, inspect the tank body for physical damage, and examine the hoses for cracking or stiffness.
Pre-Trip Fuel System Checklist
- Tank Integrity: Inspect the outer shell for swelling, deep scratches, or soft spots.
- Venting Function: Ensure the vent opens smoothly and is free of debris or salt crust.
- Hose and Bulb: Squeeze the primer bulb to check for cracks, leaks, or loss of elasticity.
- Fittings and O-Rings: Verify that the quick-connect fittings click securely into place and that the rubber O-rings are intact.
If you detect strong, persistent fuel fumes, visible cracks in the tank body, or fuel leaks at any connection point, do not launch. Halt use immediately, drain the system safely, and consult a qualified marine technician or the manufacturer to resolve the issue.
Frequently Asked Questions (FAQ)
Can I use a standard automotive gas can for my outboard motor?
No, you should never use a standard automotive gas can as a permanent fuel tank for an outboard motor. Automotive cans lack the specialized manual or automatic venting systems required to handle the temperature fluctuations and pressure changes common in marine environments. Additionally, they do not feature the secure, leak-proof quick-connect fittings or the UV-resistant construction needed to withstand constant exposure to sun and saltwater, creating a significant fire and environmental hazard on the water.
How should I store my portable boat fuel tank when not in use?
When storing your portable boat fuel tank for extended periods, you must protect the fuel from degrading and prevent dangerous vapor buildup. Treat any remaining fuel with a high-quality marine fuel stabilizer according to the manufacturer’s instructions, or safely drain the tank completely into an approved container if storing it empty. Always store the tank in a cool, dry, and well-ventilated space away from direct sunlight, household living areas, and potential ignition sources like water heaters or electric motors.
Community discussion
Share your experience or ask a question. Comments are reviewed before publication.