
Using a meredian massage roller effectively requires a systematic approach that balances targeted pressure, slow movement, and anatomical awareness. By using your own body weight to regulate the intensity, you can release deep muscular tension, improve local circulation, and accelerate recovery after intense outdoor activities or sports. This specialized recovery tool can significantly reduce muscle stiffness when integrated correctly into your post-workout routine.
Unlike standard smooth foam rollers, a meredian massage roller typically features a textured surface, ridges, or rotating spindles designed to stimulate specific acupressure points and myofascial pathways. Because these contours penetrate deeper into the muscle tissue, proper technique is essential to prevent bruising, skin irritation, or nerve compression. Working with your body’s nervous system—rather than forcing your way through intense pain—is the key to achieving a successful release.
Preparing for Your Meredian Massage Roller Session
Before beginning any recovery session, carefully inspect your meredian massage roller for structural integrity. Check for hairline cracks, loose spindles, or sharp plastic edges that could pinch the skin or snag clothing. In humid tropical environments like the Philippines, wooden components can warp or collect moisture over time, so verifying that the roller is clean, dry, and structurally sound is a vital first step to ensure safe usage.
Products mentioned in this guide
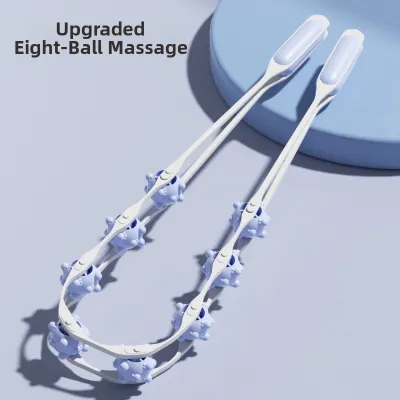
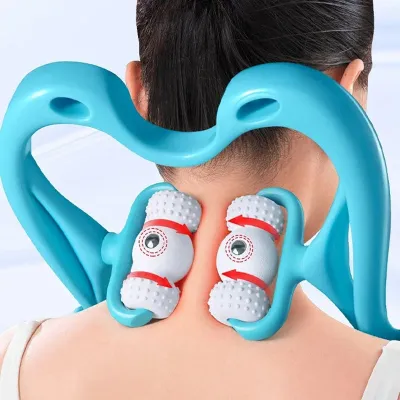
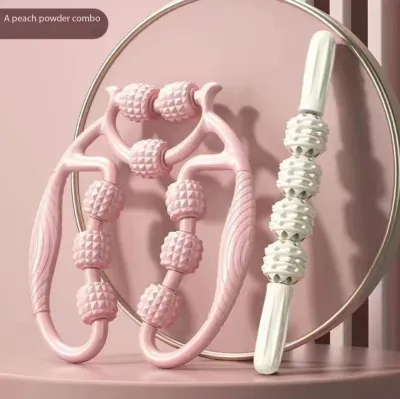
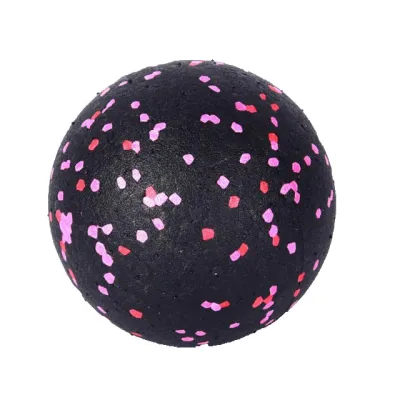
Prices are valid at publication and may change. Please refer to the product page for the latest price.
Choose a stable, flat, and non-slip surface to perform your exercises. Standard tiled or polished concrete floors can be slippery and unforgiving on your joints, so utilizing a high-grip yoga mat or a carpeted area is highly recommended. This physical stability ensures you can control your body weight distribution accurately without slipping mid-movement, which could lead to sudden, uncontrolled pressure on sensitive tissues.
Never apply deep mechanical pressure to cold, stiff muscles. Spend three to five minutes performing a light dynamic warm-up, such as gentle leg swings, arm circles, or bodyweight squats, to elevate your core temperature and increase localized blood flow. This preparation makes the muscle tissue more pliable and responsive to the roller, reducing the risk of micro-tears during the session.
Wear comfortable, flexible athletic wear that fits snugly but allows a full range of motion. Loose or baggy clothing can easily bunch up, get caught in the rotating spindles of the roller, or create uneven pressure points that interfere with your technique. Choosing moisture-wicking fabrics is especially helpful in warm climates, as sweat can cause the roller to slip unpredictably against bare skin.
Step-by-Step Techniques for Effective Muscle Recovery
The fundamental mechanism of using a massage roller relies on using your own body weight to apply targeted compression to myofascial tissues. By carefully positioning your body relative to the roller, you can dynamically increase or decrease the load, while maintaining deep, steady diaphragmatic breathing to signal your nervous system to relax.

Controlling Pressure and Rolling Speed
Always begin your session with light, conservative pressure. You can achieve this by supporting a significant portion of your body weight with your hands, elbows, or your non-targeted leg. As your muscles gradually adapt to the sensation, you can slowly shift more weight onto the roller to deepen the massage, ensuring the pressure remains within a manageable range.
Move slowly and deliberately, aiming for a speed of approximately one inch per second. Avoid fast, aggressive, or bouncy rolling patterns, as rapid movements can trigger a defensive stretch reflex. When a muscle senses sudden, high-velocity pressure, it naturally contracts to protect the joint, which completely defeats the purpose of myofascial release.
When you encounter a highly sensitive area, commonly referred to as a trigger point or muscle knot, do not roll back and forth rapidly over it. Instead, pause directly on the spot and hold static pressure for 20 to 30 seconds. Focus on taking deep, slow breaths, allowing the targeted muscle to soften and release under the steady pressure.
Maintain a neutral spine and an engaged core throughout every exercise. Letting your lower back sag or straining your neck to look at your feet can introduce compensatory strain, leading to secondary discomfort in areas you are not even targeting. Keep your movements controlled and your body aligned from head to toe.
Targeting Key Muscle Groups Safely
- Calves and Hamstrings: Sit on the floor with the roller positioned under your lower leg, just above the ankle. Lift your hips slightly using your hands for support, and slowly roll upward along the muscle belly, stopping at least two inches below the back of the knee to protect the sensitive popliteal fossa. For the hamstrings, place the roller under your thighs and roll from just above the knee joint up to the base of your glutes, crossing one leg over the other if you require additional pressure.
- Quadriceps and IT Bands: Transition into a forearm plank position with the roller placed under the front of your thighs. Keep your core tight to protect your lower back as you slide forward and backward, rolling from the top of the hip down to just above the kneecap. When targeting the outer thigh, lie on your side to address the lateral structures, but avoid rolling directly over the bony hip joint or the lateral aspect of the knee joint. Instead, focus on the surrounding muscle tissue of the outer quadriceps to relieve tension indirectly.
- Upper Back and Thoracic Spine: Lie on your back with your knees bent and feet flat on the floor, positioning the roller horizontally across your mid-back, just below the shoulder blades. Support your head gently with your hands to avoid neck strain, lift your hips slightly off the floor, and roll slowly between the middle of your back and the top of your shoulder blades. Restrict this movement strictly to the thoracic spine, as this area is structurally supported by the ribcage and can safely handle the compression.
Crucial Safety Tips and Areas to Avoid
Never apply direct rolling pressure to bony landmarks or joint structures. Rolling over areas like the kneecaps, ankle bones, hip bones, elbows, or the sharp front edge of the shinbone can cause painful bone bruises, damage the periosteum, and irritate surrounding tendons. Keep the roller centered on the soft, fleshy muscle bellies where myofascial release is actually effective.
Under no circumstances should you use a massage roller directly on your lower back (lumbar spine) or your neck (cervical spine). The lumbar spine lacks the protective cage of the ribs, meaning direct pressure can force the vertebrae into hyperextension, compress internal organs like the kidneys, and pinch delicate nerves. Similarly, the neck is highly mobile and contains major blood vessels and nerves that can easily be damaged by heavy mechanical compression.
It is vital to distinguish between the productive, dull ache of a tight muscle releasing and “bad” pain that signals potential injury. Productive discomfort feels like a deep, localized pressure that gradually dissipates as you breathe. In contrast, sharp, stabbing, burning, or shooting sensations that radiate down a limb indicate nerve compression or joint strain; if you experience any of these symptoms, stop immediately.
Do not use a massage roller over acute injuries, open wounds, fresh bruises, severe varicose veins, or areas where you suspect deep vein thrombosis (DVT). Applying heavy pressure to a blood clot can dislodge it, creating a life-threatening medical emergency. If you are recovering from a recent surgery, managing chronic pain, or are unsure about an injury, always consult a licensed physical therapist or healthcare professional before proceeding.
Verifying Your Technique and Post-Roll Recovery
After completing your rolling routine, take a moment to stand up and assess how your body feels. Perform a basic movement check, such as a gentle forward fold or a light bodyweight squat, to verify if your range of motion has improved. You should experience a noticeable reduction in muscle stiffness and a feeling of lightness in the targeted limbs.
Drink a generous amount of clean water immediately after your session. The mechanical pressure of rolling temporarily squeezes fluids out of your fascial tissues; rehydrating helps replenish these tissues, restoring their natural elasticity and supporting the removal of metabolic waste products. In hot, humid climates like the Philippines, staying on top of your fluid intake is doubly important to prevent cramping and dehydration.
Follow your rolling session with light, static stretching of the muscles you just targeted. Because the roller has helped release localized knots and lengthened the muscle fibers, performing gentle stretches now can help lock in those flexibility gains and promote long-term mobility.
Allow your muscles 24 to 48 hours to recover before targeting the same areas with deep pressure again. It is normal to experience mild delayed onset muscle soreness (DOMS) the day after rolling, especially if you are new to the practice. Monitor how your body responds, and adjust the intensity of your future sessions accordingly.
Frequently Asked Questions (FAQ)
How often should I use a meridian massage roller?
The ideal frequency depends on your physical activity levels, training intensity, and individual recovery capacity. For general mobility and light tension relief, you can perform short, gentle rolling sessions daily. However, deep tissue release targeting intense muscle knots should be restricted to two or three times a week per muscle group to allow the muscle fibers and fascial layers sufficient time to repair and adapt.
Can I use a massage roller on bruised or inflamed muscles?
No, you should never roll directly over freshly bruised, acutely strained, or visibly swollen muscles. Applying heavy mechanical pressure to actively inflamed tissue can exacerbate micro-tears, worsen internal bleeding, and delay the natural healing process. Instead, gently roll the healthy, surrounding muscle groups to stimulate systemic blood circulation and support recovery indirectly, or consult a medical professional for targeted treatment.
Community discussion
Share your experience or ask a question. Comments are reviewed before publication.