
Padded sticks have revolutionized the way martial artists approach weapon and striking training. Whether you are practicing Filipino Martial Arts (FMA) like Arnis, Eskrima, and Kali, or integrating weapon defense into your mixed martial arts (MMA) routine, a stix padded stick offers a safe, high-velocity alternative to traditional hardwood or rattan sticks. By wrapping a rigid core in dense foam and a durable outer sleeve, these training tools allow practitioners to execute full-speed strikes, blocks, and counters without the immediate risk of fractures or severe bruising. However, maximizing the benefits of this gear requires a solid understanding of safety protocols, proper mechanics, and structured drill design.
Using a padded stick effectively is not just about swinging with full force; it is about developing precision, timing, and spatial awareness. Because the padding absorbs a significant portion of the impact, it is easy to fall into bad habits, such as neglecting defense or using sloppy form. To prevent this, your training must be guided by a systematic approach that transitions from solo mechanics to controlled partner interactions. By focusing on technical execution and safety, you can build realistic combat reflexes while keeping yourself and your training partners free from injury.
Pre-Training Safety Checks and Equipment Setup
Before you begin any striking session, conducting a thorough inspection of your equipment and training environment is essential. High humidity and tropical temperatures can accelerate the degradation of adhesives, foam, and synthetic covers. Start by closely examining your stix padded stick for any signs of structural wear. Run your hands along the length of the stick to check for soft spots in the foam, which indicate that the padding has collapsed and will no longer absorb impact effectively. Inspect the outer nylon or vinyl sleeve for tears, split seams, or exposed stitching that could scratch a partner during a drill. Most importantly, verify that the inner core—whether made of plastic, PVC, or lightweight rattan—is completely covered and not cracked, as an exposed or broken core can cause severe injury upon impact.
Products mentioned in this guide
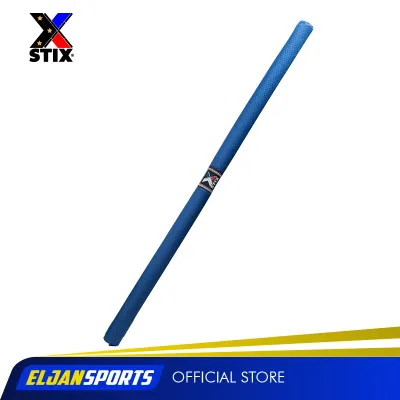
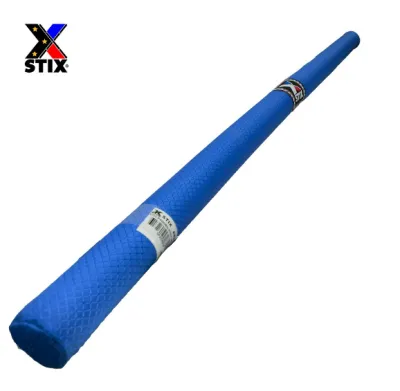
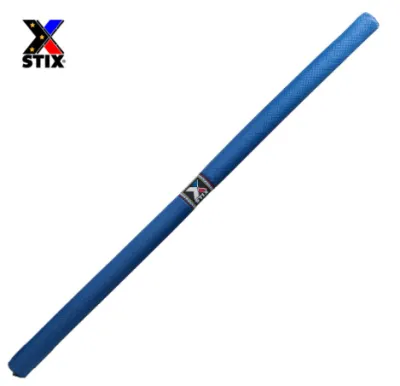
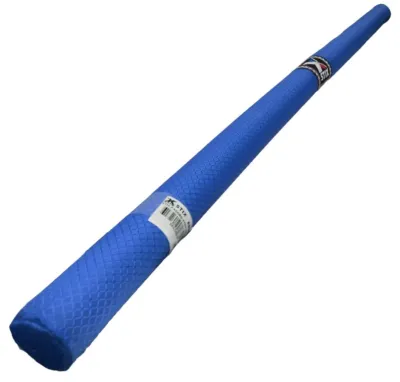
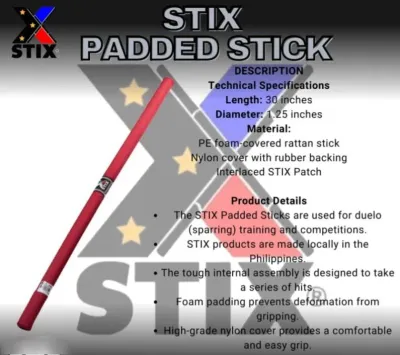
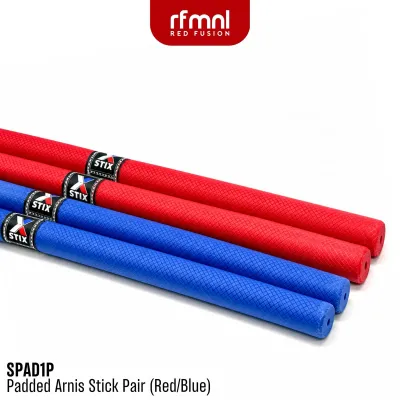
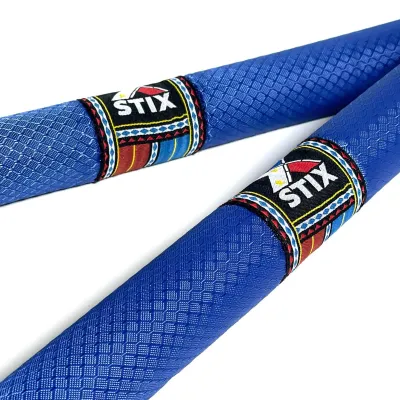
Prices are valid at publication and may change. Please refer to the product page for the latest price.
Personal protective equipment (PPE) remains highly recommended even when training with padded gear. While a padded stick reduces the risk of broken bones, high-velocity impacts to sensitive areas can still cause injury. At a minimum, both partners should wear protective eyewear or a full-face headgear to guard against accidental pokes to the eyes. A mouthguard is also crucial to protect your teeth and jaw from unexpected upward swings or deflections. Depending on the intensity of your session, light sparring gloves or padded MMA gloves can protect your fingers and knuckles from painful hand-to-hand collisions.
Finally, prepare your physical training space to minimize environmental hazards. Clear the floor of all obstacles, bags, and loose gear to prevent tripping during dynamic footwork. If you are training indoors on mats or smooth tiles, ensure the surface is completely dry. In warm climates, sweat can quickly accumulate on the floor, creating slick spots that compromise your traction and balance. If you are training outdoors, choose a flat, level grassy area or a dedicated outdoor training space free of rocks, exposed roots, or slippery mud.
Fundamental Techniques for Solo Practice
Solo practice is the foundation of effective stick training, allowing you to build muscle memory and refine your mechanics without the distraction of an opponent. Begin by establishing a correct grip on your stix padded stick. Hold the handle firmly but avoid a “death grip,” which tenses your forearm and slows down your strikes. Your hand should be positioned about one hand-width (approximately two to three inches) up from the butt end, or “puno,” of the stick. This small protrusion at the bottom is used for hooking, retaining the weapon, and close-quarters striking. Ensure your wrist is straight and aligned with your forearm; a limp or bent wrist upon simulated impact can lead to strains and reduces the power of your strike.

When executing basic strikes, focus on the distinction between linear thrusts and circular slashing motions. Linear strikes require you to drive the tip of the stick forward in a straight line, using your hips and shoulder to generate penetration power. Circular strikes, such as diagonal or horizontal slashes, should follow clean, arc-like paths. Crucially, every strike must include a controlled retraction. Instead of letting the stick swing wildly past your target, use your core muscles to stop the motion and snap the stick back to a defensive guard position. This prevents you from leaving your body exposed to counter-attacks.
Maintaining balance and proper footwork is critical during solo shadow drills. Your feet should remain shoulder-width apart in a dynamic, slightly offset stance that allows you to move quickly in any direction. As you strike, coordinate your steps with your hand movements—stepping forward as you strike and stepping back as you retract. Be highly mindful of joint overextension. Because you are striking the air rather than a solid target, it is easy to snap your elbow or shoulder joints too straight at the end of a movement. Keep a micro-bend in your joints at the peak of extension to protect your ligaments from repetitive strain injuries.
Structuring Safe and Effective Partner Sessions
Transitioning to partner training introduces unpredictable movement and timing, making structured safety protocols absolutely necessary. Before any drills begin, both partners must agree on their specific roles for the session. One partner should act as the “feeder” (the initiator who controls the pace and feeds specific attacks), while the other acts as the “receiver” (who practices defense, evasion, and counter-striking). Establish clear verbal and non-verbal stop signals. A loud, clear “Stop!” or a physical tap on your partner’s body must immediately halt all action, regardless of the drill’s intensity.
Distance management is the key to preventing accidental injuries during partner work. In weapon-based martial arts, distance is categorized into three main ranges: “largo” (long range, where only the tips of the sticks can touch), “medio” (medium range, where the sticks can easily strike the hand or body), and “corto” (close range, where elbows, knees, and the butt of the stick come into play). When starting out, maintain a strict largo range. This ensures that even if a partner misjudges a distance or fails to block, the padded stick will only make light contact at its most flexible point. Adjust the speed and power of your strikes based on the skill level of the less experienced partner, starting at a slow, controlled pace (around 20% speed) before gradually ramping up.
To maintain focus and prevent fatigue-induced errors, implement a structured rotation and rest mechanism. Training with weapons requires intense mental concentration and physical agility, both of which degrade rapidly when you are tired. Limit active drill intervals to two or three minutes, followed by a mandatory rest period of equal length. Use this rest time to wipe off sweat, rehydrate, and discuss technical adjustments with your partner. Rotating roles frequently keeps both minds sharp and ensures that neither partner becomes overly fatigued from continuous defending or attacking.
Core Drills to Build Speed and Accuracy
Moving from static solo mechanics to dynamic partner drills is where your reflexes are truly forged. By using structured drills, you can translate basic striking angles into fluid, real-time responses that mimic actual combat scenarios.
Reaction and Combination Drills
Reaction drills train your eyes to spot openings and your body to execute pre-programmed combinations instantly. To set up a basic reaction drill, the holder stands in front of the striker and presents the stix padded stick as a target at various angles. For example, holding the stick horizontally at shoulder height might signal a diagonal slash, while presenting the tip forward signals a parry-and-thrust response. The striker must immediately identify the target, execute the correct combination, and return to a defensive guard.
As you progress, the holder can use the padded stick to simulate incoming attacks, forcing the striker to block or parry before delivering a counter-strike. The holder might feed a slow overhead strike, which the striker blocks with an angled roof block, immediately followed by a quick counter-strike to the holder’s padded shoulder. Throughout these sequences, focus on maintaining a steady breathing rhythm. Holding your breath causes your muscles to tense up, which slows down your reaction time and drains your stamina. Always reset your stance and center of gravity after every combination to ensure you are ready for the next cue.
Defense and Counter-Attack Drills
Defense and counter-attack drills integrate head movement, footwork, and striking into a single, seamless flow. In these drills, the holder feeds controlled, predictable swings aimed at the striker’s head or torso. Rather than relying solely on static blocks, the striker practices dynamic evasions, such as slipping inside a vertical strike or ducking under a wide horizontal swing. This keeps your hands free to prepare an immediate counter-attack.
As the holder’s stick passes safely overhead, the striker must transition smoothly from the evasion into a targeted counter-strike. For instance, after ducking under a horizontal swing, rise up while delivering a controlled strike to the holder’s midsection. Both partners must maintain high mutual awareness during these live exchanges. Because the sticks are padded, there is a temptation to swing with excessive force; however, the goal is to develop speed, timing, and accuracy, not raw power. Keep your strikes light and controlled, focusing on touching the target rather than driving through it.
Cleaning, Storage, and Replacement Indicators
Proper maintenance of your stix padded stick is essential for hygiene and to preserve its protective qualities over time. In tropical climates, sweat, humidity, and heat can quickly turn training gear into a breeding ground for bacteria and cause the materials to break down prematurely. After every training session, wipe down the entire surface of the stick with a clean, damp cloth and a mild, non-abrasive disinfectant spray. Avoid using harsh chemical solvents or bleach, as these can degrade the synthetic outer sleeve and dry out the inner foam. Never submerge the stick in water, as moisture can seep into the core and ruin the padding.
Once cleaned, allow the stick to air-dry completely in a well-ventilated indoor area. Keep it away from direct sunlight, radiators, or hot car trunks. Prolonged exposure to ultraviolet (UV) rays and extreme heat weakens the adhesives holding the foam to the core, causing the padding to shift, shrink, or become brittle. Store your sticks flat or hanging vertically in a dry closet to prevent the foam from developing permanent flat spots.
Regularly inspect your gear for replacement indicators to ensure ongoing safety. While a quality training stick is a modest investment (often ranging from ₱800 to ₱2,500 depending on the brand and materials), using a damaged one can lead to costly injuries. If you notice that the foam feels mushy, no longer springs back when compressed, or has shifted away from the tip, the stick’s impact-absorbing capabilities are compromised. Most importantly, if you can feel the hard inner core through the padding, or if the stick has developed a permanent bend or crack along its shaft, retire it immediately and replace it with a new one.
Frequently Asked Questions (FAQ)
Can a padded stick fully replace traditional weapon training?
No, a padded stick cannot fully replace traditional wooden or rattan weapons, such as those used in classical Arnis or Kali. While a stix padded stick is an exceptional tool for safe, high-speed sparring, reaction drills, and force-on-force training, it has a different weight, balance, and impact feedback compared to solid wood. Traditional weapons require precise edge alignment, hand conditioning, and structure that padded gear cannot fully replicate. Padded sticks should be used as a complementary tool to safely develop speed and tactical reflexes, while traditional weapons should be retained for form, precision, and structural alignment under the guidance of a qualified instructor.
How do I choose the right length and weight for my skill level?
Choosing the right dimensions depends on your physical build, arm span, and the specific martial art you practice. As a general rule of thumb, when holding the stick at your side, it should reach from your armpit to your fingertips. Beginners generally benefit from lighter padded sticks, which allow them to focus on proper mechanics, wrist alignment, and speed without overstraining their joints. Advanced practitioners may opt for slightly heavier sticks to build forearm endurance and simulate the weight of real weapons. Always consult the manufacturer’s sizing charts and specifications to ensure the stick matches your training goals before making a purchase.
Community discussion
Share your experience or ask a question. Comments are reviewed before publication.