
Showering with a leg cast requires careful preparation to prevent water from compromising the structural integrity of your plaster or fiberglass bandage. A waterproof leg cast cover provides a reliable, reusable barrier, but its effectiveness depends entirely on achieving a proper, airtight seal against your skin. In warm and humid climates like the Philippines, keeping a cast completely dry is even more critical. Trapped moisture combined with tropical heat creates an ideal breeding ground for bacteria, mold, and severe skin irritation. By mastering the correct application technique, preparing your bathroom for single-leg mobility, and following safe showering protocols, you can maintain your daily hygiene routine without risking costly cast replacements or medical complications.
Preparing Your Cast and Bathroom Environment
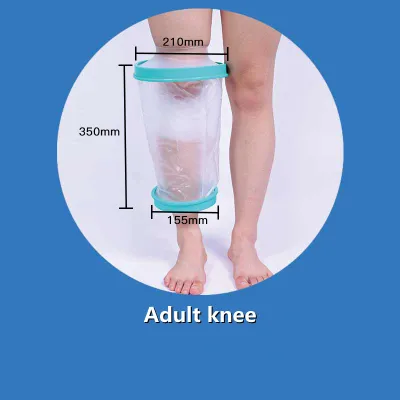
Before opening your waterproof leg cast cover, prepare both your injured limb and your surroundings to minimize safety risks. Inspect your cast for rough spots, loose padding, or sharp protrusions that could puncture the cover’s elastic membrane. Cover any sharp points with medical tape. Next, verify that your cover’s size matches your leg’s circumference a few inches above the cast, as an incorrect fit will cause leaks or restrict circulation.
Showering with limited mobility introduces significant slip-and-fall hazards on wet tiles. Transforming your bathroom into a safe zone is a prerequisite for any shower. Lay down high-traction, non-slip rubber mats inside and outside the shower stall. Place a sturdy, water-resistant shower chair inside and position a hand-held showerhead within easy reach. Keep all bathing essentials within arm’s length to eliminate the need to stretch or lean, which could compromise your balance.
Products mentioned in this guide
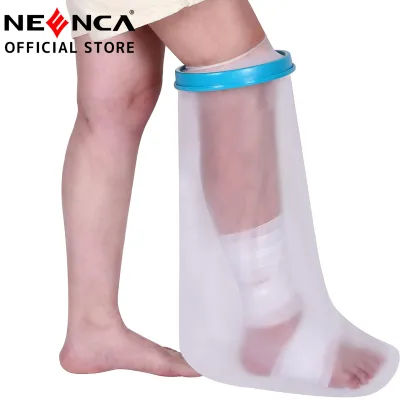
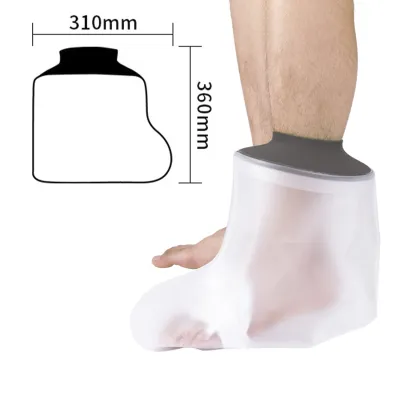
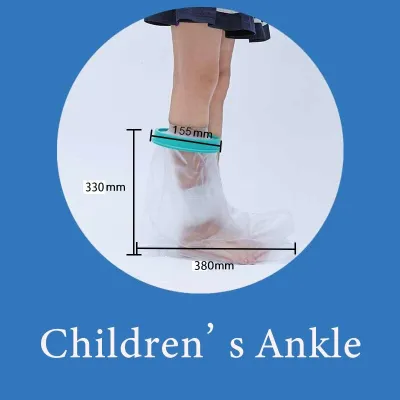
![[Fast Delivery] Cast Covers for Shower Leg Adult Waterproof Leg Protector Reusable Covers for Leg and Foot Surgeries](https://img.lazcdn.com/g/p/c87a4425eef22b1e7029d1d09e4c434b.jpg_400x400q80.jpg_.webp)
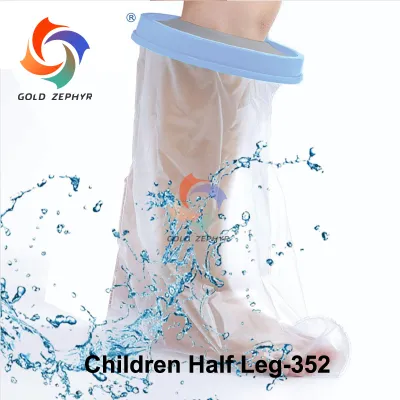
Prices are valid at publication and may change. Please refer to the product page for the latest price.
Step-by-Step Application for a Secure Seal
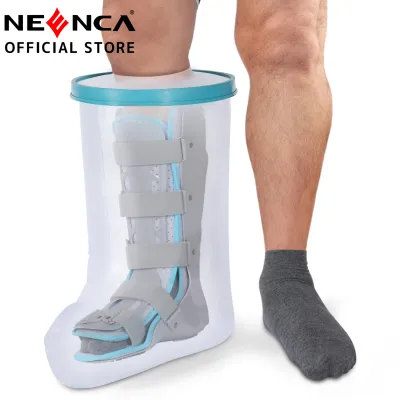
Putting on a waterproof leg cast cover requires patience and a gentle touch to avoid damaging the elastic diaphragm or disturbing your underlying injury. Begin by sitting down in a stable, dry chair. Locate the flexible rubber or silicone seal ring at the top of the cover. Instead of trying to force your foot directly through the narrow opening, fold or roll the elastic seal ring outward, away from the body of the cover. This action widens the opening and exposes the smooth inner surface, preventing the rubber from catching on your toes, toenails, or the rough exterior of your cast as you slide it on.

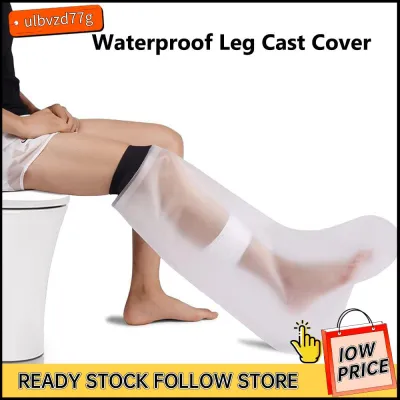
Slowly and carefully guide your foot into the opening. Use one hand to hold the rolled seal open while using your other hand to pull the plastic sleeve up over your foot, ankle, and calf. Slide the cover upward in a gradual, bunching motion rather than pulling it in one hard, continuous tug. Once the cover is fully pulled up and the seal ring is positioned several inches above the top edge of your cast on bare skin, gently unroll the elastic ring so that it lies completely flat against your skin. The rubber should point upward, creating a collar-like barrier that hugs your leg snugly.
A successful watertight barrier relies on a smooth, uninterrupted contact zone between the rubber seal and your bare skin. Inspect the entire circumference of the seal using a hand mirror or by feeling around the back of your leg. Look closely for any wrinkles, folds, or gaps where water could seep through. Ensure that no loose threads, cotton padding, or clothing fabric from your cast are trapped underneath the rubber ring, as these materials will act as a wick, drawing water directly inside the cover. Finally, gently press the plastic body of the cover to expel any excess trapped air through the top seal, which helps the cover cling closer to your leg and reduces buoyancy.
Best Practices for Showering With a Leg Cast
Once seated in your shower chair with the cover secured, adapt your showering habits to protect the seal. Water temperature is highly important; avoid extremely hot water, as steam and heat cause your leg to sweat inside the plastic sleeve. In the humid Philippine climate, this internal condensation can easily be mistaken for a leak and will make the cast damp from the inside out. Keep the water lukewarm. Additionally, adjust your showerhead to a gentle spray pattern rather than a high-pressure setting, which can force water under the edges of the elastic seal.
Position your casted leg correctly to add an extra layer of defense. Keep your covered leg elevated on a small footstool or extended outward, away from the direct path of the running water. Do not let the leg sit in standing water on the shower floor, as immersion increases hydrostatic pressure against the bottom seams. Use your hand-held showerhead to direct water precisely onto your body, keeping the stream pointed away from the top seal.
Keep your shower times brief, ideally under ten to fifteen minutes. Prolonged exposure to moisture and humidity increases the risk of condensation forming inside the plastic sleeve, and sitting or standing in a wet environment for too long can lead to physical fatigue. Fatigue compromises your balance and coordination, making the transition out of the shower significantly more hazardous.
Safe Removal and Post-Shower Moisture Checks
Removing your waterproof leg cast cover is just as critical as putting it on. Before touching the cover, thoroughly dry your hands, arms, and the upper part of your leg above the seal with a clean towel to prevent water droplets from running down onto your cast once the seal is broken. Sit down in a dry, stable chair. Gently slide your fingers under the top edge of the rubber seal and peel it back slowly. Do not pull the cover down by grabbing the plastic bag portion, as this sudden tension can tear the rubber ring. Instead, roll the seal outward again and slide the cover down your leg in a controlled, gradual motion.
Once the cover is completely off, perform a meticulous inspection of your cast and skin. Start by visually checking the top and bottom edges of the cast for any dark spots or discoloration, which indicate dampness. Next, use your dry hands to feel the outer shell and reach slightly inside the top cuff to touch the cotton padding. If you feel any coolness, dampness, or softening of the plaster, your cast has been compromised.
If you detect any moisture inside the cast, you must take immediate action to prevent skin breakdown and structural damage. Contact your orthopedic doctor or visit your local clinic right away. Do not attempt to dry the cast yourself using a handheld hairdryer, space heater, or high-heat fan. Applying direct heat to a wet cast can trap steam against your skin, leading to severe thermal burns, or it can warp and weaken the cast material, rendering it ineffective at stabilizing your bone. Replacing a ruined cast at a local clinic can cost upwards of ₱3,000 to ₱8,000, making prevention and immediate professional care highly critical.
Troubleshooting Leaks and Fit Issues
If you experience persistent leaks despite following the application steps, you need to identify and resolve the underlying cause before your next shower. One common culprit is body hair or dry, peeling skin, which can create microscopic pathways that allow water to bypass the rubber seal. Shaving a small band of hair where the seal rests or applying a very thin layer of water-based moisturizer can help create a smoother, more secure contact surface. Another frequent issue is incorrect sizing; if you have lost muscle mass in your leg during recovery, the seal may become too loose, requiring you to transition to a smaller cover size.
Inspect the waterproof cover regularly for signs of wear and tear. Over time, the elastic rubber ring can lose its elasticity, stretch out, or develop micro-tears that are invisible to the naked eye. If you notice that the seal feels less snug than it did initially, or if the plastic sleeve shows signs of creasing and thinning, it is time to replace the cover. Most manufacturers provide specific guidelines regarding the lifespan of their products, which typically range from several weeks to a few months of daily use.
If a commercial waterproof leg cast cover consistently fails to provide a reliable seal due to unique leg shapes or cast dimensions, do not resort to unsafe DIY methods like garbage bags and duct tape, which frequently fail. Instead, consult your healthcare provider for alternative waterproofing solutions. They may recommend specialized waterproof cast liners that can be applied directly under your fiberglass cast, allowing you to wet the cast safely, or they can provide professional guidance on alternative bathing techniques.
Frequently Asked Questions (FAQ)
Can I submerge my leg in a bathtub while wearing a waterproof cast cover?
Most standard waterproof leg cast covers are designed strictly for shower splashes and are not rated for full submersion. Submerging your leg in a bathtub increases the hydrostatic pressure on the rubber seal, which can easily force water past the barrier and saturate your cast. Always check the manufacturer’s specifications, as only specialized, vacuum-sealed models are rated for submersion, and even those have strict depth and time limits.
What should I do if water gets inside my cast during a shower?
If water penetrates your cast, contact your healthcare provider or orthopedic clinic immediately to arrange for a cast change. Do not attempt to dry the cast using a hairdryer, as the trapped heat can cause severe skin burns, and the moisture can lead to skin maceration and infection within hours. Keep the leg elevated and wait for professional medical assistance.
How do I clean and store the waterproof cover after use?
After each use, gently rinse the exterior and interior of the cover with clean, lukewarm water to remove any soap residue. Hang the cover to air-dry completely in a well-ventilated area, keeping it away from direct sunlight or direct heat sources like radiators, which can degrade the rubber seal. Once fully dry, store it flat in a cool, dry place to prevent the material from sticking together or creasing.
Community discussion
Share your experience or ask a question. Comments are reviewed before publication.