
Using a yoga stick posture corrector is an active, movement-based approach to opening up tight chest muscles, mobilizing the thoracic spine, and retraining your upper back to support a natural, upright alignment. Unlike passive wearable braces that pull your shoulders back mechanically and can lead to muscle laziness over time, a yoga stick serves as a physical guide. It helps you build the necessary body awareness, flexibility, and muscular strength to maintain good posture on your own.
In warm, humid climates like the Philippines, performing these exercises in a comfortable, well-ventilated space or under a ceiling fan is highly recommended to prevent slipping on sweat. Wearing lightweight, breathable athletic clothing will also help you maintain a secure grip on the tool. By incorporating this simple prop into your daily routine, you can actively counteract the slouching habits caused by long hours at a desk or looking down at mobile devices.
Understanding Your Yoga Stick and Posture Goals
Before beginning any exercises, it is essential to identify the specific type of posture tool you are using, as different designs serve distinct functions. A standard yoga stretching stick is typically a straight, solid rod made of wood, fiberglass, or padded stainless steel. This tool is designed for dynamic, active stretching and mobility work where you control the resistance and range of motion. In contrast, cross-shaped or figure-eight posture sticks are designed to be worn or held flat against the back to physically restrict slouching and encourage a broad chest.
Products mentioned in this guide
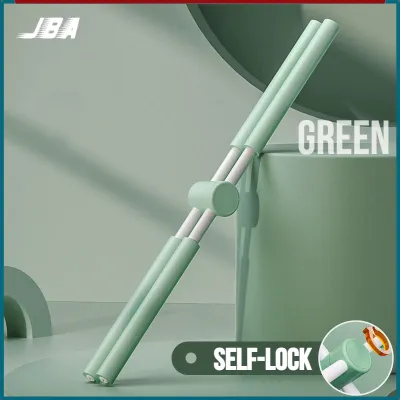

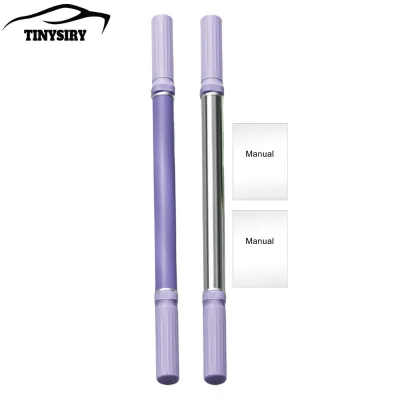
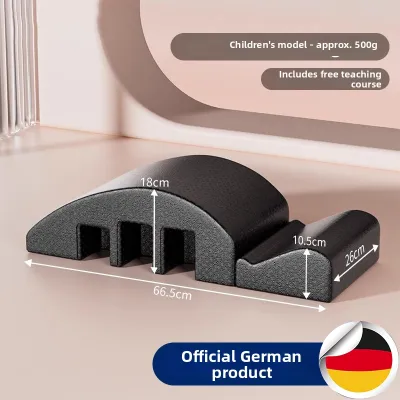
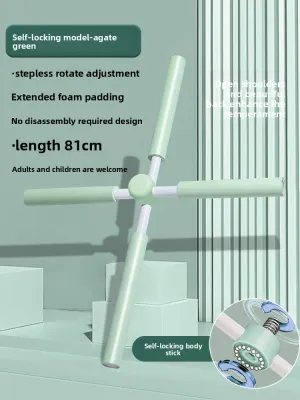


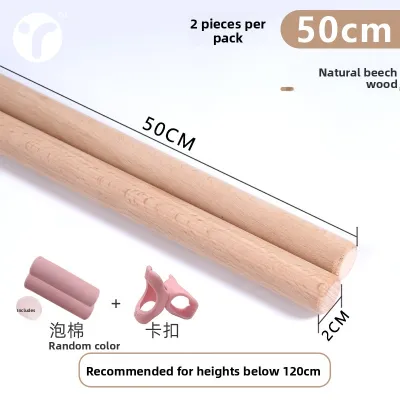
Prices are valid at publication and may change. Please refer to the product page for the latest price.
It is important to set realistic expectations for what a yoga stick can achieve. This tool does not permanently realign your skeletal structure or cure bone-related spinal conditions on its own. Instead, it acts as a training aid that stretches tight, shortened muscles in the front of your body while helping you activate and strengthen the weak, overstretched muscles in your back.
The primary target areas for this routine are the muscles and joints affected by modern sedentary habits. This includes rounded shoulders (where the scapulae drift forward), forward head posture (where the neck juts out), and upper back stiffness (a lack of mobility in the thoracic spine). By targeting these specific areas, you can gradually restore balance to your upper body musculature.
Preparing for Your Posture Correction Routine
Safety begins with a thorough inspection of your equipment before every single session. If you are using a wooden yoga stick, run your hands carefully along the surface to check for splinters, cracks, or rough spots that could cause injury or snag your clothing. For adjustable metal or fiberglass models, verify that any locking pins, threads, or central joints are completely secure and show no signs of structural wear.

Always refer to the manufacturer’s guidelines regarding weight limits, assembly instructions, and material care. In humid environments, foam grips can accumulate moisture and sweat, which may lead to degradation or slipping. Wipe down your stick after each use with a dry or slightly damp cloth, and store it in a cool, dry place away from direct sunlight to preserve its structural integrity.
Never begin stretching with cold muscles. Spend three to five minutes warming up your shoulder joints, neck, and thoracic spine with gentle, unweighted movements. Simple shoulder rolls, neck tilts, and gentle torso twists will increase local blood flow and prepare your soft tissues for deeper stretches.
Before picking up the stick, establish your baseline pain-free range of motion for the day. Move your arms overhead and behind your back without any equipment, noting where you feel the first signs of tightness. This baseline serves as your personal boundary; you should never force your body past this point of comfortable resistance during the workout.
Step-by-Step Exercises for Posture Correction
To get the most benefit from your yoga stick while protecting your joints, you must adhere to strict movement principles. Always maintain a neutral spine, keeping your feet hip-width apart, your knees slightly soft, and your core gently engaged to stabilize your lower back. Breathe deeply and evenly throughout each movement, focusing on a slow, controlled tempo rather than rushing through the repetitions.
If you experience any sharp, pinching, or sudden pain in your shoulder joints, neck, or back, stop the exercise immediately. Posture correction should feel like a deep, satisfying stretch and muscle activation, never a painful struggle.
Shoulder and Chest Opening Stretches
The overhead pass-through, often referred to as a shoulder dislocation, is a highly effective movement for opening up tight chest muscles and improving shoulder mobility. Hold the yoga stick in front of your thighs using a very wide grip, with your palms facing down. Keeping your arms completely straight, slowly lift the stick overhead and continue the arc backward until the stick touches your lower back or glutes. Slowly reverse the movement to return to the starting position.
If you find your elbows bending or your shoulders shrugging up toward your ears as the stick passes overhead, your grip is too narrow. Slide your hands further outward toward the ends of the stick to accommodate your current flexibility level. As your shoulders become more mobile over several weeks of consistent practice, you can gradually narrow your grip.
Another excellent movement is the behind-the-back stretch. Hold the stick horizontally behind your lower back with your palms facing backward. Keeping your chest broad and your shoulders pulled down away from your ears, gently lift the stick upward and away from your body. Focus on keeping your spine perfectly neutral; do not arch your lower back or thrust your ribcage forward to force a higher lift.
For beginners, perform 8 to 10 controlled repetitions of the overhead pass-through, and hold the behind-the-back stretch for 15 to 30 seconds. Adjust the volume and duration based on your comfort, ensuring you never push into joint discomfort.
Spinal Alignment and Back Engagement
To address upper back stiffness and promote thoracic extension, you can use the yoga stick as a gentle lever. Place the stick horizontally across your upper back, resting it on the meaty portion of your trapezius muscles rather than directly on your neck vertebrae. Wrap your arms over the stick and hold the ends comfortably. From this position, gently lift your chest toward the ceiling, creating a mild arch in your upper back while keeping your lower back stable.
To build the muscular endurance required for good posture, incorporate isometric holds for scapular retraction. While holding the stick across your upper back, actively squeeze your shoulder blades together as tightly as possible. Hold this contraction for 5 to 10 seconds, focusing on the muscles between your shoulder blades, before releasing.
If you notice your lower back compensating by overarching during these movements, modify the exercise by sitting on a firm, flat-backed chair. Sitting helps lock your pelvis in place, preventing the lumbar spine from taking over and ensuring the stretch is isolated to your thoracic spine.
Common Mistakes and When to Stop
One of the most common mistakes when using a yoga stick is forcing a stretch beyond your active flexibility limits or using momentum to swing the stick. Jerking the tool to force your arms overhead can strain the delicate rotator cuff muscles and lead to long-term shoulder instability. Every movement must be slow, deliberate, and entirely controlled by your muscles.
Another frequent error is allowing your lower back to arch excessively, a posture known as anterior pelvic tilt, during overhead movements. This compensation occurs when your shoulders are tight, and your body attempts to find an easier path to complete the movement. To correct this, keep your abdominal muscles engaged and tuck your tailbone slightly downward to protect your lumbar spine.
You must establish strict stopping conditions to protect your body from injury. Halt your routine immediately if you experience joint clicking accompanied by pain, numbness, tingling in your arms or hands, or any sharp, shooting nerve sensations. These symptoms can indicate joint impingement, tendonitis, or nerve compression, which require professional evaluation.
If your postural issues are accompanied by persistent pain, or if you do not see any improvement after several weeks of careful, consistent practice, abandon self-correction. Consult a licensed physical therapist or medical professional who can provide a personalized assessment and treatment plan.
Building a Sustainable Posture Routine
Consistency is far more important than intensity when it comes to posture correction. For beginners, a short routine of 5 to 10 minutes performed three times a week is an excellent starting point. As your body adapts and your mobility improves, you can gradually increase this to short daily sessions, which are highly effective for counteracting the physical toll of daily desk work.
To achieve lasting results, you must combine passive stretching with active strengthening exercises. While the yoga stick is excellent for opening up tight tissues, you also need to build the muscles that hold you upright. Integrate exercises like resistance band rows, bodyweight reverse flyes, or wall sits into your weekly routine to strengthen your upper back and core.
Finally, support your exercise routine by making conscious ergonomic adjustments throughout your day. Ensure your computer screen is at eye level, keep your keyboard close enough to prevent your shoulders from reaching forward, and take short breaks to stand and stretch every hour. These daily habits work hand-in-hand with your yoga stick routine to create lasting, healthy posture.
Frequently Asked Questions (FAQ)
Can a yoga stick fix a hunched back permanently?
A yoga stick cannot permanently fix structural kyphosis, which is a bone-related curvature of the spine that requires medical diagnosis and treatment. However, for functional kyphosis—which is caused by poor posture, muscle weakness, and tight chest muscles—a yoga stick is a highly effective tool. Achieving permanent improvement requires combining consistent stretching with active back-strengthening exercises and daily ergonomic awareness.
How wide should my grip be on the yoga stick?
You should always start with a grip that is significantly wider than shoulder-width, especially if you have tight shoulders or chest muscles. As your flexibility improves over time, you can gradually slide your hands closer together. If you experience involuntary shrugging of your shoulders, bending of your elbows, or sharp tension in your neck during the movements, your grip is too narrow and should be widened immediately.
Community discussion
Share your experience or ask a question. Comments are reviewed before publication.