
Using an “infinity hoop”—whether you are referring to a rigid Pilates ring or a flexible figure-8 resistance band—is an excellent way to build strength, improve posture, and tone your entire body from home. To get the most out of this versatile equipment, you must understand its specific mechanics, maintain precise alignment, and execute each movement with deliberate control. By focusing on targeted muscle engagement rather than rapid repetitions, you can stimulate deep stabilizing muscles while protecting your joints from unnecessary strain.
To exercise safely, you must first identify which type of equipment you own, as their structural designs require completely different handling. A rigid Pilates ring and a flexible figure-8 band serve distinct training purposes and cannot be used interchangeably without risking injury or equipment damage. Establishing a proper setup, performing routine safety checks, and following structured exercise progressions will ensure your home workouts remain highly effective and completely safe.
Identify Your Equipment: Pilates Ring vs. Infinity Resistance Band
Before beginning any exercise routine, you must clarify the exact design of your equipment. In fitness spaces, the term “infinity hoop” is sometimes used to describe two very different tools: a rigid Pilates ring (often called a magic circle) and a flexible figure-8 resistance band. A rigid Pilates ring is a circular hoop made of flexible fiberglass or steel, featuring padded handles on opposite sides. It is designed to provide spring-like resistance when you compress it inward or pull it outward.
Products mentioned in this guide
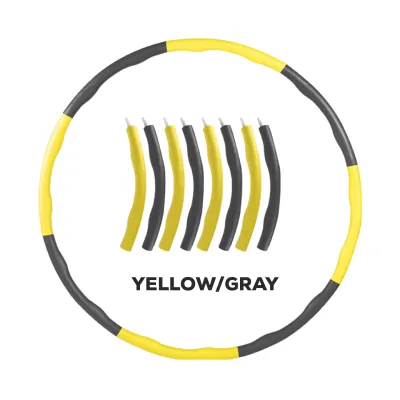
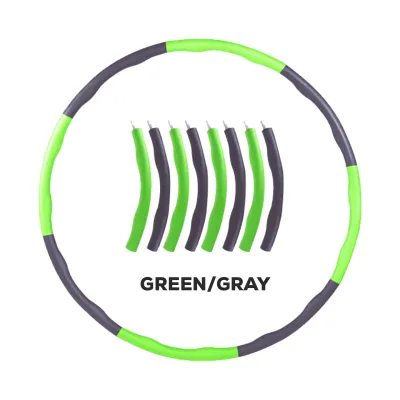
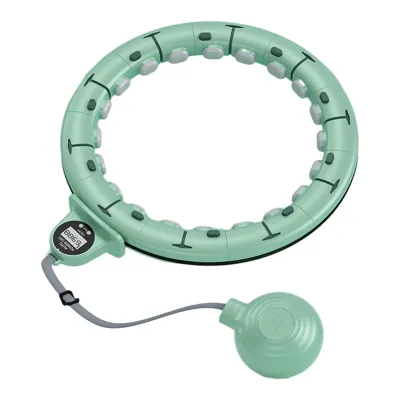
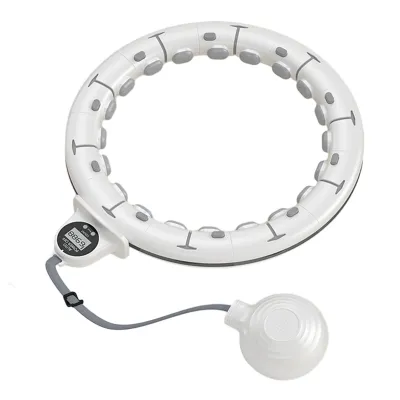
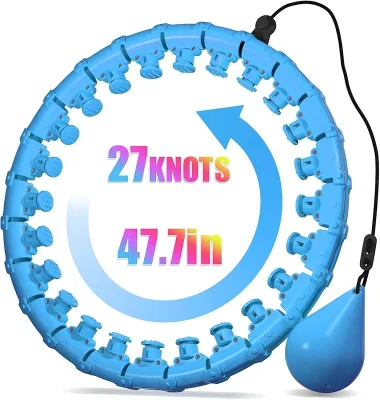
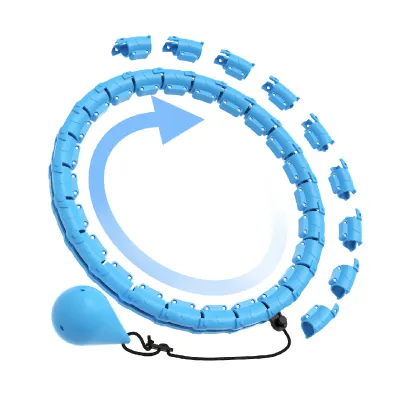
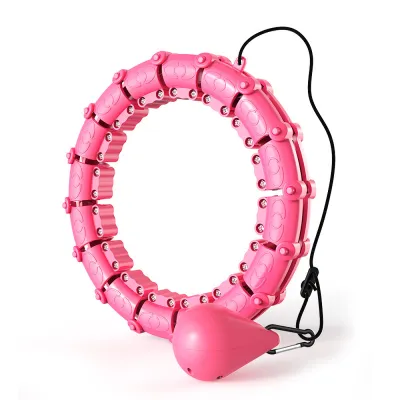
Prices are valid at publication and may change. Please refer to the product page for the latest price.
In contrast, a flexible figure-8 or infinity resistance band consists of elastic tubing or woven fabric crossed in the middle to form two loops. This tool relies entirely on elongation tension, meaning the resistance increases the further you stretch the band. The grip mechanics and structural limits of these two items are fundamentally different, dictating how they interact with your body during a workout.
Attempting to use these tools interchangeably can lead to equipment failure or physical strain. For example, placing a flexible figure-8 band between your knees for inner thigh squeezes is ineffective because the band lacks the rigid structure needed to resist compression. Conversely, trying to stretch a rigid Pilates ring beyond its structural limits can crack the inner core, causing it to snap unexpectedly. Always match your exercises to the specific mechanical properties of the tool you are using.
Preparation and Safety Checks Before You Start
A safe workout begins with a thorough inspection of your equipment before every single session. For a rigid Pilates ring, check the outer plastic or rubber coating for hairline cracks, and ensure the padded handles are securely attached. If you are using a flexible figure-8 band, stretch it slightly under a bright light to inspect for micro-tears, discoloration, fraying, or small punctures. Elastic materials can degrade over time, and a damaged band can snap under tension, potentially causing painful welts or facial injuries.

Your workout environment also plays a critical role in preventing slips and falls. Clear a flat, level exercise area with at least a two-meter radius, ensuring you will not strike any furniture, walls, or low-hanging fixtures during your movements. In warm, humid tropical climates, sweat can quickly accumulate on hard floors, creating a serious slipping hazard. Always perform your exercises on a high-grip, non-slip yoga mat to maintain stable footing and protect your joints.
Before introducing any resistance, prepare your cardiovascular system and joints with a brief dynamic warm-up. Spend three to five minutes performing gentle movements such as shoulder rolls, torso twists, and bodyweight squats. This increases blood flow to your muscles, lubricates your joints, and prepares your nervous system for the specific movement patterns of your workout.
Step-by-Step Exercises Using a Rigid Pilates Ring
The rigid Pilates ring is exceptional for targeting deep stabilizing muscles through isometric compression and controlled releases. To perform inner thigh and glute squeezes, lie flat on your back on your mat with your knees bent and feet flat on the floor, spaced hip-width apart. Place the padded handles of the ring just above your knees, ensuring the ring does not rest directly on the joint bones. Keep your pelvis in a neutral position, press your lower back gently toward the floor, and slowly squeeze your thighs inward against the ring. Hold this compression for two seconds, then slowly release the tension without letting the ring drop.
For chest presses and upper back engagement, stand tall with your feet hip-width apart and your knees slightly soft. Hold the Pilates ring at chest height, placing the palms of your hands flat against the outer pads with your fingers extended straight. Keep your shoulders relaxed and down, away from your ears. Exhale as you slowly compress the ring inward, focusing on engaging your chest and core muscles, then inhale as you release the pressure with control. To target the upper back, place your hands inside the pads and press outward, keeping your shoulder blades retracted.
To tone your arms and shoulders, raise the Pilates ring directly overhead while maintaining a neutral spine and keeping your ribcage tucked. Hold the outer pads with your palms and apply a gentle, continuous inward pressure. Slowly lower the ring to chest level and raise it back overhead while maintaining this compression. This continuous tension engages the deltoids, triceps, and stabilizing muscles of the shoulder girdle.
Always pay close attention to your body’s feedback and observe strict stop conditions during these exercises. Immediately release all tension and stop the movement if you experience sharp joint pain, pinching in your shoulders, or sudden muscle cramping. Exercises with a rigid ring should feel challenging to your muscles, but they should never cause joint discomfort or sharp, localized pain.
Step-by-Step Exercises Using a Flexible Figure-8 Band
A flexible figure-8 band is highly effective for improving posture, strengthening the upper back, and adding resistance to lower-body movements. To perform back extensions and posture pulls, stand with your feet shoulder-width apart and hold one loop of the band in each hand in front of your chest. Keep your elbows slightly bent and your wrists straight. Exhale as you pull your hands apart, stretching the band across your chest while squeezing your shoulder blades together. Hold this position for a moment to maximize scapular retraction, then slowly return to the starting position.
For lower body integration, you can use the band to add resistance to classic glute bridges. Lie on your back with your knees bent and feet flat on the floor. Loop one side of the figure-8 band around each thigh, positioning the band a few inches above your knees. As you lift your hips toward the ceiling, press your thighs outward against the elastic resistance of the band. This outward pressure activates the gluteus medius and outer thighs, helping to stabilize your pelvis throughout the movement.
To engage your core with rotational movements, sit on your mat with your legs extended in front of you and your knees slightly bent. Loop one end of the figure-8 band securely around the arches of both feet, and hold the other loop with both hands. Lean back slightly to engage your abdominal muscles, keeping your spine straight and long. Rotate your torso slowly to the right, pulling the band diagonally across your body, then return to the center before rotating to the left. Focus on controlling the eccentric release phase as the band pulls you back to the starting position.
To prevent injury, always respect the safety limits of elastic bands. Never overstretch the band beyond its intended elasticity, which is generally double its resting length, as this can cause the material to snap. Ensure the band is fully anchored under the flat arches of your feet rather than your toes to prevent it from slipping off during tension. Additionally, avoid stepping on the band while wearing shoes with sharp treads, which can easily slice the rubber.
How to Build a Safe and Effective Workout Routine
Creating a balanced weekly routine ensures you stimulate muscle growth and endurance without risking overtraining or joint strain. For beginners, a safe starting point is to perform 1 to 2 sets of 10 to 12 repetitions for each exercise, resting for 45 to 60 seconds between sets. As your strength and muscular endurance improve over several weeks, gradually increase the volume to 3 sets of 15 repetitions. Focus entirely on the quality of each movement rather than trying to rush through the repetitions.
A well-rounded fitness routine must combine resistance training with mobility work and dedicated recovery. After completing your strength exercises, spend five to ten minutes performing static stretches to relieve muscle tension and maintain flexibility. Focus on stretching the inner thighs, chest, shoulders, and hamstrings, holding each stretch for 20 to 30 seconds while breathing deeply. This practice helps reduce muscle tightness and promotes faster recovery between your workout sessions.
Recognizing the signs of overtraining is essential for long-term progress and injury prevention. If you experience persistent joint soreness, muscle fatigue that lasts more than 48 hours, or find yourself using momentum or arching your back to complete a repetition, your body is signaling that it needs rest. When these signs appear, reduce the resistance level, modify the movements to be less intense, or take a dedicated rest day to allow your muscles to repair and rebuild.
Frequently Asked Questions (FAQ)
How do I clean and store my infinity hoop after sweating?
To maintain hygiene and prolong the lifespan of your equipment, wipe down the padded handles of your rigid ring or the surface of your figure-8 band after every workout. Use a soft cloth dampened with water and a mild, non-abrasive soap. Avoid using harsh chemical solvents, bleach, or alcohol-based sprays, as these substances can rapidly degrade foam padding and dry out elastic rubber. Always allow the equipment to air dry completely in a shaded area before storing it. Store your tools in a cool, dry place away from direct sunlight, moisture, and extreme heat, which can cause rubber to become brittle and lose its elasticity.
When should I upgrade to a higher resistance level?
You should consider upgrading to a higher resistance level when you can complete 3 sets of 15 repetitions of an exercise with perfect form and feel minimal muscle fatigue afterward. If the movement no longer challenges your stability, core engagement, or target muscles, it is time to progress. To transition safely, choose a thicker figure-8 band or a rigid Pilates ring designed with a higher spring tension. When starting with the new resistance level, temporarily reduce your repetitions to ensure you can maintain proper alignment, control, and joint positioning without straining.
Community discussion
Share your experience or ask a question. Comments are reviewed before publication.