
To properly use glove glue to repair your boxing gloves, you must clean the damaged surfaces, apply a compatible flexible adhesive in thin layers, and clamp the materials securely while they cure. This process effectively restores separating seams, peeling outer shells, and loose inner linings, allowing you to extend the training life of your gear. However, the success of the repair depends on choosing the correct flexible adhesive, preparing the surfaces meticulously, and allowing the bond to cure under appropriate environmental conditions.
Using the right technique ensures that the repaired areas remain pliable enough to withstand the repeated impacts and constant flexing of boxing training. Improper application, such as using rigid adhesives or skipping surface preparation, can ruin the gloves permanently or create hard spots that cause hand injuries.
Assessing the Damage: When to Repair vs. Replace
Before purchasing adhesive or starting the repair process, you must carefully inspect your boxing gloves to determine if they can be safely salvaged. Boxing gloves are designed to protect your hands and your training partners from high-impact forces. If the structural integrity of the glove is compromised, attempting a repair can lead to serious injury during training.
Products mentioned in this guide
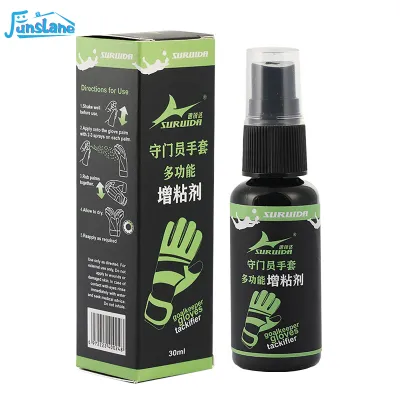
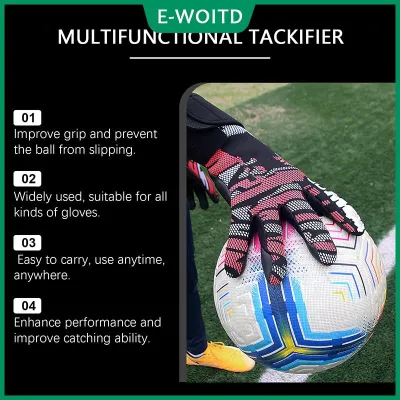
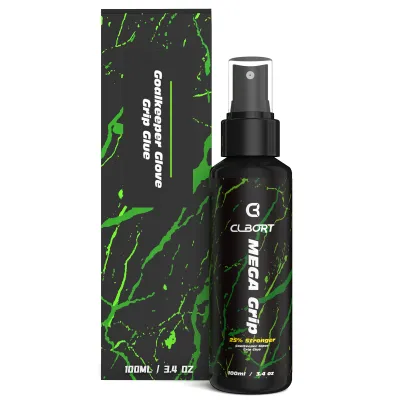
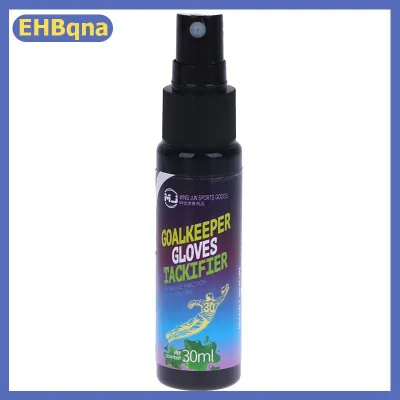
![[COD]ZMONH Goalkeeping Gloves Non Slip Enhanced Sticky Baseball Glove Glue Ultra Hold Replacement for Game and Practice Scenarios](https://img.lazcdn.com/g/p/df5f6cd45fb8876469e8bf21e25e0967.jpg_400x400q80.jpg_.webp)
Prices are valid at publication and may change. Please refer to the product page for the latest price.
Identify Repairable Issues
Many common signs of wear and tear are easily fixable with high-quality glove glue. You can successfully repair minor seam separations along the cuff, thumb, or outer edges of the glove. Peeling outer synthetic layers, minor tears in non-impact zones, and loose inner linings that have detached from the foam are also excellent candidates for adhesive repair. These issues are primarily cosmetic or structural surface failures that do not affect the glove’s core protective qualities.
Identify Unrepairable Issues
Some types of damage cannot be fixed and require you to replace the gloves entirely. If the internal foam padding is crumbling, shifting, or has “bottomed out” (meaning you can feel your knuckles directly through the padding when pressing down), the gloves are no longer safe to use. Deep structural tears across the main knuckle area of genuine leather gloves also cannot be reliably glued back together. Additionally, gloves with extensive mold, mildew, or deep-seated hygiene issues that cause persistent foul odors should be discarded, as these organic materials degrade both the fabric and the foam from the inside out.
Safety Boundaries for Repaired Gear
Always keep in mind that a repaired boxing glove is no longer suitable for heavy, competitive sparring or professional bouts. The high-velocity impacts of sparring can easily rupture a repaired seam, exposing your knuckles or scratching your partner’s face. Repaired gloves are best utilized for light training, such as heavy bag work, double-end bag drills, or focus mitt sessions. If you plan to engage in hard sparring, you must invest in a new, fully intact pair of gloves to ensure maximum safety for everyone in the gym.
Tools and Materials Needed for the Repair
Gathering the correct tools before you begin ensures a clean, efficient, and successful repair. Using improper materials can permanently damage the glove’s outer shell or ruin the internal padding.

First, select a high-quality glove glue or flexible leather adhesive. You must check the manufacturer’s label to verify compatibility with your specific glove material, whether it is genuine cowhide leather, synthetic polyurethane (PU) leather, microfiber, or vinyl. The adhesive must remain highly flexible and impact-resistant once fully cured; rigid glues will crack and fail immediately upon impact.
For surface preparation, you will need:
- A mild soap or specialized leather cleaner
- Clean microfiber cloths
- Isopropyl rubbing alcohol
Warning: Always test the rubbing alcohol on a small, hidden area of the glove, such as the inside of the wrist strap, before applying it to the damaged area. This ensures the alcohol does not strip the dye, discolor the finish, or degrade the synthetic coating.
For precise application, prepare:
- Toothpicks, cotton swabs, or small flat-bristle brushes
- Fine-grit sandpaper (400-grit), but only if explicitly recommended by the adhesive manufacturer
For clamping and pressure:
- Binder clips, rubber bands, or masking tape
- Heavy books or weights (for flat areas)
- Small scraps of cardboard or folded paper to place under metal clips to prevent them from denting the glove material
Step-by-Step Guide to Applying Glove Glue
Properly applying glove glue requires patience and precision. Follow these detailed steps to ensure a strong, long-lasting bond that maintains the flexibility of your boxing gloves.
Preparing the Surface
The most critical step in any adhesive repair is preparing the surface. Over time, boxing gloves accumulate sweat, body oils, hand wrap lint, and gym dust. These contaminants create a barrier that prevents the glue from adhering to the material, leading to premature bond failure.
Begin by wiping down the damaged area with a clean microfiber cloth slightly dampened with warm water and a tiny drop of mild soap. Gently work the cloth into the crevices to lift away dirt and oils. If the material is compatible, lightly swipe the area with a cloth dampened with isopropyl alcohol to strip away any remaining oily residues.
Allow the gloves to dry completely in a cool, well-ventilated area away from direct heat sources. Moisture trapped under the adhesive will weaken the bond and can cause the material to rot. If the adhesive manufacturer’s instructions explicitly recommend scuffing, use 400-grit sandpaper to lightly abrade the bonding surfaces. This scuffing creates microscopic texture, allowing the glue to form a stronger mechanical bond.
Fixing Separating Seams and Outer Layers
Separating outer seams and peeling synthetic layers are common issues that can quickly worsen if left untreated. Catching these splits early prevents the internal foam from being exposed to sweat and air.
Using a toothpick or a small flat brush, apply a very thin, even layer of glove glue to both separating surfaces. Do not apply the glue directly from the tube, as this often results in excessive pooling. Ensure the adhesive is spread uniformly right up to the edges of the split seam.
Wait for the glue to become tacky, strictly following the open-time instructions on the product label. This typically takes between one and five minutes. When you touch the glue lightly with a clean finger, it should feel sticky but not transfer any wet residue to your skin.
Press the two surfaces firmly together, aligning the edges precisely. Apply constant pressure using binder clips or rubber bands. To protect the glove’s outer material from being crushed or marked by the clips, place small pieces of folded cardboard between the clip jaws and the glove surface. Wipe away any excess glue that squeezes out of the seam immediately with a damp cloth.
Reattaching Loose Padding and Inner Lining
A loose inner lining can bunch up during training, causing uncomfortable friction, blisters, or distracting shifts in your hand position. Reattaching the lining requires a delicate touch to avoid damaging the internal foam.
Carefully reach inside the glove to locate the detached lining and the underlying foam. Use a flashlight to inspect the area and ensure you have a clear view of the damage. Using a long cotton swab or a flexible spatula, apply a very sparse layer of adhesive to the backside of the lining fabric.
Avoid soaking the foam padding with glue. Open-cell and closed-cell foams used in boxing gloves are highly sensitive to chemical solvents. Excess adhesive can saturate the foam, causing it to dissolve, collapse, or harden into a rigid, solid mass. A hardened spot inside the glove will bruise your knuckles and ruin the glove’s protective qualities.
Smooth the lining fabric back into its original anatomical position, pressing it firmly against the foam. Use your fingers to smooth out any wrinkles or air bubbles, working from the center outward. Immediately wipe away any excess glue that escapes the edges to prevent hard, scratchy seams from forming inside the hand compartment.
Curing, Testing, and Post-Repair Care
Once the adhesive is applied and clamped, the chemical curing process begins. Rushing this stage is the most common reason glove repairs fail prematurely.
Curing Time and Environmental Factors
Always follow the manufacturer’s recommended curing time, which is typically 24 to 48 hours for maximum strength. Do not attempt to use or flex the gloves before this period has fully elapsed.
In tropical climates like the Philippines, ambient humidity and temperature play a significant role in how adhesives cure. High relative humidity can accelerate the curing of certain moisture-reactive polyurethane glues, but it can also trap water vapor under solvent-based contact adhesives, resulting in a weak, cloudy bond. To ensure optimal curing, leave your gloves in a dry, indoor room with stable temperature and good air circulation, such as a room with a ceiling fan or air conditioning. Keep them away from direct tropical sunlight, damp laundry areas, or closed gym bags.
Visual and Tactile Verification
After the full curing time has passed, remove the clamps or bands and perform a thorough inspection. Gently tug at the repaired seams to verify that the edges are completely sealed and do not lift. Press down on the repaired areas of the glove to ensure the material remains flexible and that no hard, crystallized glue spots have formed. If you detect any lifting, you may need to apply a tiny touch-up layer of adhesive and clamp it again.
Testing and First Use
Before taking your repaired gloves into a high-intensity training session, perform a progressive test. Wear your hand wraps and put on the gloves, paying attention to how the interior lining feels against your skin. If there are no rough spots or discomfort, start with a light workout.
Begin with three to four rounds of light heavy-bag work or focus mitt drills. Focus on clean technique and moderate impact to observe how the repaired area responds to flexing and compression. After the session, inspect the gloves for any signs of cracking, peeling, or seam separation. If the bond remains intact, you can gradually increase the intensity of your workouts, keeping in mind that these gloves should remain dedicated to bag and pad work.
Common Mistakes to Avoid When Using Glove Glue
Avoiding common pitfalls will save your gear from permanent damage and ensure your hands remain fully protected during training.
- Using Super Glue (Cyanoacrylate): Never use standard household super glue on boxing gloves. Super glue cures into a rigid, brittle plastic that cannot withstand the constant flexing of a glove. It will crack on your very first punch, rendering the repair useless. Furthermore, the harsh chemicals in cyanoacrylate can dry out genuine leather, cause synthetic finishes to peel, and melt internal foam padding.
- Over-Applying the Adhesive: Applying a thick layer of glue does not create a stronger bond. Instead, excess glue takes much longer to cure, remains soft in the center, and easily squeezes out to create hard, sharp edges that can scratch your skin or your training partners. Always apply thin, even coats.
- Skipping Surface Preparation: Gluing directly over sweat-soaked leather or dusty linings guarantees that the adhesive will bond to the dirt rather than the glove itself. This results in the repair peeling off almost immediately during your workout.
- Rushing the Curing Process: Using your gloves before the adhesive has fully cured breaks the developing chemical bonds. This ruins the repair and forces you to scrape off the hardened, failed glue before you can attempt the repair again.
Frequently Asked Questions (FAQ)
Can I use regular super glue instead of specialized glove glue?
No, regular super glue is entirely unsuitable for repairing boxing gloves. Super glue cures into a hard, brittle structure that cannot handle the constant flexing and high-impact forces of punching, causing it to crack and fail almost immediately. Additionally, the cyanoacrylate chemicals in super glue can permanently damage synthetic leathers and dry out genuine leather. Always use flexible, impact-resistant polyurethane or neoprene-based adhesives designed specifically for leather, vinyl, or heavy-duty fabrics.
How long will a glued repair last on boxing gloves?
The longevity of a glued repair depends on the location of the damage, the quality of the adhesive, and your training frequency. Repairs on low-stress areas, such as the wrist strap or outer cuff seams, can last for several months of regular training. However, repairs on high-impact zones like the main knuckle surface are subjected to extreme shear forces and may require periodic touch-ups. Treat glove glue as a practical way to extend the training life of your gear for bag and pad work, rather than a permanent factory restoration.
Community discussion
Share your experience or ask a question. Comments are reviewed before publication.