
Achieving a comprehensive, muscle-building workout at home does not require bulky metal weights or expensive gym memberships. A high-quality rubber band tube offers a portable, versatile, and highly effective alternative that can target every major muscle group. By utilizing elastic tension, these fitness tools provide continuous resistance throughout an exercise, challenging your muscles in ways that traditional free weights cannot. Whether you are looking to tone your upper body, build lower-body strength, or engage your core, mastering the proper setup and execution of resistance tube exercises is the key to a successful home fitness routine.
To get the most out of your home workouts, you must understand how to select, secure, and progress with your equipment. Unlike fixed weights, the resistance of a rubber band tube changes dynamically as it stretches, requiring distinct safety precautions and movement mechanics. By establishing a solid foundation of safety and proper form, you can transform any room in your home into a fully functional personal gym.
Getting Started: Choosing and Inspecting Your Rubber Band Tubes
Selecting the right rubber band tube is the first step toward a safe and productive home workout. Most resistance tubes are color-coded to indicate their tension levels, typically ranging from extra-light to extra-heavy. Because color systems vary by manufacturer, always check the product packaging or manual to verify the specific weight equivalent of each band. Beginners should start with a lighter band to master proper form, while intermediate and advanced fitness enthusiasts can utilize medium to heavy bands to challenge their muscles.
Products mentioned in this guide
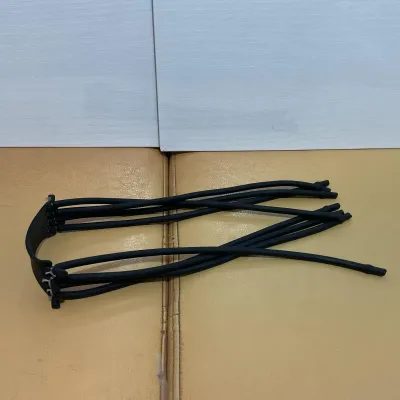
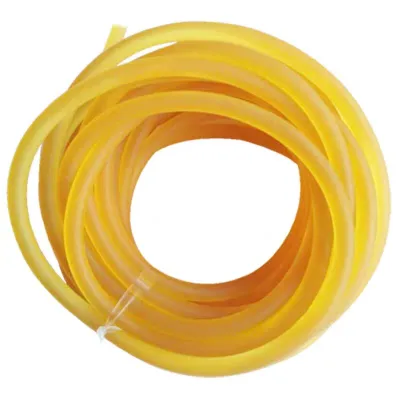
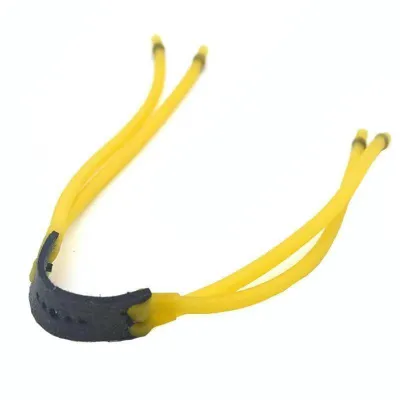

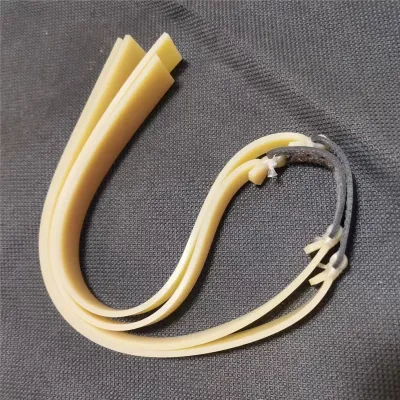
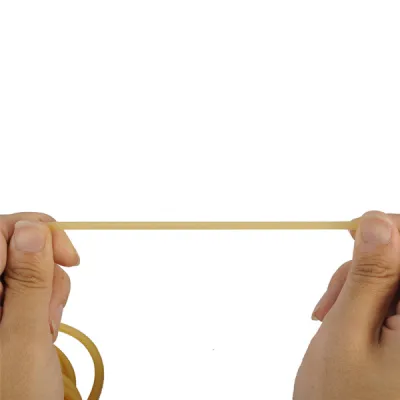
Prices are valid at publication and may change. Please refer to the product page for the latest price.
Before every workout, performing a thorough equipment inspection is vital to prevent sudden snaps or injuries. Examine the entire length of the rubber band tube for micro-tears, discoloration, or dry rot. In the warm and humid climate of the Philippines, natural rubber and latex can degrade more rapidly if exposed to sweat, moisture, or direct sunlight. Pay close attention to the connection points where the tube meets the plastic webbing, metal carabiners, or handles, as these high-stress areas are the most common failure points.
Knowing when to retire a worn-out tube is essential for your safety. If you notice any peeling, deep cracks when the band is slightly stretched, or a sticky or brittle texture, stop using the tube immediately. Replacing a compromised band is a minor investment that prevents the painful and dangerous consequence of a tube snapping under high tension during an exercise.
Essential Setup and Safety Rules for Home Workouts
Creating a secure training environment is crucial before you begin pulling against elastic resistance. When anchoring your rubber band tube to a door, always use a dedicated, heavy-duty door anchor. Place the anchor on the hinge side of a solid wood door that closes away from you, ensuring the door is fully latched and locked. Avoid anchoring bands to lightweight sliding doors, hollow-core doors, or unstable furniture like plastic monobloc chairs, which can easily tip over or break under load.

Maintaining proper body mechanics and control is the foundation of resistance tube safety. Keep your core engaged, maintain a neutral spine, and stand with a wide, stable stance to keep your balance. Because tropical humidity can cause your hands to sweat during an intense home workout, ensure your hands are dry, or wear textured fitness gloves to maintain a firm grip on the handles. Always perform exercises with slow, controlled movements; releasing a stretched band suddenly can cause the handle to fly backward, leading to severe impact injuries.
Your body will provide clear signals if something is wrong during a set. Immediate stop conditions include sharp joint pain, a slipping door anchor, or the sensation of the rubber peeling or tearing. If you feel any sudden loss of tension or instability, safely ease the band back to its starting position and inspect the setup before continuing.
Full-Body Resistance Tube Workout Routine
To build strength and endurance effectively, structure your home workout with a balanced sequence of exercises targeting all major muscle groups. A standard routine consists of performing 3 to 4 sets of 10 to 15 repetitions for each exercise, resting for 60 to 90 seconds between sets. Before applying any external resistance, spend 5 to 10 minutes performing a dynamic warm-up—such as arm circles, bodyweight squats, and gentle torso twists—to lubricate your joints and increase blood flow to your muscles.
Upper Body Exercises (Chest, Back, and Arms)
To target your chest, the standing chest press is an excellent variation. Secure your door anchor at chest height, face away from the door, and grasp the handles with an overhand grip. Step forward to create initial tension, position your hands at chest level with elbows bent at 90 degrees, and press forward until your arms are fully extended. For a chest fly, keep a slight bend in your elbows and bring your hands together in a wide, sweeping hugging motion, focusing on squeezing your pectoral muscles at the peak of the movement.
To strengthen your back and improve posture, incorporate standing or seated rows. Anchor the rubber band tube at mid-torso height, face the anchor point, and hold the handles with your arms extended. Step back to tension the band, bend your knees slightly, and pull the handles toward your ribcage while squeezing your shoulder blades together. Keep your elbows tucked close to your body and avoid shrugging your shoulders during the pull.
For arm development, bicep curls and tricep pushdowns are highly effective. To perform curls, stand on the center of the tube with one or both feet, hold the handles at your sides, and curl your hands toward your shoulders while keeping your elbows pinned to your ribs. For tricep pushdowns, secure the anchor at the top of a sturdy door frame, grasp the handles or the tube itself, and extend your arms downward to lock out your elbows, keeping your upper arms completely stationary.
Lower Body and Core Exercises (Legs, Glutes, and Abs)
To train your lower body, squats and lunges can be easily resisted using a rubber band tube. For squats, stand on the center of the tube with your feet shoulder-width apart, pull the handles up to shoulder height, and hold them securely to create upward tension. Lower your hips back and down as if sitting in a chair, keeping your chest upright and knees aligned with your toes, then drive through your heels to return to a standing position. For lunges, place one foot forward on the band, hold the handles at shoulder height, and step back with the opposite foot, lowering your back knee toward the floor in a controlled motion.
To isolate the glutes and hips, perform glute kickbacks and lateral band walks. For kickbacks, loop one end of the band around your foot, hold the handles at your chest, and kick your leg straight back against the resistance, squeezing your glutes at the top. For lateral walks, stand on the band with both feet, cross the handles in front of your hips to form an “X” shape, and take controlled steps sideways, maintaining constant tension on the outer thighs and hips.
To engage your core, utilize resisted rotations and crunches. For core twists, anchor the tube at chest height, stand sideways to the door, and hold the handle with both hands. Keeping your arms straight and hips stable, rotate your torso away from the door, engaging your obliques. For resisted crunches, anchor the band high, kneel facing away from the door, hold the handles near your ears, and contract your abdominals to pull your elbows down toward your knees.
How to Progress and Adjust Your Resistance Training
As your body adapts to your home workouts, you must systematically increase the difficulty to continue making progress. One of the simplest ways to increase resistance without changing bands is to shorten the active length of the tube. You can achieve this by stepping wider on the band during standing exercises, wrapping the tube around your feet, or choking up on the rubber grip. Alternatively, you can stack multiple tubes onto a single set of handles to increase the total tension.
Adjusting your training variables is another highly effective method to challenge your muscles. Focus on increasing your time under tension (TUT) by slowing down the eccentric, or lowering, phase of each exercise to 3 or 4 seconds. You can also introduce isometric pauses, holding the peak contraction of a movement for 2 seconds before releasing. Reducing your rest intervals between sets from 90 seconds to 45 seconds will also elevate the cardiovascular and muscular demand of the routine.
Keep a detailed workout log to track your personal progress, noting the band color, handle adjustments, and repetitions completed for each session. When you can comfortably complete 4 sets of 15 repetitions with perfect form and minimal fatigue, it is time to transition to a thicker rubber band tube. Consistently challenging your muscles with progressive overload is the key to achieving long-term strength and fitness gains at home.
Frequently Asked Questions (FAQ)
Can rubber band tubes build muscle as effectively as free weights?
Yes, rubber band tubes can build muscle effectively by utilizing the principle of linear variable resistance. As a resistance tube stretches, the tension increases, which matches the natural strength curve of many human movements and provides continuous muscle activation. While free weights provide a constant gravitational load that is highly effective for absolute strength, resistance tubes offer a safer, joint-friendly alternative that promotes muscle hypertrophy by maintaining tension throughout the entire range of motion.
How often should I perform a full-body resistance tube workout?
For optimal results, perform a full-body resistance tube workout 2 to 3 times per week, allowing at least 48 hours of rest between sessions for muscle recovery. Your muscles require time to repair and rebuild after being subjected to resistance training. If you experience persistent muscle soreness, joint discomfort, or systemic fatigue, reduce your training frequency and ensure you are getting adequate sleep and nutrition to support recovery.
Community discussion
Share your experience or ask a question. Comments are reviewed before publication.