
Adjusting the balance and weight of a tennis or table tennis racket is a highly effective way to tailor your equipment to your specific playing style. Whether you want to generate more power on your groundstrokes, increase stability against heavy incoming balls, or improve your reaction time at the net, customizing your racket’s mass distribution can help you achieve these goals. Applying tungsten tape is the modern, safe, and precise method used by recreational players and touring professionals alike to fine-tune their gear.
By strategically placing small strips of tungsten tape on specific zones of your racket, you can alter its balance point, static weight, and swing weight. This customization allows you to experiment with different specifications without the expense of purchasing a new racket. Understanding the physics of weight placement and following a methodical application process ensures that your modifications are durable, effective, and safe for your physical health.
Understanding Racket Balance and Tungsten Tape
To customize your racket effectively, you must first understand three core physical properties: static weight, balance point, and swing weight. Static weight is simply the total weight of the racket when placed on a scale. The balance point is the center of gravity along the length of the racket, measured from the butt cap. A racket can be head-heavy (more weight concentrated toward the tip), head-light (more weight concentrated toward the handle), or even-balance (weight distributed equally). Swing weight, however, is a dynamic measurement of how heavy the racket feels when you actually swing it.
Products mentioned in this guide
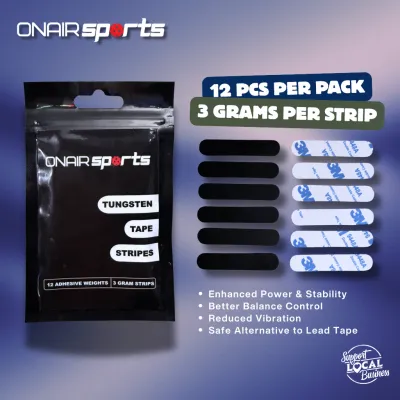
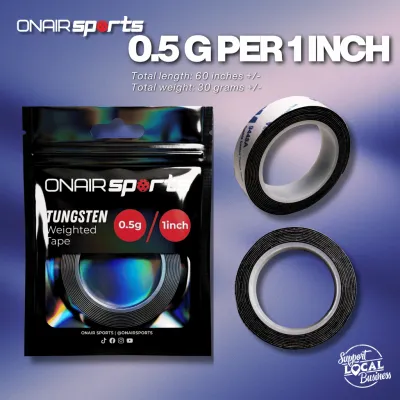
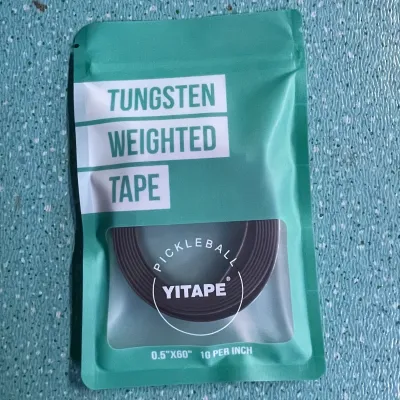
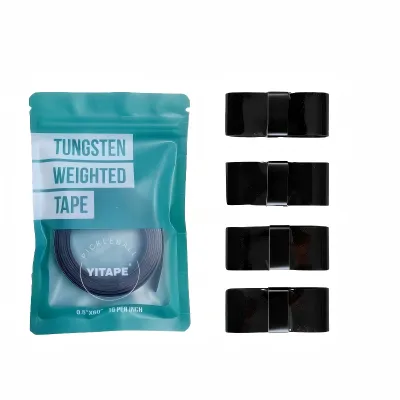
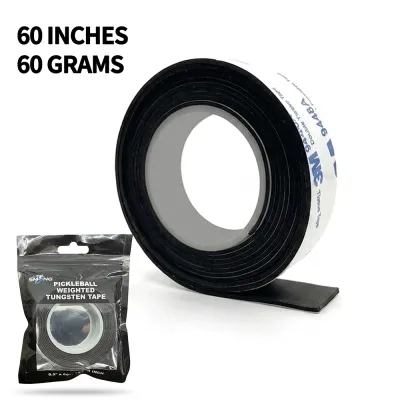
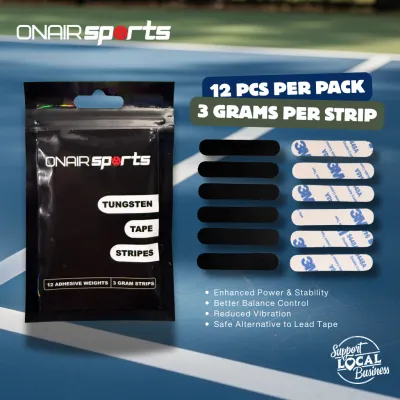
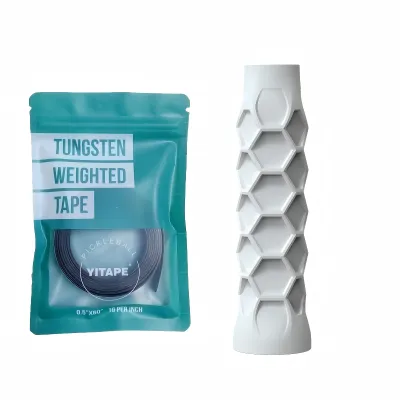
Prices are valid at publication and may change. Please refer to the product page for the latest price.
Adding mass at different distances from your hand alters these properties in distinct ways. Placing weight at the very tip of the racket increases the swing weight dramatically because the mass is positioned far from the pivot point of your swing. Conversely, adding the same amount of weight to the handle increases the static weight of the racket but has a negligible effect on the swing weight. This distinction is crucial because it allows you to make a racket feel more stable or powerful without necessarily making it feel sluggish or difficult to maneuver.
Tungsten tape has largely replaced traditional lead tape as the preferred material for racket customization. Tungsten is an exceptionally dense metal, which means you can add a significant amount of weight using very thin, narrow strips that do not disrupt the aerodynamics of your racket or ruin its aesthetic appeal. More importantly, tungsten is completely non-toxic and environmentally friendly. Lead is a hazardous heavy metal that can be absorbed through the skin or accidentally ingested during handling, making tungsten tape a much safer alternative for regular use.
While customizing your racket offers clear performance benefits, it is important to set realistic expectations. Adding weight increases the overall mass that your muscles and joints must accelerate and decelerate during play. In tropical, high-humidity environments like the Philippines, where long rallies on outdoor concrete courts or humid indoor sports centers can quickly drain your energy, a racket that is too heavy can rapidly accelerate physical fatigue. Overdoing the weight can lead to poor stroke mechanics, reduced swing speed, and a higher risk of repetitive strain injuries such as tennis elbow or wrist tendonitis. Customization should always be done in small, incremental steps to allow your body to adapt safely.
Tools and Materials Needed
Before you begin customizing your racket, gather the necessary tools and materials to ensure a clean, precise, and long-lasting application. Having the right equipment on hand prevents errors and ensures that you can accurately measure the changes you make.

- High-Quality Tungsten Tape: Select tape that clearly specifies its weight per unit of measurement (for example, 1 gram per inch or 0.5 grams per centimeter). This allows you to calculate exactly how much weight you are adding without guessing.
- Digital Kitchen Scale: A scale that measures in increments of 0.1 grams is highly recommended for tracking the exact static weight of your racket before, during, and after the customization process.
- Racket Balance Board: A specialized balance board, or a simple DIY alternative like a cylindrical dowel or a sturdy metal ruler placed on a flat surface, is necessary to measure the racket's balance point in centimeters or millimeters from the butt cap.
- Isopropyl Rubbing Alcohol and Microfiber Cloth: Essential for thoroughly cleaning the racket frame to remove dirt, sweat, and oils, ensuring the adhesive on the tape bonds securely.
- Sharp Scissors or a Utility Knife: Used to cut the tungsten tape cleanly to your desired lengths.
- Hairdryer (Optional): Highly useful for gently warming the adhesive on the tape during application, which helps it cure and bond more effectively, especially in humid or air-conditioned environments.
Where to Place Tungsten Tape for Different Balance Goals
The physical performance of your customized racket depends entirely on where you choose to position the tungsten tape. Different zones of the racket frame and handle yield vastly different playing characteristics.
Making the Racket Head-Heavy for More Power
If you want to generate more depth on your groundstrokes and increase the racket’s ability to plow through the ball, you should focus on shifting the balance point toward the head of the racket. This is achieved by placing tungsten tape on the upper portion of the hoop.
- The 12 O'Clock Position: Applying tape at the very top of the racket hoop (the 12 o'clock position) maximizes the swing weight. Because this placement is furthest from your hand, even a small amount of weight (such as 2 to 3 grams) will significantly increase power and plow-through. However, this placement also causes the greatest reduction in maneuverability, making the racket feel noticeably heavier during quick exchanges.
- The 3 and 9 O'Clock Positions: Placing equal amounts of tape on the sides of the hoop (at 3 and 9 o'clock) increases the racket's torsional stability, also known as twist weight. This modification prevents the racket face from twisting in your hand when you hit the ball off-center, effectively expanding the sweet spot. It provides a balanced increase in both power and stability without making the racket feel as head-heavy as the 12 o'clock placement.
- Table Tennis Blades: For table tennis players, weight is typically applied along the outer edge of the blade using thin tungsten strips under the edge tape. Placing weight at the very tip of the blade assists with high-spin loops from mid-distance by increasing wrist leverage, though it requires excellent forearm strength to control.
Shifting to an Even or Head-Light Balance
If you prefer a racket that is highly maneuverable, easy to swing quickly, and responsive at the net or during rapid table tennis exchanges, you should aim for an even or head-light balance. This requires adding weight closer to your hand.
- The Racket Throat: Applying tungsten tape to the throat of a tennis racket (the V-shaped area just above the handle) adds static weight while keeping the balance point relatively neutral. This increases the overall stability of the racket against heavy shots without making it feel sluggish or difficult to swing.
- The Handle and Butt Cap: To make a racket feel more head-light, you can apply tungsten tape directly to the handle pallet or inside the butt cap trapdoor. This adds static weight directly under your hand, which actually lowers the balance point. The racket will feel more solid and stable on impact, yet it remains highly maneuverable for quick volleys, overheads, and flick shots.
- Table Tennis Handles: Table tennis players can wrap thin tungsten strips around the top of the handle or insert weight into the hollow cavity of the handle if the model allows. This keeps the blade highly responsive for quick close-to-the-table blocks and rapid transitions between forehand and backhand.
Be cautious when adding weight to the handle. While it makes the racket feel head-light on paper, adding excessive static weight can make the entire setup feel dead, heavy, and exhausting to carry over the course of a long match.
Step-by-Step Application Guide
To ensure that your tungsten tape adheres permanently and does not fly off during a high-velocity swing, follow this systematic application guide. Proper surface preparation is the most critical factor in preventing the tape from peeling.
Step 1: Baseline Measurement
Before making any modifications, place your clean, dry racket on your digital scale and record its exact static weight in grams. Next, use your balance board or a cylindrical dowel to find the stock balance point. Mark this point or write down the measurement in centimeters from the butt cap. Having these baseline numbers is essential for tracking your progress and returning the racket to its original state if you do not like the changes.
Step 2: Surface Preparation
In tropical climates like the Philippines, sweat, humidity, and airborne dust quickly build up on racket frames, leaving a thin, greasy film that ruins adhesive bonds. Pour a small amount of isopropyl rubbing alcohol onto a clean microfiber cloth and thoroughly wipe down the exact areas where you plan to apply the tape. Let the frame dry completely for two to three minutes. Avoid using household glass cleaners or soapy water, as they can leave behind chemical residues that prevent proper adhesion.
Step 3: Cutting and Sizing
Cut your tungsten tape to the desired lengths using sharp scissors. It is highly recommended to start with small, conservative increments—such as 2 to 4 grams total—rather than adding a large amount of weight all at once. If you are applying tape to the 3 and 9 o’clock positions, cut two strips of identical length and weigh them together on your scale to ensure they are perfectly balanced. Even a fraction of a gram of asymmetry can make the racket feel uneven during a swing.
Step 4: Application
Carefully peel the backing off the tungsten tape, taking care not to touch the adhesive side with your fingers, as skin oils can weaken the glue.
- For Tennis Racket Hoops: Apply the tape directly to the inner side of the frame. If your racket has a bumper guard, you can gently peel back the edges of the plastic guard, apply the tape directly to the graphite frame underneath, and then press the bumper guard back down. This protects the tape from scraping against the court surface during low volleys.
- For Handles: Remove your overgrip and replacement grip to expose the bare handle pallet. Wrap the tungsten tape smoothly around the flat bevels of the pallet, ensuring it lies completely flat without overlapping itself, which could create uncomfortable lumps under your hand. Reapply your replacement grip tightly over the tape.
Step 5: Securing the Tape
Once the tape is in place, use your thumb or the smooth handle of your scissors to press down firmly along the entire length of the strip. Apply firm, even pressure from the center of the strip outward to the edges to push out any trapped air bubbles. If you are working in a humid or cool air-conditioned room, use a hairdryer on a low, warm setting to gently heat the tape for 15 to 20 seconds. This softens the adhesive, allowing it to flow into the microscopic pores of the frame paint for a permanent, secure bond.
Never apply tungsten tape directly over the racket strings, grommet strips, or areas where your hand makes direct contact during play, as this can cause premature wear to your strings or cause painful blisters on your hands.
Testing and Fine-Tuning Your Racket
Once the tungsten tape is securely applied, place the racket back on your digital scale and balance board to measure the physical changes. Write down the new static weight and balance point. This allows you to correlate specific physical measurements with how the racket actually performs on the court.
When testing your customized racket, do so during a casual practice session or hitting drill rather than a competitive match. This pressure-free environment allows you to focus entirely on the feel, power, stability, and maneuverability of the racket. Pay close attention to how your wrist, elbow, and shoulder feel after 15 to 20 minutes of hitting. If you experience any unusual fatigue, tightness, or pain, stop playing immediately. This is a clear sign that the racket is either too heavy or that the balance point has been shifted too far toward the head for your current physical conditioning.
If you find that the racket feels too heavy or sluggish, you can easily remove or reposition the tungsten tape. To do this safely without damaging your racket’s paint or clear coat, use a flat plastic scraper or your fingernail to gently lift one edge of the tape. Slowly peel the tape back at a sharp angle. If the adhesive is stubborn, apply gentle heat with a hairdryer to soften the glue before peeling. Clean any remaining adhesive residue off the frame using a microfiber cloth dampened with isopropyl rubbing alcohol.
Remember that racket customization is an iterative process of trial and error. While adding tungsten tape can optimize a frame that is already a good match for your swing, it cannot correct fundamental technique flaws or transform an entirely unsuitable racket into a perfect one. Use customization to enhance your strengths and mitigate minor equipment limitations, always prioritizing comfort and physical safety over raw power.
Frequently Asked Questions (FAQ)
Is tungsten tape safe to use compared to lead tape?
Yes, tungsten tape is completely non-toxic, environmentally friendly, and safe to handle. Unlike traditional lead tape, which poses serious health risks through skin contact and accidental ingestion, tungsten can be handled, cut, and applied without any specialized safety gear. However, practicing standard hygiene, such as washing your hands with soap and water after customizing your equipment, is still recommended to remove any adhesive residue.
Will adding tungsten tape void my racket's warranty?
Applying adhesive tape to the exterior of a racket frame generally does not void the manufacturer’s warranty, as it is a non-destructive, reversible modification. However, altering structural components—such as permanently removing or cutting the bumper guard, modifying the handle pallet, or injecting expanding foam into the handle cavity—will void your warranty. Always check your specific brand’s warranty policy before making any permanent structural changes.
Can I apply tungsten tape over existing grip or edge tape?
No, you should not apply tungsten tape over textured, worn, dirty, or existing tape surfaces. The adhesive on tungsten tape requires a clean, smooth, and rigid surface to form a secure bond. Applying it over soft grips or dirty edge tape will cause the tungsten tape to peel off quickly during play, creating a safety hazard. Always apply the tape directly to the bare graphite frame, the clean handle pallet, or the bare edge of a table tennis blade.
Community discussion
Share your experience or ask a question. Comments are reviewed before publication.