
To prevent a running belt bag from bouncing and chafing, you must anchor it low on your hips rather than your waist, tighten the strap to a snug fit that still allows deep diaphragmatic breathing, and pack your heaviest items flat against your body at the center of your back or front.
Running involves continuous vertical and horizontal movement that naturally causes unsecured gear to shift. In hot and humid tropical climates, such as during daytime runs in the Philippines, sweat acts as an accelerant for friction, turning minor movement into painful skin irritation. Adjusting your gear systematically before you step out ensures a comfortable, distraction-free workout.
Quick Setup Guide for a Stable Belt Bag
For immediate stability, position the belt bag low on your hips, resting directly on your pelvic bones. This bony structure provides a solid, non-compressible anchor point that prevents the bag from bouncing up and down as your feet strike the ground.
Products mentioned in this guide
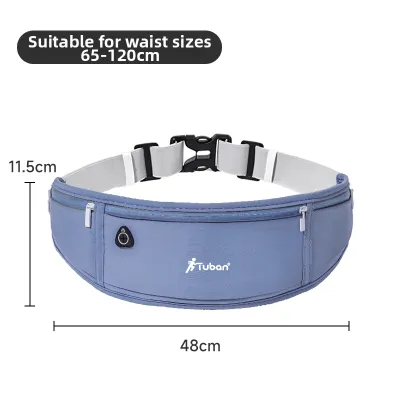
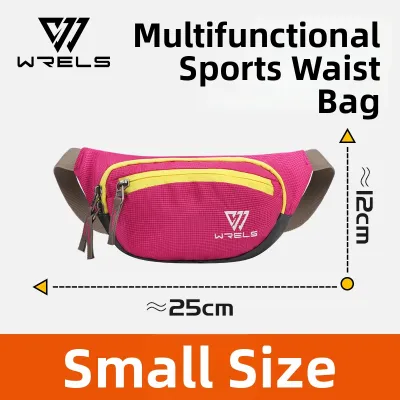
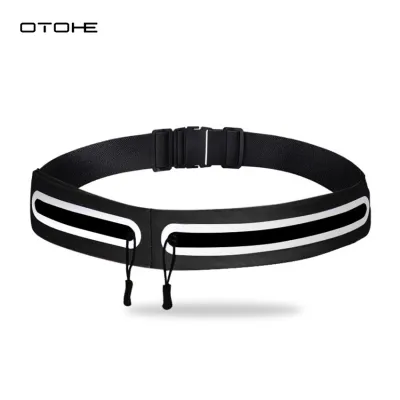
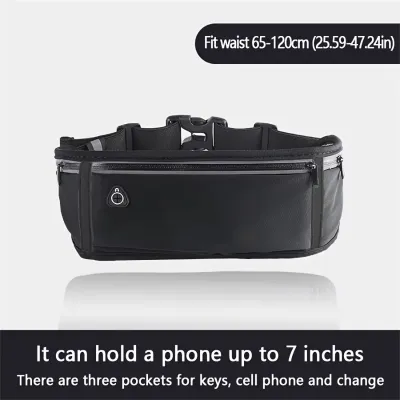
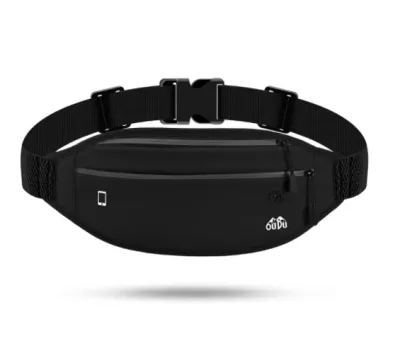
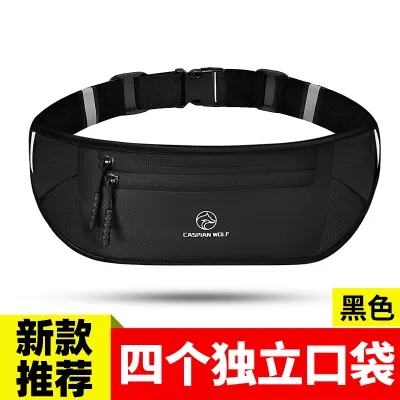
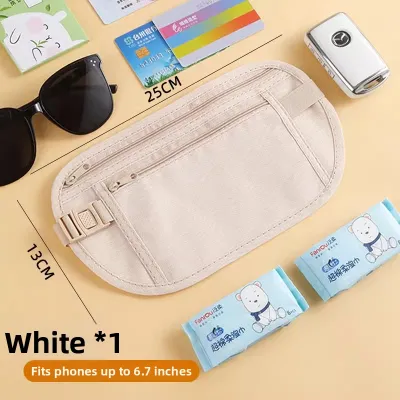
Prices are valid at publication and may change. Please refer to the product page for the latest price.
Tighten the strap until it is firm enough to stay in place when you jog on the spot, but loose enough that you can comfortably slide two fingers flat between the band and your body. This tension level keeps the pack secure without restricting your movement.
When packing, place your heaviest item—typically your smartphone—in the main compartment directly against your lower back or lower abdomen. Keep lighter items like keys, energy gels, or emergency cash (such as a folded ₱100 bill) distributed evenly to the sides to minimize lateral shifting.
Finding the Optimal Position on Your Hips
Understanding the difference between your natural waist and your hip bones is essential for a stable fit. The natural waist, located at the narrowest part of your torso, is soft and expands significantly as you breathe. Placing a belt bag here often causes it to ride up toward your chest or squeeze your stomach, which can lead to gastrointestinal discomfort during heavy exertion.

In contrast, the hip bones (iliac crests) provide a natural shelf. Anchoring the belt bag along this line prevents it from sliding downward, while the wider structure of the pelvis keeps the belt from riding upward.
Your individual body shape and running posture also dictate the ideal anchor point. Runners with wider hips naturally find that the belt settles securely just above the widest part of the pelvis. If you have a straighter athletic build, the belt may tend to slide down; anchoring it slightly lower, resting on the upper glutes, can prevent downward slippage.
To verify the placement before you start your run, perform two quick physical checks:
- The Marching Test: Stand in place and lift your knees high toward your chest. If the belt shifts upward immediately, it is positioned too high on the soft waist or is too loose.
- The Sag Check: Feel the belt line to ensure it runs parallel to the ground. If the back is sagging lower than the front, the weight is unbalanced, which will cause vertical bouncing once you start running.
Step-by-Step Strap Adjustment for a Secure Fit
Proper strap adjustment requires a systematic approach to ensure the belt remains secure without restricting your breathing or causing localized pressure points.
First, lay the belt bag flat on a table before putting it on. Ensure the webbing is threaded straight and is not twisted through the buckles or adjusters. A twisted strap concentrates pressure on a narrow strip of skin, leading to rapid chafing, especially when running in humid conditions where skin is damp and sensitive.
Once the belt is on your hips, perform the breathing test to gauge the proper tension:
- Step 1: Stand up straight with your shoulders relaxed.
- Step 2: Take a deep, full breath, expanding your abdomen and diaphragm fully.
- Step 3: While holding that breath, pull the adjustment straps until the belt is snug against your hips.
- Step 4: Exhale completely. The belt should feel secure but not constricting.
If you feel a sharp pinch or restriction in your lower abdomen when you inhale deeply, loosen the strap slightly. The goal is to allow full lung expansion while maintaining enough tension to prevent the bag from shifting.
Finally, manage any excess strap length. Loose, flapping straps are a major distraction and can cause micro-abrasions if they repeatedly strike your skin or clothing. Use the elastic keepers included on the belt to tuck away excess webbing. If your belt does not have these, fold the excess strap back and secure it with a small hair tie, or weave it back through the adjustment buckle.
Loading and Packing Techniques to Balance Weight
The physics of carrying gear while running dictate that the closer the load is to your center of gravity, the less torque it exerts on your body. Place your phone flat against the inner wall of the pocket—the side touching your body. This minimizes the leverage the phone has to pull the bag outward and downward.
If your belt bag has multiple pockets or a continuous sleeve design, distribute weight symmetrically. Do not pack all your heavy items on one side. If you carry keys, a soft flask, and energy gels, place the flask in the center, the phone flat behind it, and balance the keys on one side with the gels on the other.
Make full use of internal organization features to keep items from shifting dynamically with every stride:
- Key Clips: Always secure your keys to the internal clip to prevent them from bouncing around and shifting the bag's center of gravity.
- Internal Sleeves: Use built-in dividers to keep flat items, like cards or paper bills, pressed flat against your phone, preventing them from bunching up and creating an unstable lump.
Troubleshooting Chafing, Slipping, and Bouncing
Even with careful preparation, you may encounter discomfort during long runs. Identifying the root cause allows you to make quick adjustments on the go.
Skin irritation and chafing are usually caused by direct friction between the belt’s fabric and your skin. Always wear the belt over a moisture-wicking running shirt or high-waisted shorts rather than directly against bare skin. Check where the plastic buckles or heavy seams rest; if they press directly against your hip bones, rotate the belt slightly so the buckle sits over a softer area, such as the front of your hip or slightly off-center. For long-distance runs, applying a silicone-based anti-chafe balm to your hip line before you head out provides an extra layer of protection.
If the bag constantly slides upward, it is usually because the belt is too loose or is placed on a part of your waist that is narrower than your hips. Lower the belt so it sits firmly on the widest part of your pelvic structure. If the bag slides downward, check if your running shorts are made of a slippery, high-sheen synthetic material. Switching to shorts with a matte, textured waistband can provide the necessary friction to keep the belt in place.
Vertical bounce is typically caused by worn-out elastic or overloading. Over time, the elastic fibers in running belts degrade due to sweat and UV exposure. If your belt bounces despite being tight, test the elasticity; if it stretches too easily without snapping back, the material may be worn out. Additionally, respect the physical limits of your gear. If you overload the bag with heavy items, the weight will overcome the tension of the strap. Reduce the load to only the essentials to restore stability.
Cleaning and Maintenance for Running Gear
Sweat, salt, and dirt can degrade the elastic fibers and hardware of your belt bag over time. Regular, gentle cleaning preserves the elasticity and fabric integrity of your gear.
Always inspect the manufacturer’s care label inside the pocket before washing. Many running belts feature water-resistant coatings or delicate elastic blends that can be damaged by harsh detergents or high heat.
To hand-wash your belt bag, fill a basin with cool water and add a small amount of mild liquid detergent. Submerge the belt and gently agitate it by hand, paying special attention to the inner mesh panel, which absorbs the most sweat. Avoid using fabric softeners, as they leave a residue that clogs the pores of moisture-wicking fabrics and degrades elastic fibers. Rinse thoroughly with clean, cool water to remove all soap residue.
Gently squeeze out excess water without wringing or twisting the elastic. Hang the belt to air-dry in a well-ventilated, shaded area. Avoid direct sunlight, as intense UV rays can break down synthetic elastics and fade the fabric. Ensure the bag is completely dry before storing it in a cool, dry place to prevent mold and mildew growth.
Frequently Asked Questions (FAQ)
Can I wear a running belt bag over my clothes?
Yes, wearing a belt bag over your clothes is highly recommended to prevent direct friction against your skin. However, the type of fabric matters. Smooth, highly slippery synthetic fabrics can cause the belt to slide up or rotate during your run. Opt for shirts with a slightly textured weave, or position the belt so it rests on the waistband of your running shorts, which often has more structure and grip. In hot, tropical weather, wearing it over a lightweight, moisture-wicking shirt also helps absorb sweat, preventing the belt from becoming saturated and slipping.
How tight should the strap be to avoid restricting breathing?
The strap should be snug enough to eliminate bounce but loose enough to allow your lungs and abdomen to expand fully. A good rule of thumb is the two-finger rule: you should be able to slide two fingers flat between the strap and your body without straining. When adjusting the belt, stand up straight, take a deep breath to expand your diaphragm, and tighten the strap to a comfortable snugness. When you exhale, the belt will feel slightly tighter, but it will expand naturally with your breathing cycle as you run, preventing any restriction to your oxygen intake.
Where is the safest place to carry hydration bottles in a belt bag?
If your belt bag is designed to hold hydration, the safest and most stable position for the bottle is centered at the lower back, angled at approximately 45 degrees. This positioning aligns the weight with your spine, minimizing lateral sway and keeping the bottle out of the way of your natural arm swing. Ensure the holster’s elastic retention loop is securely fastened over the neck of the bottle to prevent it from launching out when you run over uneven terrain, such as trail paths or cracked city pavements.
Community discussion
Share your experience or ask a question. Comments are reviewed before publication.