
Properly wearing and adjusting your Kuangmi knee support is essential for maximizing joint stability and preventing discomfort during physical activities. A well-fitted brace aligns with your anatomy, provides targeted compression, and stays securely in place without restricting healthy blood flow. In tropical environments like the Philippines, where high humidity and elevated temperatures lead to rapid perspiration, wearing sports gear correctly is critical. Sweat can act as a lubricant, causing poorly adjusted sleeves to slip, while trapped moisture can lead to skin chafing if the fabric is bunched or misaligned. By mastering the correct way to put on and secure your knee support, you protect your joints, improve your proprioception, and maintain focus on your athletic performance.
Preparing Your Knee and the Support
Before you slide the support onto your leg, prepare both your skin and the gear to save you from constant readjustments mid-workout. Start by washing your leg with mild soap and water to remove any dirt, sweat, or natural oils, then dry the skin completely. Avoid applying any body lotions, moisturizing creams, sunscreens, or warming liniments to your knee area before putting on the brace. In warm, humid weather, these topical products mix with sweat to create a slippery film that compromises the grip of the brace’s internal silicone strips, causing the support to slide down your leg during movement.
Next, inspect your Kuangmi knee support thoroughly. Look closely at the fabric for any signs of wear, such as thinning material, loose threads, or compromised stitching around the patella ring. Check the hook-and-loop fasteners to ensure they are free of lint, hair, or clothing fibers, which can significantly reduce their holding power. If your model features removable metal hinges or flexible spring stabilizers, verify that they are securely seated in their designated side pockets and are not bent or protruding through the fabric.
Products mentioned in this guide
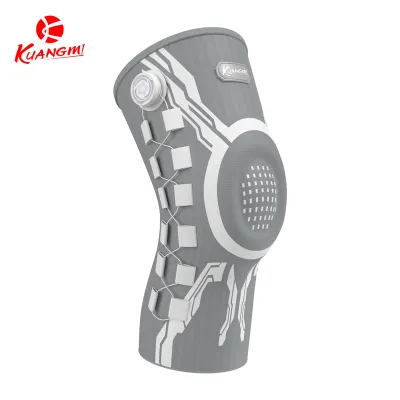
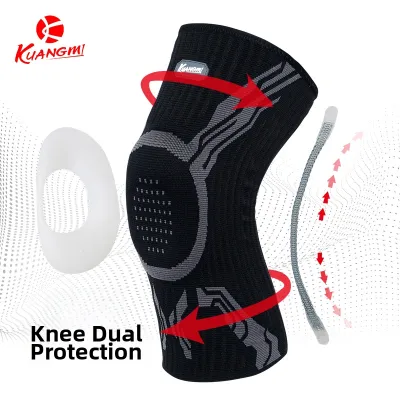
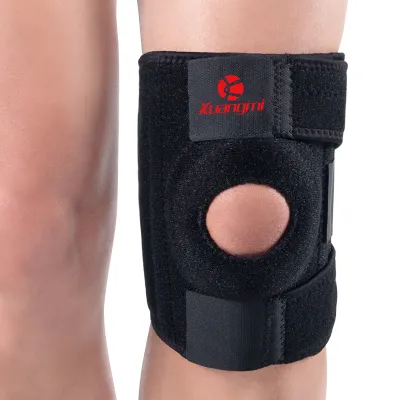
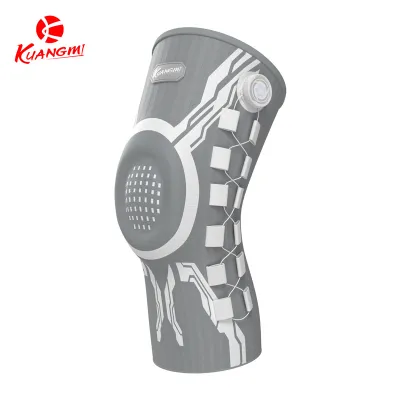
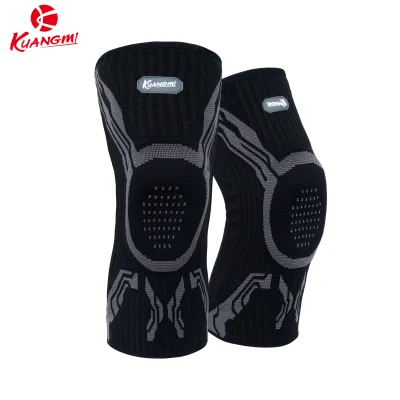
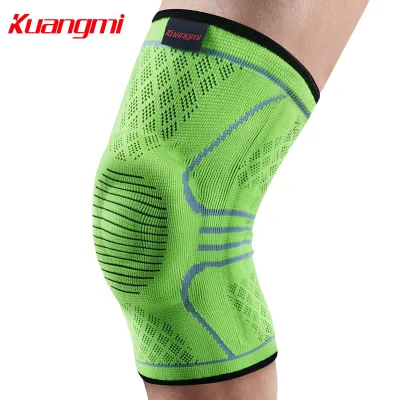
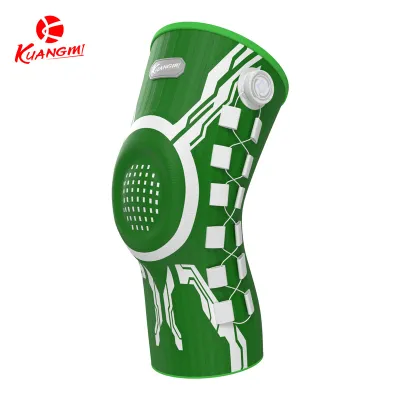
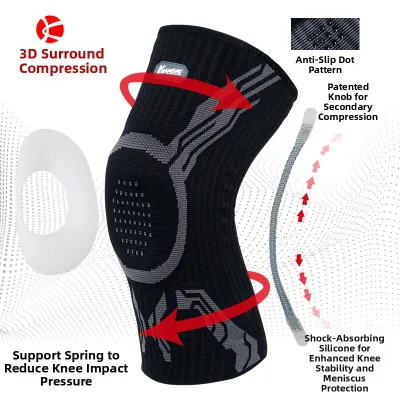
Prices are valid at publication and may change. Please refer to the product page for the latest price.
Finally, identify the correct orientation of the support. Most knee sleeves are tapered, meaning they are wider at the top to accommodate the thigh and narrower at the bottom to fit the calf. Look for the manufacturer’s logo or care label, which is typically positioned at the top and faces outward. If your support has an integrated gel pad or a circular cutout, this feature must always be positioned at the front, centered directly over your kneecap. Putting the brace on upside down or inside out will alter the compression gradient and prevent the structural elements from supporting your joint correctly.
Step-by-Step Guide to Putting on the Knee Support
To begin the application process, find a comfortable place to sit, such as a sturdy chair, bench, or the edge of a training mat. Extend your leg forward, keeping a slight bend of approximately 15 to 30 degrees in your knee joint. This relaxed, semi-extended position keeps your thigh and calf muscles soft, allowing the fabric of the support to slide over your skin smoothly without fighting active muscle tension.

If you are using a pull-on sleeve model, gather the fabric together with both hands, much like you would bunch up a long sock. Slide your foot through the top opening and pull the sleeve up past your ankle and calf. As you pull, avoid grabbing the very top edge of the sleeve and tugging hard, as this concentrated stress can tear the stitching or stretch out the elastic band over time. Instead, use the palms of your hands to slide the gathered fabric upward in short, controlled sections, working it gradually over the bulk of your calf muscle.
Once the sleeve reaches your knee, focus on aligning the patella support. If your Kuangmi model features a built-in silicone gel ring or an open patella cutout, position this element so that it perfectly encircles your kneecap. The kneecap should sit comfortably in the center of the ring without being pinched or pushed to one side. Proper alignment ensures that the compression is distributed evenly around the joint, helping to guide the patella along its natural track as you bend and straighten your leg.
After aligning the front, use your fingers to smooth out the fabric at the back of your knee. Reach behind your joint and gently pull the material upward and downward to eliminate any folds, wrinkles, or bunching in the popliteal space. The skin behind the knee is highly sensitive and prone to friction; keeping the fabric completely flat in this area prevents painful chafing and ensures that the brace does not compress the superficial blood vessels and nerves that run through the back of your leg.
Adjusting Straps and Compression for Custom Stability
If your Kuangmi knee support features adjustable straps, securing them in the correct sequence is vital for achieving customized compression and preventing the brace from migrating during exercise. Once the main sleeve is positioned correctly, begin fastening the straps starting from the bottom and working your way up. Fastening the lower straps first anchors the brace against the natural flare of your upper calf muscle, creating a secure foundation that prevents the entire support from sliding downward under the influence of gravity and movement.
Pull the lower straps around your calf until they are snug, then press the hook-and-loop fasteners firmly into place. Next, move to the upper straps located on your lower thigh. Pull these straps with moderate tension, ensuring they wrap evenly around your quadriceps muscle without digging into the flesh. The goal is to achieve a firm, supportive compression that feels like a reassuring, even wrap around your entire joint. It should never feel tight enough to pinch, bind, or cause localized pain.
After securing all the straps, perform a quick circulation check to ensure your safety. Wiggle your toes and observe the skin of your lower leg and foot. If you feel any tingling, “pins and needles” sensations, numbness, or if your foot feels unusually cold, the straps are too tight and are restricting your blood flow. Immediately peel back the fasteners and re-secure them with slightly less tension. Healthy circulation is essential during exercise to deliver oxygen to your muscles and prevent premature fatigue or cramping.
For Kuangmi models equipped with secondary stabilizers, such as cross-over elastic bands or side spring coils, take a moment to adjust these components. Cross-over straps should be pulled symmetrically across the front or back of the knee to provide targeted support to the collateral ligaments. Ensure that the flexible side stabilizers run parallel to the sides of your leg, aligning with your joint’s natural bending axis. If these stabilizers are twisted or angled incorrectly, they will resist your natural movement and cause discomfort rather than providing lateral stability.
Verifying the Fit and Testing Range of Motion
Before you begin your workout, sport, or running session, you must verify that the knee support is fitted correctly and will remain stable under active conditions. Stand up slowly and support your weight evenly on both feet. Take a moment to feel how the compression is distributed; it should feel balanced across the front, back, and sides of your knee.
Next, perform a few low-impact movement tests to evaluate the range of motion. Begin by executing three to five slow, shallow bodyweight squats, bending your knees only as far as is comfortable. As you descend and ascend, pay close attention to the fabric. The support should stretch and flex dynamically with your movement. If you feel a severe restriction that prevents you from reaching a functional depth, or if the fabric pinches hard behind your knee, the brace is either too tight or misaligned.
Follow the squats with a few forward lunges and some gentle walking. If your planned activity involves running or jumping, perform a light jog in place for thirty seconds. During these movements, observe whether the top band of the support stays firmly anchored on your thigh. If the brace begins to slide down, bunch at the knee joint, or roll over at the top edge, you need to make micro-adjustments.
To make these adjustments, do not simply pull at the top of the sleeve. Instead, sit down, loosen the straps, and slide the entire brace back into its correct position, ensuring the patella pad is centered. Re-tension the straps, perhaps tightening the lower calf strap slightly more to improve the anchor, while ensuring the top thigh band is flat against your skin. Taking two minutes to fine-tune the fit before your workout prevents painful friction and ensures uninterrupted joint protection.
Common Fitting Mistakes and Safety Boundaries
To get the best results from your Kuangmi knee support, it is helpful to recognize and avoid common fitting errors. One of the most frequent mistakes is wearing the brace over thick athletic leggings, sweatpants, or compression tights. While this might seem convenient, it prevents the internal non-slip silicone waves from making direct contact with your skin. Without this direct grip, the brace will inevitably slide down during active movement. Additionally, the extra layer of fabric can alter the compression profile, leading to uneven pressure distribution. Always apply the support directly to your bare skin.
Another common error is over-tightening the straps in an attempt to compensate for a brace that is too large. If you have to pull the straps past their intended fastening zones or wrap them twice to feel support, you are using the wrong size. Over-tightening a large brace creates localized pressure points that can restrict blood circulation and irritate nerves, while failing to provide the uniform joint stabilization you need. Always refer to the manufacturer’s sizing guide and measure your thigh and calf circumferences accurately before purchasing.
It is also crucial to understand the safety boundaries of using any joint support. A knee brace is designed to assist with stability, warmth, and proprioception; it is not a cure for structural injuries and cannot replace proper physical conditioning or medical treatment. If you experience sharp, sudden pain, increased joint swelling, or a feeling that your knee is locking or giving way, stop your activity immediately. Remove the support and consult a qualified healthcare professional for a proper diagnosis.
Finally, proper maintenance is essential to preserve the elasticity and grip of your support over time. Refer to the manufacturer’s care label for specific washing instructions. Generally, you should hand wash the brace in cold water using a mild soap. Avoid using bleach, fabric softeners, or harsh chemical detergents, as these substances break down the elastic fibers and degrade the silicone non-slip strips. Always air dry the brace flat in a shaded, well-ventilated area. Never place it in a mechanical dryer or expose it to direct, intense sunlight, as high heat will warp the flexible stabilizers and ruin the adhesive properties of the hook-and-loop straps.
Frequently Asked Questions (FAQ)
Can I wear the Kuangmi knee support all day?
It is generally not recommended to wear a compression knee support all day or while sleeping unless specifically advised by a medical professional. You should limit its use to your active exercise sessions and the immediate recovery period afterward. Wearing a brace continuously for extended hours can cause your leg muscles to rely on the external support, which may gradually weaken the natural stabilizing muscles around your knee. Additionally, in hot and humid climates, keeping the skin covered for too long can trap sweat and lead to skin irritation or heat rashes.
How do I keep the brace from slipping down during runs?
To prevent your knee support from slipping during runs, ensure your skin is completely clean, dry, and free of lotions or sweat before putting it on. Double-check that you are wearing the correct size, as a loose fit is the primary cause of migration. When applying the brace, secure the lower strap firmly just above your calf muscle to act as an anchor, and make sure the top band’s non-slip silicone strips are flat against your bare skin. If the brace continues to slip, inspect the elastic fabric and straps for wear, as stretched-out materials lose their grip over time and may need to be replaced.
Community discussion
Share your experience or ask a question. Comments are reviewed before publication.