
To properly wrap your hands for home boxing training, you must establish a secure anchor at your wrist, build a protective shield over your knuckles, and lock the entire structure with consistent, snug tension. This process turns your hand into a single, cohesive unit, safeguarding the delicate bones and joints from the repetitive shock of hitting a heavy bag or focus mitts. When training alone at home without a coach to monitor your form, proper hand wrapping is your primary defense against painful, preventable injuries.
Why Hand Wrapping is Crucial for Home Boxing
Your hand is a highly complex anatomical structure comprised of 27 small bones, including the carpals in the wrist, the metacarpals in the palm, and the phalanges in the fingers. When you throw a punch, the force generated by your entire body travels down your arm and exits through your knuckles. If these bones and the surrounding joints are not tightly bound together, the impact can cause them to grind against one another, shift out of alignment, or fracture. Hand wraps act as an external ligament system, stabilizing these small bones and keeping the wrist joint locked in a safe, neutral position during impact.
Many beginners mistakenly believe that boxing gloves alone provide sufficient protection for their hands. In reality, gloves and wraps serve two entirely different mechanical purposes. Boxing gloves are designed with thick foam padding to disperse the surface impact of a blow, protecting your partner or the outer skin of your knuckles. Hand wraps, on the other hand, provide the essential structural support underneath. They compress the hand to prevent the bones from spreading apart upon impact and keep the wrist from bending or buckling, which is a common cause of severe sprains.
Products mentioned in this guide
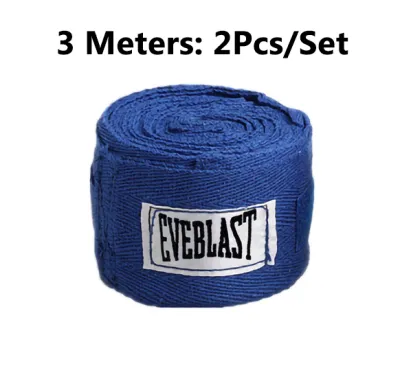
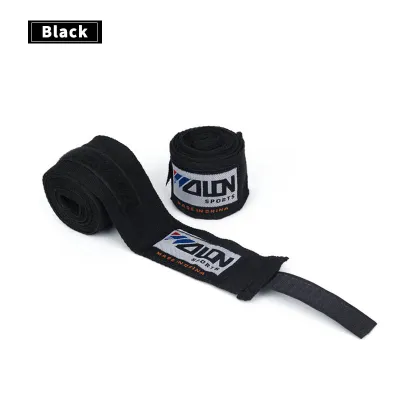
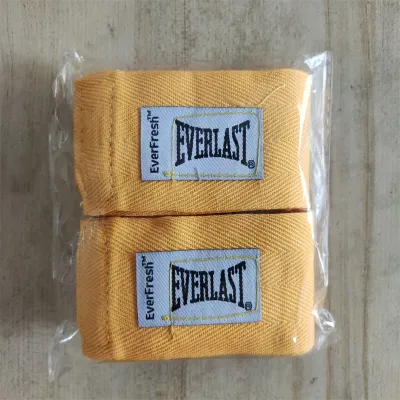
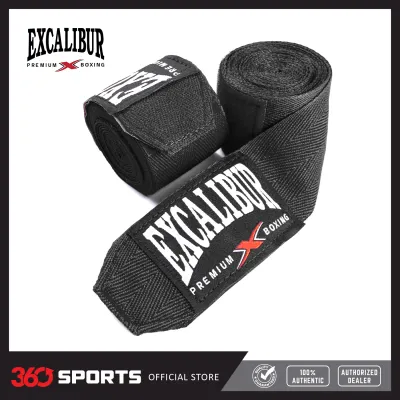
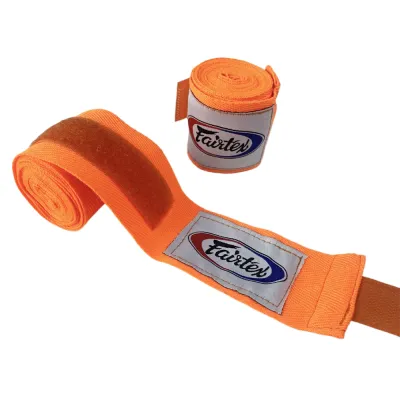
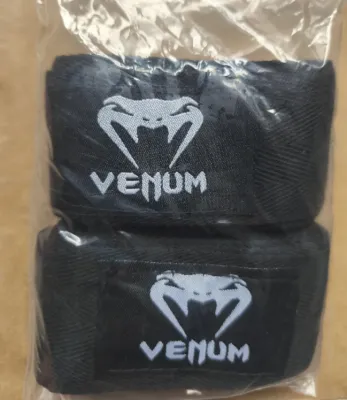
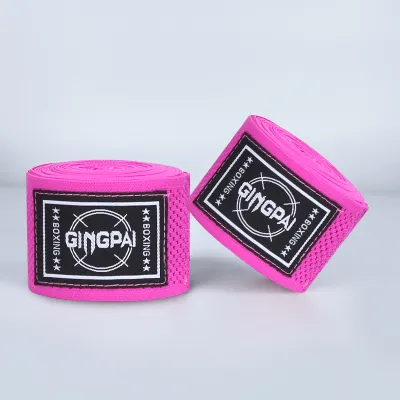
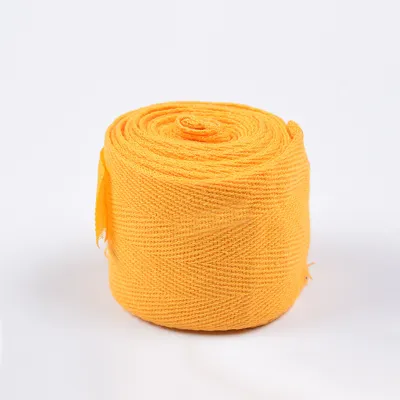
Prices are valid at publication and may change. Please refer to the product page for the latest price.
Training solo at home introduces specific safety risks that make proper hand wrapping even more critical. Without a coach present to observe your technique, you are more likely to throw punches with improper alignment, especially as fatigue sets in during a long session on a heavy bag. If you land a hook or a straight punch at an awkward angle on a dense, unyielding heavy bag, the joint can easily collapse under the pressure. Wrapping your hands correctly ensures that even when your form slips slightly, your wrists and knuckles remain structurally supported, minimizing the risk of sprains, strains, and the notorious “boxer’s fracture.”
What You Need Before You Start
Before you begin wrapping, you must select the right equipment for your hand size and training intensity. For most adults, 180-inch (4.5 meters) Mexican-style elastic cotton wraps are highly recommended. Shorter wraps, such as 120-inch versions, often do not provide enough fabric to thoroughly cover the wrist, knuckles, and individual fingers, leaving vulnerable gaps in your defense. The “Mexican-style” fabric is woven with a slight stretch, allowing the wrap to conform closely to the unique contours of your hand and maintain consistent tension without slipping as you train.

Proper preparation of your hands and training space is essential for a secure wrap. Always start with clean, completely dry hands. Wash away any sweat, dirt, or natural oils, and avoid applying any lotions or hand creams before wrapping. Lotions and oils can degrade the elastic fibers of your wraps over time and cause the fabric to slide against your skin, which quickly ruins the tension of your wrap and can lead to painful friction blisters inside your boxing gloves.
To maintain precise control over the tension of the wrap, establish a comfortable, stable seating position. Rest your elbow on a flat table or on your knee, keeping your forearm steady and your hand relaxed but firm. This setup allows you to use both hands to guide the fabric smoothly, ensuring that you can apply even pressure throughout the entire wrapping process without straining your arm or losing your grip on the roll.
Step-by-Step Guide to Wrapping Your Hands
The core philosophy of hand wrapping centers on tension control. Your wraps must be snug enough to feel supportive and secure, yet relaxed enough to allow healthy blood circulation to your fingers. A wrap that is applied too tightly acts as a tourniquet, causing your hand to cramp and go numb, while a wrap that is too loose will quickly unravel and bunch up inside your glove, offering zero protection.
As you guide the fabric, focus on keeping the wrap completely flat against your skin. Avoid any twists, folds, or bulky overlaps, as these uneven surfaces can create painful pressure points and friction burns when compressed inside a tightly laced or Velcro-strapped boxing glove. Take your time with each turn, smoothing out the fabric with your free hand to build a uniform, protective layer.
Step 1: Securing the Thumb and Wrist Base
Begin by locating the thumb loop at the end of your wrap. Place your hand palm down with your fingers spread slightly apart, and slip the loop over your thumb. Ensure that the fabric runs across the back of your hand rather than your palm. This direction is critical: running the wrap across the back of your hand ensures that when you close your hand into a fist, the tension naturally pulls the wrap tighter, securing the structure rather than pulling your thumb out of its natural alignment.
Next, pull the wrap down to your wrist and wrap it around the joint 2 to 3 times. Keep your wrist straight and firm as you do this, ensuring the wrap covers the entire wrist area, including the base of the hand where the wrist meets the palm. The wrist is the most common pivot point for injuries during a punch; these initial layers act as a rigid, supportive splint that prevents the joint from bending excessively in any direction upon impact.
To maintain the correct tension during this foundational step, aim for a feeling that mimics a firm, supportive handshake. The wrap should feel snug and secure against your skin, providing immediate structural resistance when you try to bend your wrist, but it should never squeeze so tightly that you feel a pulsing sensation or restricted blood flow.
Step 2: Padding the Knuckles and Palm
From the inside of your wrist, bring the wrap diagonally across the back of your hand to the opposite side, just below your pinky finger. Run the fabric straight across your knuckles 3 times, creating a thick, even pad over your primary striking surface. Keep your fingers spread slightly during this process; if you wrap your knuckles with a closed fist or tightly squeezed fingers, the wrap will become painfully tight and restrictive once you open your hand or strike a target.
After padding the knuckles, bring the wrap diagonally back down across the back of your hand to your wrist, completing an “X” pattern. This cross-support is essential for binding the metacarpal bones in your palm together, preventing them from spreading or grinding against each other when the force of a punch compresses your hand.
To secure the knuckle padding and prevent it from shifting up your hand, guide the wrap between your fingers. Start from the inside of your wrist, run the fabric up and through the gap between your pinky and ring finger, then bring it back down to your wrist. Repeat this process for the middle and index finger gaps. This step separates your fingers, keeps the knuckle wrap securely in place, and prevents the bones from grinding together on impact.
Finally, bring the wrap up from your wrist and loop it once around the base of your thumb. This anchor is vital for stabilizing the thumb joint, preventing it from hyperextending or bending backward if you land an off-angle hook or uppercut during your home training session.
Step 3: Locking the Wrist and Finishing
With the remaining length of the wrap, bring the fabric back down from the thumb to your wrist. Wrap the remaining material around your wrist joint 1 or 2 more times, focusing on the area where the wrist joint meets the forearm to provide final, comprehensive stabilization.
Fasten the Velcro strap flat against your wrist. Make sure the scratchy, hook-and-loop side of the Velcro is completely aligned and covered by the soft side of the strap. This prevents the rough edges from scratching your skin, catching on your clothing, or damaging the delicate fabric lining on the inside of your boxing gloves.
Before you slide your hands into your gloves, open and close your hand several times to test the fit. Look closely for any loose ends, bunched-up fabric, or uneven bulk across your palm or knuckles. If you notice any areas that feel loose or uneven, unwrap that section and smooth it out to ensure a perfect, comfortable fit.
How to Check if Your Wraps Are Safe and Effective
Because you are training at home without a trainer to inspect your gear, you must learn to perform self-checks to verify that your wraps are both safe and effective. The first test is the “fist test.” Open your hand completely, then slowly close it into a tight fist. When your hand is open, the wrap should feel relatively relaxed, allowing you to stretch your fingers comfortably. When you close your fist, the wrap should tighten up instantly, feeling like a solid, supportive shield that compresses your knuckles and holds your wrist firmly in place. If the wrap feels painfully tight when your hand is open, or if it feels loose and sloppy when you make a fist, you must re-wrap.
The second critical check is the circulation check. Press down firmly on one of your fingernails with your opposite thumb until the nail bed turns completely white, then release the pressure. The natural pink color should return to your nail bed within 1 to 2 seconds. If it takes longer, or if your fingers begin to feel cold, numb, or start tingling, the wrap is restricting your blood flow. This is a common mistake that can lead to nerve compression and muscle fatigue. If you experience any of these symptoms, unwrap your hands immediately, let the blood flow return, and re-wrap with lighter, more even tension.
The final check is the wrist mobility test. Hold your forearm steady and try to bend your wrist forward and backward. The wrap should offer significant resistance, mimicking the supportive feel of a lightweight cast. If you can easily bend your wrist at a sharp angle, the wrap is too loose and will not protect you from sprains during heavy bag work. However, the wrap should not force your hand into an unnatural or painful angle; your wrist should rest in a straight, neutral line with your forearm.
Common Mistakes to Avoid When Wrapping Solo
One of the most common mistakes made by home practitioners is wrapping the hands too tightly. It is easy to equate extreme tightness with superior protection, but over-tightening restricts blood circulation and compresses the nerves in your hand. This leads to rapid muscle fatigue, painful cramping, and a significant loss of grip strength mid-workout, forcing you to cut your training session short.
Another frequent error is leaving gaps, twists, or wrinkles in the fabric as you wrap. Gaps leave critical areas of your hand completely unsupported, while twists and wrinkles create thick, hard ridges under pressure. When you strike a heavy bag, these ridges rub against your skin, leading to painful friction burns, blisters, and cuts that can keep you from training for days.
Many beginners also make the mistake of ignoring the base of the thumb or skipping the finger loops entirely. Skipping these steps allows the knuckle padding to slide up your hand during training, leaving your knuckles exposed to direct impact and leaving your thumb vulnerable to painful sprains from off-angle punches.
It is vital to remember that hand wraps and boxing gloves are protective aids, but they cannot replace proper punching technique and physical conditioning. If you experience sharp pain, persistent numbness, or joint discomfort at any point during your workout, you must stop training immediately. Do not attempt to push through the pain. Stop, unwrap your hands, inspect them for swelling or injury, and only resume training once you have corrected your form and re-wrapped your hands properly.
Caring for Your Boxing Hand Wraps in a Humid Climate
In the tropical climate of the Philippines, high humidity and intense heat mean you will sweat significantly during your home workouts. This moisture makes your hand wraps a prime breeding ground for bacteria, mold, and unpleasant odors if they are not cared for properly. To maintain hygiene and prolong the lifespan of your wraps, you must wash them after every single training session. Hand wash them in warm water using a mild, antibacterial laundry detergent, or place them inside a mesh laundry bag and run them on a gentle machine cycle. Using a mesh bag is crucial; otherwise, the long wraps will inevitably tangle around the washing machine’s agitator or other clothing, stretching out the fabric and ruining the elastic fibers.
Proper drying is equally important in a humid environment. Hang your wraps to air dry in a well-ventilated indoor space or a shaded outdoor area with good airflow. Avoid hanging them in direct, harsh tropical sunlight, as intense UV rays can rapidly degrade the elastic fibers (such as spandex or elastane) in Mexican-style wraps, making the fabric stiff, brittle, and prone to tearing. Ensure the wraps are completely dry before storing them; rolling up even slightly damp wraps will trap moisture, leading to mold growth and a persistent, sour odor that is incredibly difficult to wash out.
Once your wraps are completely dry, roll them up neatly starting from the Velcro end and working your way to the thumb loop. This storage method keeps the fabric smooth and unwrinkled, prevents the Velcro from snagging on other items, and ensures that the wraps are perfectly organized and ready for quick, hassle-free application before your next home boxing session.
Frequently Asked Questions (FAQ)
Can I use quick wraps or gel wraps instead of traditional cloth wraps?
Slip-on gel wraps or quick wraps offer excellent convenience, but they do not provide the same level of customized, structural wrist support as traditional 180-inch cloth wraps. Quick wraps are suitable for light shadowboxing, low-impact cardio boxing, or quick speed-bag sessions where impact is minimal. However, if you are hitting a heavy bag or engaging in high-impact solo training at home, traditional cloth wraps are mandatory to properly bind the 27 bones of your hand and secure your wrist joint against severe impact.
How often should I replace my boxing hand wraps?
You should replace your hand wraps every 3 to 6 months, depending on how often you train. Look for physical signs of wear, such as a complete loss of fabric elasticity, fraying Velcro that no longer stays secure, thinning material over the knuckle area, or persistent odors that remain even after a thorough wash. Using compromised, stretched-out wraps significantly reduces their protective capabilities, leaving your hands vulnerable to injury. High-quality wraps typically cost between ₱300 and ₱800 in the Philippines, making them a highly affordable investment in your long-term joint health.
Community discussion
Share your experience or ask a question. Comments are reviewed before publication.