
Finding the right setup for indoor trainer cycling in a compact condominium is a balancing act between physical floor space, noise management, and convenience. When your living area serves as your bedroom, office, and workout zone, you cannot afford a bulky setup that blocks your daily pathways. The ideal choice depends on whether you have a dedicated corner or need to pack your equipment away after every single ride.
To make a smart decision, you must evaluate the active space required when you are pedaling, the storage footprint when the gear is put away, and the acoustic impact on your neighbors. Concrete condo slabs are notorious for transmitting low-frequency vibrations, meaning a quiet trainer is just as important as a small one. By understanding the distinct trainer categories and setup requirements, you can maintain your fitness routine without compromising your living space.
Understanding Your Condo's Space and Layout Constraints
Before purchasing any equipment, you must distinguish between its active footprint and its storage footprint. The active footprint is the total floor area required while you are actually riding. This includes not just the physical dimensions of the trainer and your bicycle, but also the width of your handlebars, the lateral movement of your elbows, and the clearance needed to safely mount and dismount. A setup that looks compact on paper can quickly feel claustrophobic if your knuckles brush against a wall or a bookshelf during a hard sprint.
Products mentioned in this guide
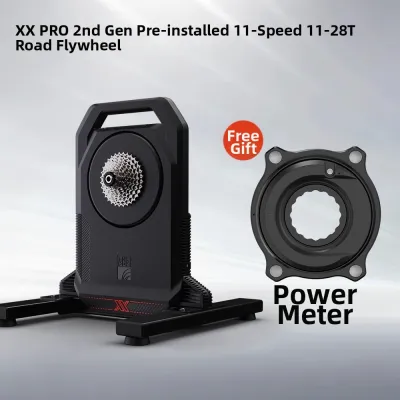
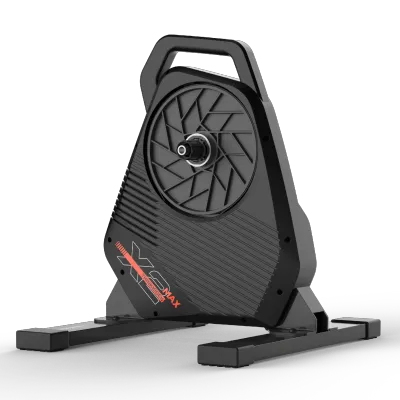
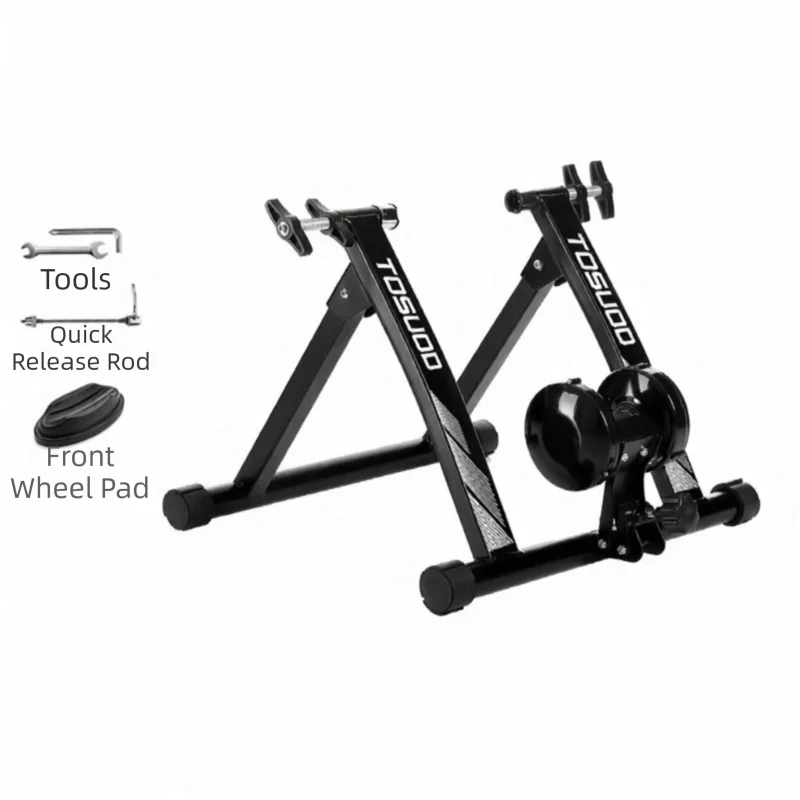
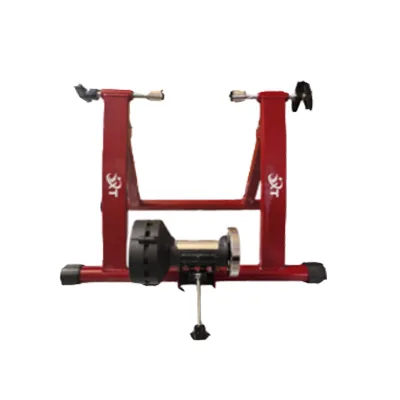
Prices are valid at publication and may change. Please refer to the product page for the latest price.
Storage footprint, on the other hand, dictates how much space the unit occupies when it is turned off and tucked away. If you live in a studio or a one-bedroom unit, you likely need a trainer that can fold down to a slim profile. This allows you to slide it under a bed frame, place it at the bottom of a wardrobe, or stack it neatly in a utility closet. Always measure these storage spaces beforehand, keeping in mind that some trainers require you to remove the bicycle entirely, while others allow the bike to remain attached in a semi-permanent training station.
Beyond the immediate floor area, you must evaluate the physical access constraints of your condominium building. High-rise living means navigating elevators, narrow corridors, and tight doorways. If you select a heavy, non-folding trainer, consider how difficult it will be to transport the unit during a move or even carry it between rooms. Heavy flywheels provide a realistic road feel, but they also make the equipment cumbersome to maneuver through narrow condo hallways.
Finally, never overlook ventilation and cooling needs in a compact room. Cycling indoors in a tropical climate like the Philippines generates immense body heat and sweat. You will need sufficient clearance in front of your bike to position at least one high-velocity floor fan or direct the airflow from your air conditioning unit. Obstructing this airflow with furniture or placing the trainer too close to a wall will cause you to overheat rapidly, reducing your workout quality and increasing the risk of sweat dripping onto sensitive electronics or flooring.
Comparing Indoor Trainer Cycling Options for Small Spaces
Different categories of indoor trainer cycling equipment offer distinct advantages and trade-offs when it comes to space, noise, and ease of use. Choosing the right type requires matching your riding habits with the physical realities of your condo layout.

Direct Drive vs. Wheel-On Trainers
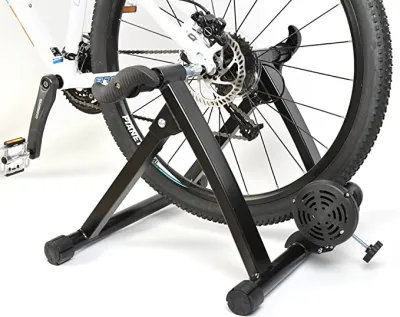
Wheel-on trainers are the traditional entry point for indoor cycling. These units function by clamping your bike’s rear quick-release or thru-axle into a frame, pressing a roller against the rear tire. The primary advantage of wheel-on trainers is their lightweight, highly portable design. Most models feature legs that fold completely flat, allowing you to slide the entire unit under a bed or stand it up in a narrow closet. They are also generally more budget-friendly, often falling into price brackets under ₱15,000, making them highly accessible.
However, wheel-on trainers present several challenges in a small condo. Setting up and tearing down the system requires mounting and unmounting your bicycle for every session, which can become tedious and discourage regular training. Additionally, the friction between the rear tire and the roller generates significant high-frequency noise and tire wear. This setup often produces a loud whine that can easily penetrate thin condo walls, potentially leading to friction with your neighbors.
Direct drive trainers require you to remove your rear wheel and mount your bicycle frame directly onto a cassette pre-installed on the trainer. These units are significantly heavier and bulkier than wheel-on models, with premium smart options often costing ₱40,000 or more. Because of their weight and size, they are harder to move and often encourage riders to leave their bike permanently attached, which requires a dedicated floor area of about two meters by one meter.
The trade-off, however, is quietness and stability. Because there is no tire-to-roller contact, direct drive trainers eliminate the loud friction whine, leaving only the sound of your bicycle chain moving across the gears. This quiet operation is the single best defense against noise complaints in multi-story residential buildings. Furthermore, the robust frame design provides excellent stability during high-intensity intervals, ensuring your setup does not wobble or slide across a polished condo floor.
Rollers and Smart Bikes
Rollers consist of three drums connected by a belt, upon which your bicycle sits freely. Riding on rollers requires constant balance and concentration, as the bike is not clamped to any frame. While rollers are excellent for developing core strength and smooth pedaling technique, they are generally less ideal for tight condo spaces. They require a long, wide active space to allow for natural side-to-side movement, and they lack folding mechanisms that make them easy to store. If you lose your balance in a confined space, you risk crashing into nearby furniture or glass doors.
Smart bikes are all-in-one stationary units that do not require an external bicycle. They offer highly integrated electronics and seamless connectivity to virtual training platforms. While a smart bike eliminates the need to store a separate outdoor bicycle indoors, it represents a permanent spatial commitment. These machines have a large, heavy, non-folding footprint and can weigh up to 50 kilograms or more. They cannot be easily rolled into a closet after a workout, meaning they are only suitable if you have a dedicated home gym corner in a larger condo unit.
Key Features to Look for in a Space-Saving Trainer
When shopping for an indoor trainer cycling setup suitable for a condominium, specific design details can make the difference between a seamless daily routine and a frustrating, cluttered living space.
- Folding legs and quick-release locks: Prioritize trainers that feature folding support legs. Many modern smart trainers have side legs that swing inward, reducing the unit's width to just a few inches when stored. Check the locking mechanisms; high-quality quick-release levers or spring-loaded pins make the folding process fast and secure, encouraging you to pack the trainer away rather than leaving it in the middle of your living room.
- Integrated carry handles and transport wheels: Because direct drive trainers are inherently heavy due to their internal flywheels, look for models with robust, built-in carry handles. A well-placed handle allows you to lift the unit with proper ergonomics, reducing the risk of straining your back or dropping the heavy trainer onto your condo's laminate or tile flooring. Some premium models also feature small transport wheels, allowing you to roll the trainer across flat surfaces.
- Vibration and noise dampening: In shared residential buildings, structural vibration is often a bigger issue than airborne noise. The spinning flywheel of a trainer can send low-frequency vibrations through concrete floors, which sound like a loud, continuous hum to the neighbors living directly below you. Direct drive units with magnetic resistance are inherently quieter. Additionally, look for trainers that offer built-in feet with slight lateral compliance or elastomer dampening to absorb these vibrations before they reach the building structure.
- Cable management and compact power bricks: Smart trainers require a constant power source, which means dealing with power cables, adapters, and extension cords. Look for units that feature integrated cable routing or clips to keep cords tucked neatly against the trainer frame. This prevents tripping hazards in tight spaces and maintains a clean, minimalist aesthetic in your living area.
Measuring, Installing, and Storing Your Trainer Safely
Setting up your indoor trainer cycling space requires careful preparation to protect your equipment, your home, and your personal safety.
First, measure your designated workout area with your bicycle fully mounted on the trainer. Ensure you have at least 50 centimeters of clear space on either side of the handlebars and behind the rear wheel. This clearance is vital for mounting and dismounting safely, adjusting your fans, or making an emergency stop if you lose your footing. If you use a front wheel block to level your bike, include its length in your total floor measurements.
Always place a dedicated trainer mat beneath your entire setup. A high-quality mat serves two critical functions in a condo environment. First, it protects your flooring from sweat, which is highly corrosive and can warp wood laminate, stain carpets, or damage tile grout. Second, a thick, high-density foam or rubber mat acts as a crucial barrier that absorbs structural vibrations, keeping your workouts neighbor-friendly.
In the hot and humid climate of the Philippines, storage and maintenance require extra diligence. High humidity levels can accelerate rust on exposed metal components, bolts, and your bicycle chain. After every ride, immediately wipe down your trainer and bicycle with a dry microfiber cloth to remove sweat. Store the trainer in a well-ventilated, dry area of your condo, avoiding damp laundry balconies or dark corners prone to mold. If you store the unit in a closet, ensure it is completely dry before packing it away.
Perform routine safety checks before every single ride, especially if you fold and unfold your trainer frequently. Inspect the folding hinges and locking pins to ensure they are fully engaged and secure. If you use a wheel-on trainer, verify that the quick-release skewer or thru-axle adapter is clamped tightly into the trainer’s cup mounts. A loose connection can cause the bicycle to slip out of the frame during a ride, leading to severe injury or damage to your home.
Common Space and Setup Mistakes to Avoid
Avoiding common pitfalls during your planning phase will save you time, money, and frustration down the road.
One of the most frequent mistakes is purchasing a trainer based solely on its folded dimensions. While a trainer might fold down to a very compact size, you must verify the active riding clearance. Remember to account for the physical swing of your handlebars when steering or shifting your weight, as well as the space required for your tablet stand, laptop, or television screen if you plan to use virtual training apps.
Another critical error is ignoring the manufacturer’s maximum weight limits or placing the trainer on unstable flooring. Always check the combined weight limit of the rider and the bicycle specified in the user manual. Placing your setup on thick, plush carpeting or uneven tiles can cause the trainer to rock during use, compromising your stability and potentially damaging the trainer’s frame or your bike’s dropouts.
Avoid positioning your training station too close to walls, curtains, or air conditioning units. A tight space restricts natural airflow, which can cause your trainer’s internal electronics to overheat and fail prematurely. Furthermore, spraying sweat onto nearby walls or curtains can lead to unsightly stains and mold growth in humid environments. Keep a safe distance of at least 30 centimeters from any vertical surface.
Finally, never leave a non-folding trainer with a bike attached in a high-traffic walkway. In a small condo, this setup quickly becomes a major tripping hazard, especially in low-light conditions. More importantly, obstructing hallways or entryways can block your path to emergency exits. If you do not have a dedicated, out-of-the-way corner for your setup, commit to a routine of folding and storing your equipment after every session to keep your living space safe and orderly.
Community discussion
Share your experience or ask a question. Comments are reviewed before publication.