
A balance bike is one of the most effective tools for teaching young children how to ride on two wheels, bypassing the need for training wheels entirely. While many parents ask what exact age their child should start using a balancer bike for kids, the ideal starting point is determined more by physical milestones and accurate body measurements than by a number on a calendar. Most children are ready to begin their balance bike journey between the ages of 18 months and 5 years, but finding the perfect fit is what transforms a potentially frustrating experience into a safe, confidence-building adventure. To set your toddler up for success, you must look beyond generic age labels on packaging and focus on their developmental readiness and their specific inseam measurement.
Signs Your Child Is Developmentally Ready for a Balance Bike
Before purchasing a balancer bike for kids, evaluate whether your child has reached the necessary physical and cognitive milestones. Age recommendations are helpful guidelines, but children develop at highly individualized rates. Observing your child during daily play is the most reliable way to determine readiness.
Physical readiness is a critical indicator. Your child should walk steadily with a mature gait, run without frequent tripping, and comfortably straddle low-slung ride-on toys. They must also demonstrate basic core stability, maintaining balance while standing or turning. If your child can easily squat to pick up a toy and stand back up without holding onto furniture, their leg and core muscles are likely strong enough to support and propel a balance bike.
Products mentioned in this guide
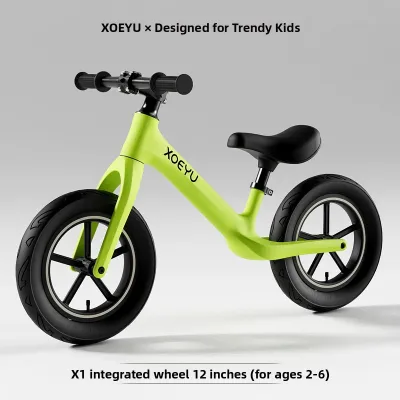
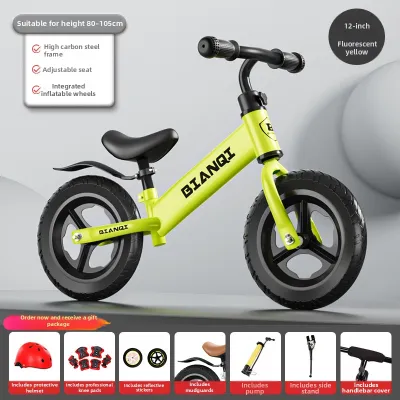
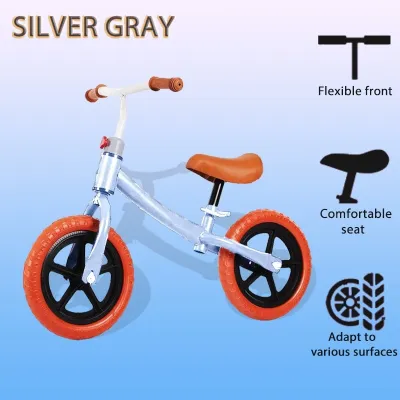
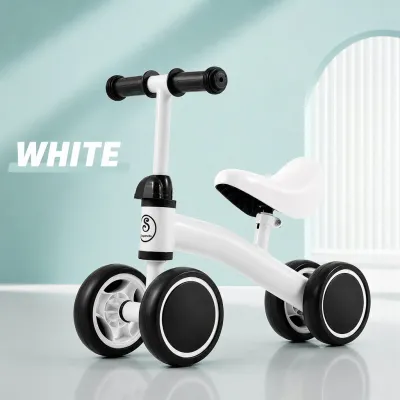
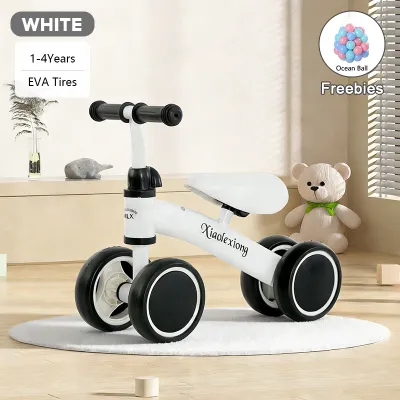
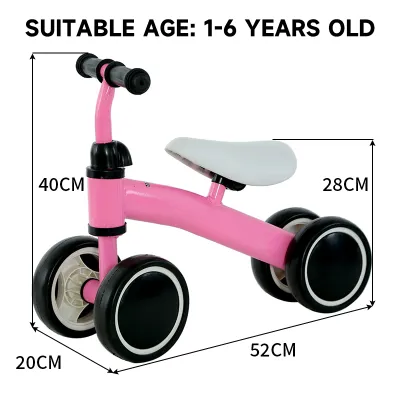
Prices are valid at publication and may change. Please refer to the product page for the latest price.
Cognitive and behavioral readiness is equally important. Look for active interest in wheeled toys, such as trying to sit on other children’s tricycles. Your child should understand basic cause-and-effect, like realizing that turning the handlebars changes direction. Furthermore, a willingness to cooperate with basic safety rules is vital; if they struggle to wear a helmet or follow simple instructions like “stop,” wait until their behavioral maturity catches up.
If your child is still unsteady on their feet, shows fear of straddling objects, or lacks the leg strength to push a simple foot-to-floor toy forward, do not rush the process. Forcing a child onto a bike too early can cause scary falls, creating a long-lasting aversion. Instead, focus on active play—such as climbing and playing tag—to naturally build their coordination and confidence.
How to Measure Your Child for the Perfect Balance Bike Fit
When you decide your child is ready to ride, selecting the right size is the next crucial step. Many parents make the mistake of buying a bike based solely on the age ranges printed on retail boxes, such as “ages 2 to 4.” However, these age brackets are highly generalized and do not account for the vast differences in height, leg length, and physical proportions among children of the same age. A bike that is too large will prevent your child from touching the ground securely, leading to fear and instability, while a bike that is too small will cramp their legs and limit their riding efficiency.

Measuring the Inseam Correctly at Home
To find your child’s true inseam measurement, you do not need specialized tailoring tools. You can easily obtain an accurate reading at home using three simple items: a hardcover book, a standard measuring tape, and a flat, vertical wall. It is best to take this measurement in a relaxed, playful environment so your child remains cooperative and stands still.
Have your child stand barefoot or in the typical closed-toe athletic shoes they will wear while riding. Position them with their back, shoulders, and heels flat against the wall on an uncarpeted floor. Place the hardcover book between their legs, sliding it gently up until the spine of the book snugly meets their crotch, mimicking the upward pressure of a bicycle saddle. Ensure the book remains perfectly level and flat against the wall.
While your child stands up straight, looks directly forward, and avoids slouching, use the measuring tape to measure the distance from the floor straight up to the top edge of the book. To ensure absolute accuracy, repeat this process two or three times. Children are prone to shifting their weight or fidgeting, so verifying the measurement ensures you do not purchase a bike based on a skewed reading.
Matching Inseam to Seat Height and Frame Size
Once you have an accurate inseam measurement, translate this number into bike specifications. The golden rule is that the bike’s minimum seat height must be 1 to 1.5 inches (2.5 to 4 cm) less than your child’s inseam. For example, if your child’s inseam is 12 inches (30.5 cm), the bike’s minimum seat height should be no more than 10.5 to 11 inches (26.5 to 28 cm).
This height difference is essential for safety and biomechanical efficiency. It ensures that when your child sits on the saddle, their feet rest completely flat on the ground with a slight, comfortable bend in their knees. Flat-foot contact allows them to push off with maximum leverage, stop quickly using their feet as brakes, and easily support the bike if they start to tip. If their knees are locked straight or they can only touch with their tiptoes, they will lack stability.
While the minimum seat height determines if the bike is suitable right now, check the maximum seat height to ensure longevity. Children grow rapidly, and a quality balance bike should have an adjustable seat range of at least 2 to 3 inches (5 to 7.5 cm) above the minimum setting. Check the manufacturer’s specifications to verify this range before purchasing.
In addition to seat height, pay close attention to the overall weight of the bike frame. A practical safety guideline is that the balance bike should weigh no more than 30% of your child’s total body weight. A bike that is too heavy will be difficult for a small child to maneuver, lift after a fall, or control, leading to rapid physical fatigue. High-quality balance bikes in the Philippines typically range from broad price bands of ₱2,000 to ₱8,000, with lightweight alloy or magnesium frames sitting at the higher end and traditional steel frames at the more affordable end. Verify the exact frame weight in the manufacturer’s specification sheet before buying.
Adjusting the Bike as Your Child Grows and Gains Skill
As your child practices and grows, their riding style and physical proportions will change. Maintaining a proper bike setup requires regular inspections and adjustments to ensure continued safety, comfort, and ergonomic efficiency. Riding a bike with an outdated setup can cause poor posture, muscle strain, and a drop in overall riding confidence.
You can easily identify when it is time to raise the saddle by watching your child ride. If you notice their knees are excessively bent, their thighs move outward in a bowed shape while pushing, or their knees repeatedly hit the handlebars, the seat is too low. Your child might also complain that their legs feel tired quickly or that they feel cramped while riding.
To safely adjust the seat height, consult your bike’s user manual for the correct tools and torque specifications. Loosen the seat post clamp, raise the saddle to the new height (roughly 1 inch less than their current inseam), and tighten the clamp securely. Before tightening, strictly verify that the minimum insertion line remains completely hidden inside the frame. Leaving this line exposed compromises the structural integrity of the seat post, which can cause the frame to crack or the seat to collapse.
Do not forget to adjust the handlebar height and reach in tandem with the seat. The handlebars should be positioned at a height that allows your child to maintain a comfortable, slightly leaned-forward posture. Their arms should be slightly bent at the elbows, allowing them to reach the grips easily without stretching or hunching their shoulders. If the handlebars are too low, it can cause back strain; if they are too high, it limits their steering control and leverage.
Eventually, your child will show signs that they are ready to transition to a traditional pedal bike. These signs include maxing out the bike’s maximum seat adjustment, coasting for long distances with their feet lifted completely off the ground, taking sharp turns confidently, and actively asking for a pedal bike. Because they have already mastered balancing and steering, the transition is usually quick and smooth.
Essential Safety Gear and Choosing the Right Practice Spot
Safety must always be the top priority when introducing a child to a balancer bike for kids. Even at slow speeds, falls are a normal part of the learning process, and proper protective gear prevents minor mishaps from turning into painful injuries. Before your child even touches the handlebars, establish a strict rule: no helmet, no riding.
Choosing and fitting a helmet correctly is paramount. In the Philippines, the warm and humid climate makes ventilation a key comfort factor; look for a well-ventilated helmet with multiple air vents to prevent your child from overheating during outdoor play. To check the fit, place the helmet level on their head. The front edge should sit no more than two finger-widths above their eyebrows. The side straps must form a clean “V” shape just below the ears, and the chin strap should be snug enough that only one or two fingers can fit between the strap and their chin. Always verify that the helmet complies with safety standards as detailed by the manufacturer.
Proper clothing is another non-negotiable safety element. Your child must always wear sturdy, closed-toe shoes with good grip, such as sneakers. Strictly avoid sandals, slippers, or flip-flops (commonly known as tsinelas), as these offer zero protection for toes and can easily get caught under the wheels or slide off when your child tries to brake. Long pants and lightweight shirts are also recommended to protect against minor scrapes. For children who need extra reassurance, adding soft knee and elbow pads can provide valuable comfort and protection.
Equally important is selecting the right environment for those first riding sessions. The ideal practice spot is a flat, smooth, paved area that is completely free of motorized traffic. Empty tennis or basketball courts, wide and flat driveways, or quiet paved paths in local parks are excellent choices. These surfaces offer low rolling resistance, making it easy for beginners to push off and maintain momentum.
Avoid starting your child on grass, loose gravel, or sandy surfaces. While grass might seem like a soft place to fall, it actually requires significantly more leg strength to push through, which quickly exhausts a young child. Gravel and sand are unstable surfaces that can slide under the tires, causing sudden, frustrating falls that can damage a beginner’s confidence. Keep the early sessions short, positive, and focused on fun to build a lifelong love for cycling.
Frequently Asked Questions (FAQ)
Can a 1-year-old safely use a balance bike?
While some active toddlers might show interest in wheels early on, most one-year-olds lack the physical stability, core strength, and bilateral coordination required to safely operate a standard balance bike. Some manufacturers offer ultra-small, three- or four-wheeled micro-bikes for toddlers, but for a true two-wheeled balance bike, waiting until 18 to 24 months is generally the safer and more effective approach. At this age, their bone structure and muscle development are better suited to supporting the bike and handling sudden stops.
Should I choose a balance bike with hand brakes?
For very young beginners under the age of three, hand brakes are generally unnecessary and can be highly confusing. Toddlers naturally use their feet to stop, which is an instinctive and highly effective braking method at slow speeds. Their small hands also lack the grip strength and coordination required to squeeze a brake lever. However, for older or more experienced riders (ages three and up) who ride at higher speeds, a rear hand brake is a beneficial feature. It helps preserve their shoes and teaches them the muscle memory needed to operate hand brakes on their future pedal bikes.
What if my child's measurements fall between two sizes?
If your child’s inseam puts them right on the border between two different bike sizes, your decision should depend on their experience level and confidence. If they are a complete beginner or tend to be cautious, always size down to the smaller bike. This ensures they can easily plant both feet flat on the ground, which is vital for building confidence and overcoming the fear of falling. If your child is already experienced, rides confidently, and is simply outgrowing their current model, sizing up to the larger frame with a highly adjustable seat is the better choice to ensure long-term usability.
Community discussion
Share your experience or ask a question. Comments are reviewed before publication.