
Finding the perfect basketball with ring setup for your home depends on balancing your available space, playing style, and budget. Choosing between a portable, wall-mounted, or in-ground system is not just about cost; it dictates how safely you can play and how well the equipment survives local weather conditions. By assessing your property constraints and playing goals first, you can avoid costly installation mistakes and select a system that provides years of reliable use.
Quick Self-Assessment: Which Basketball Ring Fits Your Needs?
To quickly narrow down your options, consider how your living situation aligns with the core features of each system type. Portable hoops offer immediate setup and mobility but sacrifice high-intensity stability. Wall-mounted hoops save valuable ground space but require a highly durable masonry or concrete wall. In-ground hoops offer the ultimate professional-grade play experience but demand a permanent concrete installation and a larger budget.
Use the table below to evaluate which category matches your current home environment and athletic requirements:
Products mentioned in this guide
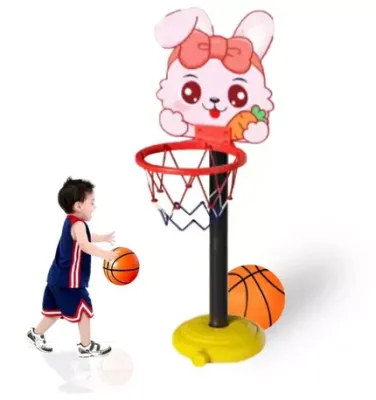
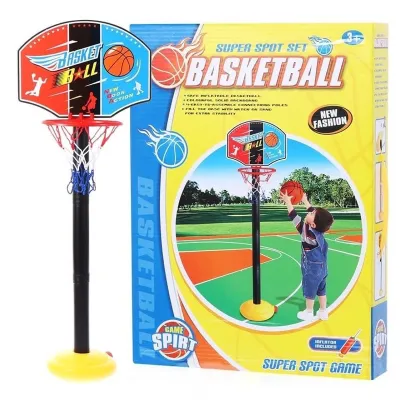
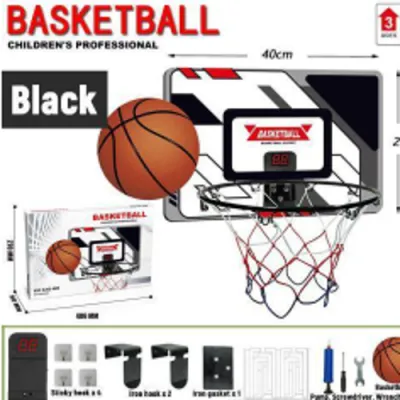
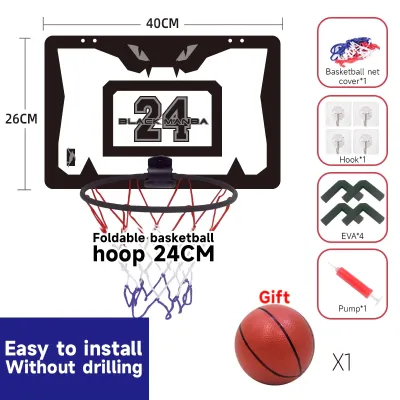
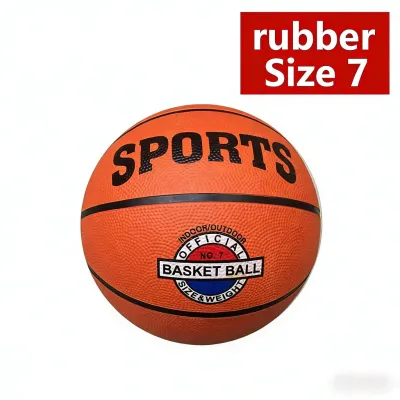
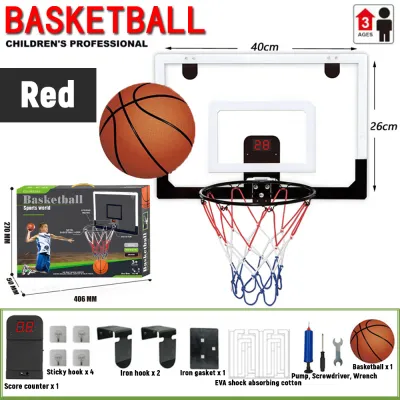
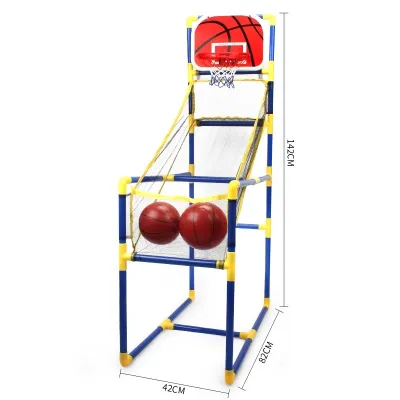
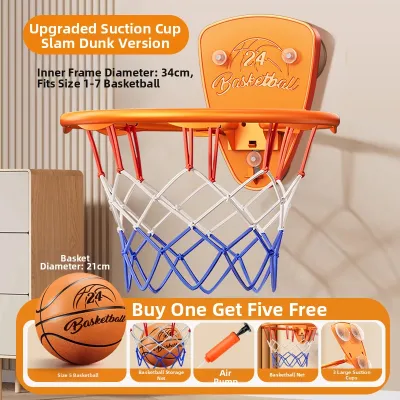
Prices are valid at publication and may change. Please refer to the product page for the latest price.
| System Type | Space Flexibility | Installation Permanence | Play Intensity | Best Suited For |
|---|---|---|---|---|
| Portable | High (Can be rolled away or relocated) | Low (No drilling or concrete pouring required) | Low to Moderate (Casual shooting, no aggressive dunking) | Renters, families with young children, and shared driveways |
| Wall-Mounted | Medium (Saves ground footprint, fixed height or limited adjustment) | High (Requires drilling into structural walls) | Moderate to High (Sturdy rebounds, light dunking if reinforced) | Homeowners with limited driveway space but strong concrete walls |
| In-Ground | Low (Permanently fixed in concrete) | Very High (Requires excavation and concrete pouring) | High to Professional (Gym-like stability, safe for dunking) | Dedicated backyard courts, serious players, and long-term homeowners |
Before committing to any system, verify your property boundaries and structural capacities. A system that does not fit your physical space or local community guidelines will lead to safety hazards or forced removal.
Step 1: Assess Your Space and Installation Limits
Determining where your hoop will stand is the most critical step in the selection process. Physical space, surface levelness, and property ownership will instantly rule out certain models.

Evaluating Driveway and Ground Space (Portable vs. In-Ground)
Measuring your available outdoor area is the first task. A portable basketball system requires a flat, level surface not only for the game itself but also to accommodate the large plastic base, which typically measures around 110 to 130 centimeters in length and holds 40 to 50 gallons of ballast. If your driveway has a steep incline, a portable base can become unstable and prone to tipping. You must also ensure there is enough overhead clearance, keeping the hoop away from low-hanging utility lines, tree branches, or roof gutters.
In-ground systems demand a permanent commitment of physical ground space. Installing an in-ground hoop requires excavating a hole roughly 4 feet deep and 2 feet wide to pour a solid concrete foundation. This process requires explicit property ownership or written landlord approval, as the installation cannot be undone easily. Additionally, you must check your local property lines and utility maps before digging to avoid severing underground pipes or wires. Ensure the backboard’s overhang—the distance the board extends forward from the pole—does not protrude into public roads or block pedestrian sidewalks, which could violate local barangay ordinances.
Checking Wall Structural Integrity (Wall-Mounted)
Wall-mounted systems are excellent space-savers, but they exert immense dynamic force on whatever structure they are attached to. In the Philippines, residential exterior walls are frequently constructed from Concrete Hollow Blocks (CHB). Standard, non-reinforced CHB walls are often hollow and brittle; mounting a heavy steel bracket and backboard directly onto them with simple expansion bolts can cause the blocks to crack or crumble under the impact of a basketball.
For a safe wall-mounted installation, you must secure the mounting brackets into solid structural elements, such as reinforced concrete columns, solid brick, or heavy-duty structural wood studs. If you are mounting to a masonry wall, through-bolts that pass entirely through the wall and are secured with backing plates on the opposite side are highly recommended. Always consult a structural engineer or a professional builder if you are unsure of your wall’s load-bearing capacity. Additionally, check your Homeowners Association (HOA) or barangay guidelines, as some subdivisions restrict street-facing wall-mounted hoops due to noise concerns or aesthetic rules.
Step 2: Match the Hoop to Your Usage and Player Profile
Once you know what your property can physically accommodate, match the system’s structural build with the age, skill level, and play style of the users.
Casual Shooting, Kids, and Multi-Use Driveways
If the hoop is primarily for young children, casual family recreation, or neighborhood shooting games like ‘around the world,’ a portable system is often the most practical choice. Many portable hoops feature telescoping poles or easy-adjust broomstick mechanisms that allow you to lower the rim height from the standard 10 feet down to 7.5 feet. This adjustability allows younger players to develop proper shooting form without straining.
Portable models also excel in multi-use spaces. When the driveway needs to be cleared for parking family vehicles, the built-in wheels on the front of the base allow you to tilt and roll the system into a garage or side yard. However, keep in mind that these systems utilize lightweight materials. The backboards are typically made of thin polycarbonate or high-density polyethylene, which absorb impact energy and produce a dull, dead rebound. The standard rims on entry-level portables are directly bolted to the backboard without spring dampening, meaning they cannot withstand the force of players hanging on the rim.
Serious Practice, Older Players, and Dunking
Competitive athletes, high school players, and adults require a system that mimics the performance of an indoor gym. For these users, an in-ground system or a heavy-duty wall-mounted setup is necessary. These systems support large, heavy backboards made of tempered glass or thick acrylic, measuring 54, 60, or 72 inches wide. Tempered glass provides the truest, most consistent ball rebound, which is essential for practicing bank shots and high-velocity layups.
Crucially, serious play requires a true breakaway rim. A breakaway rim features enclosed steel springs that compress under downward pressure, absorbing the energy of a dunk before transferring that force to the backboard or support pole. Trying to dunk or hang on a standard portable hoop is extremely dangerous. The dynamic weight of a dunking player can easily exceed the ballast weight of a portable base, causing the entire system to tip forward onto the player, resulting in severe head or bodily injuries and destroying the equipment.
Budget, Weather, and Long-Term Maintenance
Calculating the true cost of ownership requires looking past the initial retail price of the box. You must factor in installation materials, labor, and the cost of protecting your investment against tropical weather.
Entry-level portable hoops are generally the most affordable, starting around ₱8,000 to ₱15,000, with no additional installation costs if you assemble them yourself. In-ground systems, while offering superior performance, carry a higher purchase price (often ₱25,000 to ₱60,000+) and require additional expenses for concrete mix, rebar, digging tools, and potentially professional labor, which can add another ₱5,000 to ₱12,000 to the total project cost.
When setting up a portable system, you must choose between filling the base with water or dry sand. Water is inexpensive and easy to drain if you need to move the hoop to a new home, but it is susceptible to evaporation, slow leaks through hairline cracks, and internal algae growth. Sand is roughly 30% denser than water, providing superior stability and eliminating the risk of leaks, but it makes the hoop incredibly difficult to relocate once filled.
The Philippine climate presents unique challenges for outdoor sports equipment. High relative humidity, salt air in coastal regions, and heavy seasonal rainfall accelerate the oxidation of steel components. When shopping, verify that the system features rust-resistant specifications, such as powder-coated steel poles, zinc-plated hardware, and UV-protected backboard materials to prevent yellowing and cracking under intense tropical sunlight.
During the typhoon season, outdoor hoops face extreme wind loads. High-velocity winds can catch a large 54-inch backboard like a sail, easily toppling a portable system or tearing a poorly anchored wall mount from its fittings. If a typhoon warning is issued, you must take immediate safety precautions: lower adjustable portable hoops to their lowest height setting, move them inside a secure garage, or lay them completely flat on the grass or concrete with the backboard facing down to prevent the wind from catching it. For permanent in-ground systems, ensure the anchor bolt covers are secured and check the pole regularly for any signs of structural rust near the concrete base.
Final Verdict: Making Your Purchase Decision
Choosing the right basketball system comes down to a clear set of trade-offs. Use this final checklist to guide your purchase:
- Choose a Portable System if you rent your home, need to clear the driveway for parking, have a modest budget, or are buying primarily for younger children who will benefit from an adjustable-height rim.
- Choose a Wall-Mounted System if you own your home, have limited ground space, possess a highly durable structural concrete or brick wall, and want a stable, space-saving court setup.
- Choose an In-Ground System if you own your property, have a dedicated concrete court or large driveway, want the absolute best rebound performance, and have the budget for professional installation and concrete pouring.
If your budget is tight, your landlord prohibits drilling or digging, or your outdoor space is too cramped for safe play, remember that you do not have to buy a home system. Utilizing your local barangay covered court or community park is a highly practical, safe, and cost-free way to enjoy the game without compromising your property’s safety or structural integrity.
Frequently Asked Questions (FAQ)
Can I convert a portable basketball ring to an in-ground system later?
Most portable basketball poles are not engineered to be converted into in-ground systems. Portable poles are typically made of thinner-gauge, multi-piece steel designed to slip together, whereas high-quality in-ground systems use thick, single-piece or heavy-duty two-piece poles to handle the vibrations of play. Attempting to cement a portable pole directly into the ground can lead to rapid rust inside the concrete, structural failure, and voiding of the manufacturer’s warranty. If you anticipate wanting a permanent setup in the future, it is safer and more cost-effective to wait and purchase a dedicated in-ground system.
How do I prevent a portable hoop from tipping over in strong winds?
To prevent a portable hoop from tipping over during severe weather, always fill the base to its maximum capacity using dry play sand rather than water, as sand provides greater weight and stability. Additionally, purchase specialized heavy-duty base gel additives that turn water into a solid, heavy mass to prevent sloshing and leaks. When high winds or typhoons are forecasted, lower the rim to its lowest height setting (usually 7.5 feet) to reduce wind resistance, anchor the base to ground anchors if possible, or lay the entire unit flat on the ground in a safe area away from vehicles and windows.
Community discussion
Share your experience or ask a question. Comments are reviewed before publication.