
Installing a boxing punching bag heavy duty setup at home is an excellent way to elevate your fitness routine, but it requires careful preparation before you make a purchase. A heavy bag is not a static fixture; it is a dynamic, swinging mass that transfers significant kinetic energy into your home’s structure with every strike. Failing to assess your space beforehand can lead to costly structural damage, broken fixtures, or severe physical injury.
To ensure a safe and successful installation, you must verify the structural integrity of your mounting surface, calculate the necessary clearance space, and select hardware rated for dynamic forces. Taking these steps beforehand protects your home and ensures your training sessions are safe and uninterrupted.
How to Assess Your Ceiling and Wall Structural Integrity
Before hanging a heavy bag, you must identify the composition of your ceiling or wall. Structural elements like solid concrete slabs, poured concrete beams, and load-bearing wooden joists are capable of supporting heavy loads. In contrast, cosmetic surfaces such as drywall, plaster, gypsum board, or drop ceilings will fail immediately under the weight and must never be used as direct mounting points.
Products mentioned in this guide
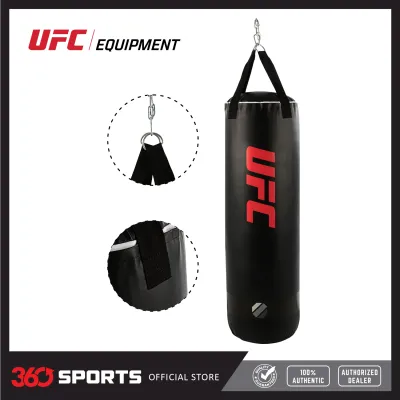

![[2023 New] EVERLAST Boxing Punching Bag for Adults Black PU Leather Heavy Duty MMA Training With Free Gloves](https://img.lazcdn.com/g/p/d30681ff0343b6c727f903cea5a0c6f2.jpg_400x400q80.jpg_.webp)

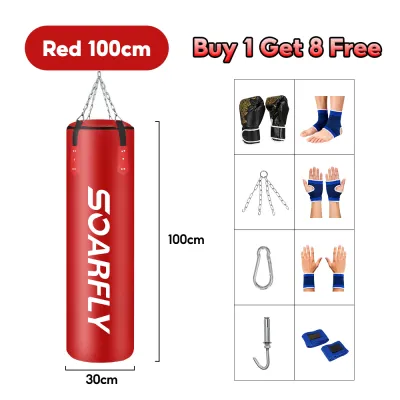
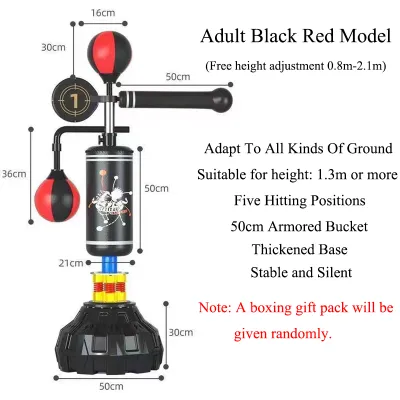
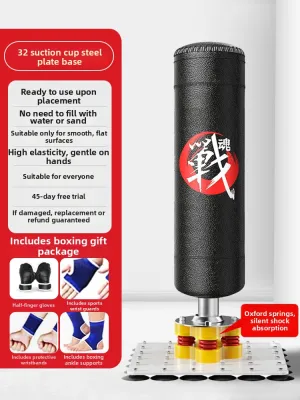

Prices are valid at publication and may change. Please refer to the product page for the latest price.
In many residential structures, particularly in the Philippines, walls are commonly built using concrete hollow blocks. These blocks have hollow centers and lack the structural density required to hold heavy expansion bolts under continuous vibration. If you plan to mount your bag to a wall, you must anchor your brackets into solid concrete columns or structural beams rather than standard hollow block partition walls.
It is crucial to understand the difference between static weight and dynamic load. A boxing punching bag heavy duty model might have a static weight of 40 kilograms, but when you strike it, the swinging motion and impact force can easily triple or quadruple the instantaneous load on the mounting point. Your mounting surface must be strong enough to withstand these repeated, multi-directional forces over time.
Additionally, you must check for hidden hazards behind your intended mounting point. Electrical conduits, water pipes, and utility lines are frequently embedded within concrete walls or run alongside ceiling joists. Utilizing a multi-scanner stud finder with voltage detection can help you map out these hidden systems before you begin drilling.
Evaluating Space and Clearance for Safe Training
A heavy bag requires a significant amount of open space to function safely. To calculate the necessary swing radius, measure the length of the mounting chain and the width of the bag, then add at least 1.5 to 2 meters of clear space in all directions from the center hanging point. This buffer zone prevents the bag from colliding with walls or household items during intense workouts.

You must also account for your own movement and footwork during training. Boxing requires you to step, pivot, circle, and lung around the bag. Ensure that your training zone allows you to move freely through a full 360-degree range without the risk of tripping over furniture, stepping onto uneven flooring, or colliding with glass windows.
Take note of any overhead obstacles in your chosen room. In tropical climates, ceiling fans are common fixtures in living rooms and bedrooms. You must ensure the bag’s swing path is completely clear of fan blades, low-hanging light fixtures, and wall-mounted air conditioning units to prevent dangerous accidents and expensive property damage.
Choosing the Right Mounting Hardware for Your Surface
Matching your mounting hardware to your specific structural material is essential for preventing hardware pull-out. For solid concrete ceilings or structural beams, heavy-duty steel expansion bolts, often referred to as dynabolts, are the standard choice. For wooden joists, you will need heavy-duty steel lag screws that can penetrate deep into the center of the wood beam.
Every component in your hanging system must be explicitly rated for heavy-duty use and dynamic loads. This includes the ceiling mount, the chains, the carabiners, and the connecting links. Using cheap, unrated hardware from a general utility bin increases the risk of metal fatigue and sudden failure during a workout.
If your living situation or building rules do not allow you to drill into structural concrete or wood, you should consider alternative setups. A freestanding heavy bag stand is an excellent option that requires no drilling, though it occupies more floor space. Alternatively, a heavy-duty wall-mounted bracket can be installed on an exterior solid concrete wall if ceiling mounting is not viable.
DIY vs. Hiring a Professional: When to Call an Expert
Performing a DIY installation is highly feasible if you have direct access to exposed, solid wooden joists or unpainted, solid concrete surfaces. If you are comfortable operating a hammer drill, using a stud finder, and leveling heavy brackets, you can complete a standard installation safely by following the manufacturer’s precise instructions.
However, certain structural scenarios require professional intervention. If your home features post-tensioned concrete slabs, which are common in modern high-rise condominiums, drilling into the concrete without expert guidance is extremely dangerous. Severing a high-tension cable embedded in the concrete can compromise the structural integrity of the entire building.
You should also call a professional contractor if you cannot confidently locate your ceiling joists, if your ceiling is covered by a complex drop-ceiling system, or if you need to install additional structural bracing between joists. Spending a few thousand pesos (₱) on a professional installation is a wise investment that prevents catastrophic ceiling damage and potential injury.
Performing Post-Installation Safety and Load Tests
Before you begin throwing full-power combinations, you must verify the stability of your new installation. Begin with a gradual static load test. Hang the bag or apply partial body weight to the mount slowly, listening carefully for any creaking, cracking, or popping sounds from the ceiling or wall.
Next, perform an initial strike test by giving the bag a series of light pushes and low-impact strikes. Watch the mounting bracket closely during this movement. Check for any signs of shifting, loose bolts, or falling concrete dust and drywall debris, which indicate that the mount is not secure.
Finally, establish a routine maintenance schedule to keep your setup safe over time. The constant vibration from training can gradually loosen threaded fasteners. Inspect the tightness of all bolts, check the carabiners for signs of metal-on-metal wear, and lubricate moving parts regularly to ensure your home boxing corner remains safe for years to come.
Frequently Asked Questions (FAQ)
Can I Mount a Heavy Bag Directly to Drywall?
No, you cannot mount a heavy bag directly to drywall. Drywall lacks the structural strength to support even the static weight of a heavy bag, let alone the dynamic forces generated during a workout. Attempting to do so will result in the bracket tearing out of the wall, causing severe damage. You must always anchor your mounting hardware directly into the wooden studs or concrete structures located behind the drywall.
Is a Swivel Necessary for the Mounting Chain?
Yes, a heavy-duty swivel is highly recommended for any heavy bag setup. When you strike a heavy bag, it naturally twists and rotates. Without a swivel, this twisting action transfers immense rotational torque directly to your mounting bolt, which can cause the bolt to unscrew or fatigue over time. A swivel allows the bag to spin freely, protecting your hardware and extending the lifespan of your chains.
Community discussion
Share your experience or ask a question. Comments are reviewed before publication.