
Selecting the right pull-up resistance band is a critical first step for beginners in the Philippines who want to build upper-body strength and master their first unassisted pull-up. These elastic loops act as a counterweight, offsetting a portion of your body weight to help you complete the full range of motion with proper form. Because individual fitness levels, body weights, and local environmental factors like high humidity and heat affect material performance, choosing the correct band requires evaluating thickness, material composition, and safety features rather than relying on a single generic option.
By understanding how to match a band to your current physical capacity and verifying its quality before use, you can establish a safe, progressive training routine at home or in a local gym. This guide outlines the essential selection criteria, safety protocols, and progression strategies to help you transition from assisted variations to your very first clean, unassisted repetition.
Understanding Resistance Levels and Band Types
Pull-up resistance bands operate on a simple mechanical principle: the thicker the band, the more assistance it provides. When you loop a band over a pull-up bar and place your foot or knee inside, the band stretches. As you pull yourself upward, the band contracts, providing an upward lift that reduces the amount of active muscle force required to complete the movement. For absolute beginners, thicker bands are highly suitable because they offer the maximum amount of counterweight, allowing you to focus on learning the correct movement pattern without straining your muscles.
Products mentioned in this guide
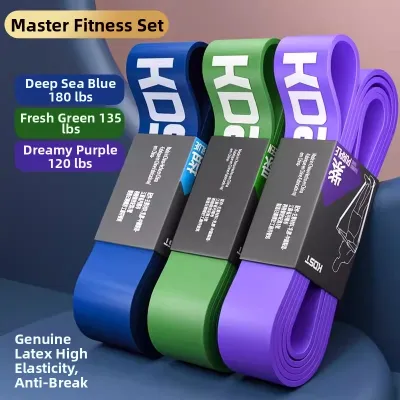

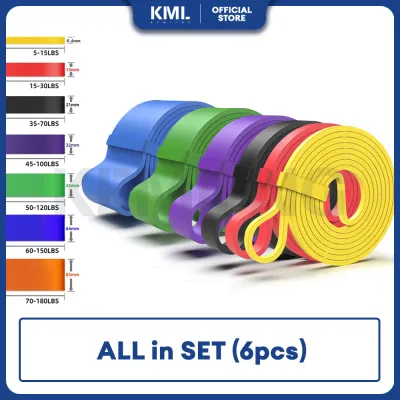
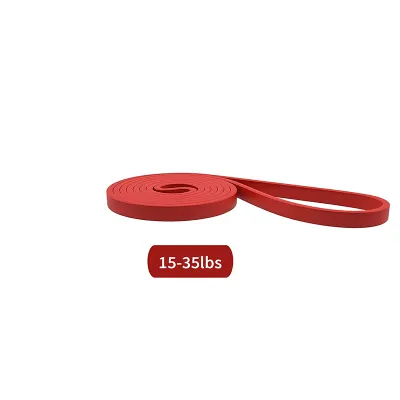
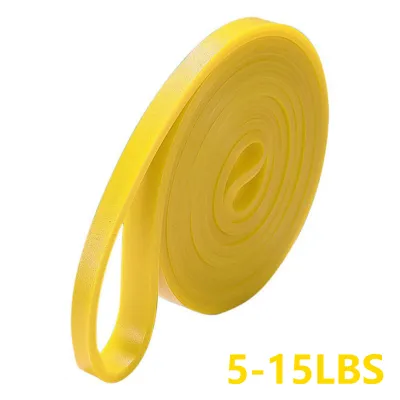
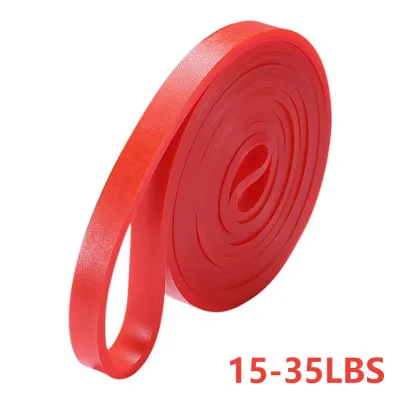
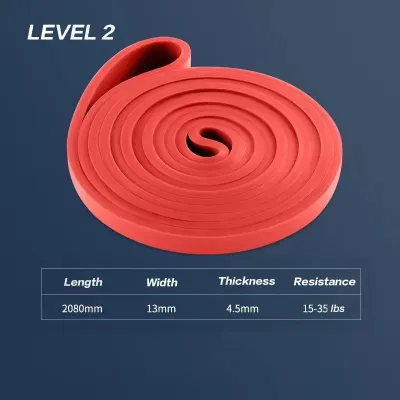
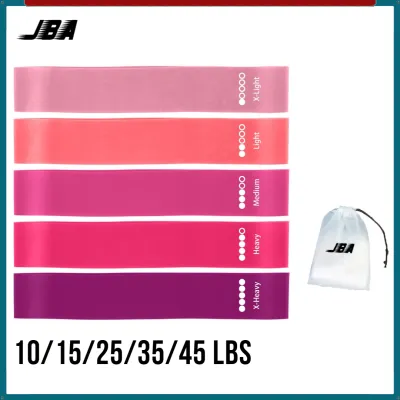
Prices are valid at publication and may change. Please refer to the product page for the latest price.
To estimate the level of assistance you need, you must consider your current body weight in relation to your pulling capacity. If you cannot perform a single unassisted pull-up, you will generally require a band that offsets roughly 30% to 50% of your body weight. For example, a beginner weighing 70 kilograms who has limited upper-body strength will benefit from a wider band that provides a higher tension range, whereas someone who can already perform a few partial repetitions may only need a medium or thin band to complete a full set. Most manufacturers color-code their bands to represent different tension levels, but because these colors are not standardized across brands, you must always verify the specific width and weight-equivalent ratings on the product packaging.
When shopping for pull-up assistance, you will encounter two primary styles of bands: continuous loop bands and tube bands with handles. Continuous loop bands are flat, wide, and form a single unbroken circle, which is the industry standard for pull-up assistance. Their flat design allows them to sit securely under your foot or knee, and they distribute tension evenly across the bar. In contrast, tube bands with handles, plastic clips, or fabric sleeves are designed for pulling and pushing exercises at ground level; they are highly unsuitable for pull-up assistance because the plastic connectors and handles can easily slip, snap, or fail under the weight of a suspended user.
Key Features to Check Before Buying
Before purchasing a pull-up resistance band from local sports shops or online marketplaces in the Philippines, you must carefully verify its material composition. High-quality bands are typically made from 100% natural latex, which offers excellent elasticity, a smooth tension curve, and superior resistance to permanent deformation. Some budget-friendly options utilize synthetic rubber or thermoplastic elastomers (TPE). While TPE bands are often less expensive, they tend to lose their elasticity quickly, stretch out permanently after a few weeks of use, and have a much lower threshold for snapping under high tension.

In the tropical climate of the Philippines, high ambient temperatures and humidity levels can accelerate the degradation of elastic materials. Natural latex is highly sensitive to heat and moisture, which can cause the material to dry rot, become sticky, or develop micro-cracks over time. When browsing local retail options, look for bands that explicitly state they are made of multi-layered latex. Layered latex bands are constructed by bonding multiple thin sheets of latex together, which provides a significant safety advantage: if a micro-tear develops on the outer layer, the inner layers remain intact, preventing the sudden, catastrophic snapping that can occur with single-pour molded bands.
Dimensional verification is another critical step to ensure the band is compatible with your workout setup. Standard pull-up loop bands typically measure approximately 208 centimeters (82 inches) in total circumference, which translates to a flat length of about 104 centimeters. This length is designed to work seamlessly with standard doorway pull-up bars, wall-mounted rigs, and outdoor park bars. Avoid purchasing unusually short bands, as stretching a band beyond its recommended limit—typically 2.5 times its original resting length—places extreme stress on the material and significantly increases the risk of structural failure during a exercise.
Finally, perform a thorough visual inspection of the band before your first workout and before every subsequent training session. Look closely for any manufacturing defects, such as uneven thickness along the edges, small air bubbles embedded in the latex, or rough, unfinished seams. In local sports shops, a single quality band typically costs between ₱300 and ₱1,200 depending on its thickness and brand reputation. While it may be tempting to purchase ultra-cheap unbranded sets from online marketplaces, these products often bypass quality control checks, making them a safety hazard when subjected to full body weight.
How to Set Up and Use Bands Safely for Pull-Ups
Because pull-ups involve suspending your body off the ground, safety must be your primary focus. Before attaching any band, you must verify that your pull-up bar is securely installed and rated to support your total body weight plus any dynamic forces generated during movement. Doorway pull-up bars that rely solely on friction can easily slip if subjected to sudden lateral forces, so a bolted wall-mounted bar or a heavy-duty power rack is highly recommended for assisted training.
To set up the band correctly, use a secure looping technique known as a girth hitch. Stand beneath the center of the pull-up bar and drape the band over the top. Pull one end of the loop down through the opposite end, creating a secure knot around the bar. Pull down firmly on the hanging loop to tighten the knot against the bar, ensuring it is centered and cannot slide left or right during your set. This anchoring method prevents the band from shifting, which could otherwise alter your balance or cause the band to slip off the bar entirely.
Once the band is anchored, you must decide whether to place your foot or your knee into the loop. Placing your foot in the loop stretches the band to its maximum length, providing the highest level of assistance at the bottom of the movement where the exercise is hardest. However, this method requires excellent core stability to keep your leg straight and prevent the band from slipping off the toe of your shoe. Placing your knee in the loop stretches the band less, providing a moderate level of assistance, and is generally easier for beginners to control because it keeps the band closer to your center of gravity. Whichever method you choose, always lower yourself into the starting position slowly and with control; never drop down quickly, as the sudden impact can overload the band and the bar.
Before placing your full weight on the band, perform a mandatory pre-use tension test. Step into the loop with one foot or knee while keeping your other foot firmly on a stable chair, box, or the ground. Gradually transfer your weight onto the band while observing how it stretches. If you notice any white stress marks, feel a sudden loss of tension, or hear any cracking or tearing sounds, stop immediately and exit the band. Never use a band that shows any signs of structural fatigue, as a snap under tension can cause severe bruising, skin burns, or a dangerous fall.
Progression Plan: Transitioning to Unassisted Pull-Ups
To build raw pulling strength, you must apply the principle of progressive overload by gradually reducing the amount of assistance the band provides. If you rely on the same thick band indefinitely, your muscles will adapt to that specific level of help, and your progress will plateau. A structured progression plan involves stepping down to thinner, lower-resistance bands as your back, shoulder, and grip strength improve over time.
Start by selecting a band that allows you to complete 3 sets of 8 to 10 controlled repetitions with perfect form. Once you can easily perform this volume without swinging your body or bending your hips, transition to the next thinnest band in your set. This step-down process will feel significantly harder at first, and your repetition count may temporarily drop to 4 or 5 reps per set. Continue training with the thinner band until you can once again complete 3 sets of 8 to 10 reps, then repeat the process with an even lighter band.
In addition to assisted pull-ups, you should incorporate complementary foundational exercises into your routine to target weak links in your pulling chain. Scapular retractions are highly effective for teaching your body how to initiate the pull-up using the large muscles of your upper back rather than relying solely on your arms; perform these by hanging from the bar with straight arms and simply pulling your shoulder blades down and together. Negative pull-ups are another excellent tool: use a box or chair to jump directly to the top of the bar, then lower your body down as slowly and smoothly as possible over a count of 5 to 10 seconds. This eccentric training builds the necessary structural strength in your tendons and muscles to handle your full body weight.
You will know you are ready to attempt your first unassisted pull-up when you can perform 5 to 8 slow, controlled negative pull-ups with a 10-second lowering phase, or when you can complete a full set of 10 repetitions using the thinnest available resistance band. When attempting an unassisted rep, ensure your shoulders are packed, your core is tight, and you pull from a dead hang without using momentum or kicking your legs. Mastering this transition requires patience, but by systematically reducing band assistance and building your foundational back strength, you can safely achieve a clean, unassisted pull-up.
Frequently Asked Questions (FAQ)
Can I use multiple bands together for more assistance?
Yes, combining two or more bands is a highly effective way to customize your assistance level, especially for absolute beginners or heavier users who require more upward lift than a single band can provide. For example, if a thick band is still too difficult and you cannot complete a full range of motion, you can loop a medium band and a thin band over the bar simultaneously. This stacking method allows you to combine their tension ratings to achieve the exact amount of support you need.
When using multiple bands, you must perform extra safety checks to prevent accidents. Ensure both bands are anchored separately or aligned perfectly side-by-side on the bar so they do not overlap or rub against each other during the exercise. Friction between two rubbing latex bands generates heat, which rapidly degrades the material and can cause premature tearing. Additionally, make sure both bands are securely positioned under the center of your foot or knee to prevent one of them from slipping off mid-rep.
How do I clean and store resistance bands to extend their lifespan?
To prevent your resistance bands from degrading, cracking, or snapping, you must establish a regular cleaning and storage routine. After a sweaty workout, wipe the bands down with a damp cloth using mild soap and warm water to remove sweat, body oils, and dirt. Avoid using harsh chemical detergents, alcohol, bleach, or solvents, as these substances break down the chemical bonds of natural latex, causing it to become brittle and prone to tearing. Allow the bands to air dry completely in a shaded, well-ventilated indoor area before storing them.
Proper storage is especially important in hot, humid tropical environments. Never store your bands in direct sunlight, near windows, or in hot outdoor storage sheds, as ultraviolet (UV) rays and extreme heat will dry rot the latex very quickly. Store your bands in a cool, dry indoor drawer, bag, or closet. To prevent the latex from sticking to itself or becoming gummy over time, you can apply a light dusting of ordinary talcum powder or cornstarch to the surface of the dry bands before storing them away.
Community discussion
Share your experience or ask a question. Comments are reviewed before publication.