
Identifying your golf ball on a crowded fairway or in the rough is essential for avoiding penalty strokes and keeping your game moving. While a simple permanent marker works, a dedicated golf ball stamp provides a clean, repeatable, and personalized mark that stands out. Choosing between a self-inking stamp and a traditional stamp comes down to how quickly you want to mark your balls, where you plan to do it, and how detailed you want your design to be. For golfers who value speed and a self-contained tool they can toss into a pocket on the course, a self-inking stamp is highly convenient. Conversely, players who prefer highly detailed, custom logos and do not mind a multi-step process off the course will find a traditional stamp with a separate ink pad more suitable.
How Self-Inking and Traditional Golf Ball Stamps Work
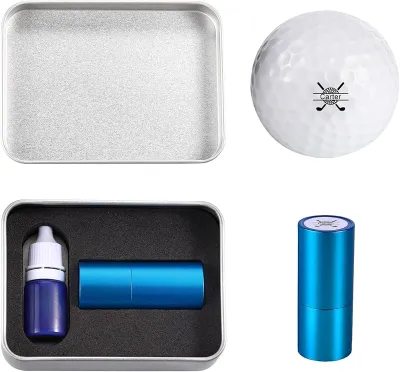
To choose the right tool, it helps to understand the mechanical differences between these two stamping methods. A self-inking golf ball stamp features an integrated mechanism where the printing die rests against an internal ink pad while at rest. When you press the stamp down onto the ball, a spring-loaded mechanism rotates or lowers the die to make contact with the ball’s surface. Once you release the pressure, the spring pulls the die back up against the ink pad, automatically re-inking it for the next use. This self-contained design means you do not have to carry a separate ink source, making the tool highly portable and clean to use.
In contrast, a traditional golf ball stamp relies on a completely manual process. The tool itself consists of a simple handle attached to a fixed, exposed die. To use it, you must manually press the die onto a separate ink pad to coat the design, and then carefully press the stamp onto the golf ball. Because the die is exposed, there are no moving parts or springs to wear out over time. However, this setup requires you to manage two separate pieces—the stamp and the ink pad—which increases the physical footprint of your marking kit and makes it less practical to use while walking the fairways.
Products mentioned in this guide
![[COD] SHPYHT SPORTS 1Pcs Golf Ball Stamper Stamp Marker Various Patterns Quick Drying Long Lasting](https://img.lazcdn.com/g/p/093698945f2d7a26baa38d6efc1f2e41.jpg_400x400q80.jpg_.webp)
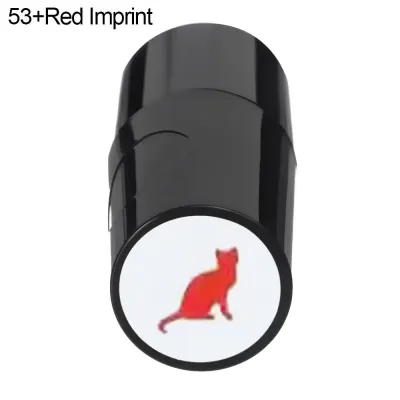
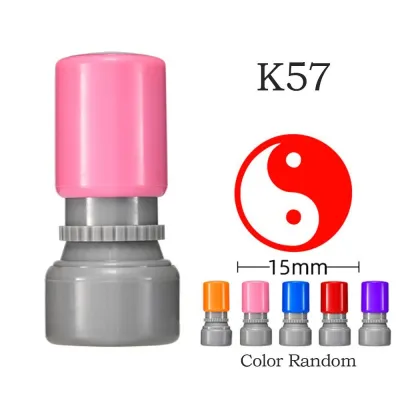
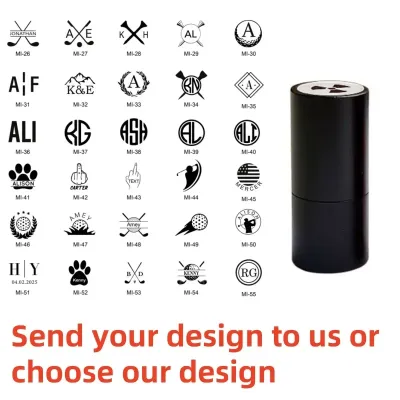
Prices are valid at publication and may change. Please refer to the product page for the latest price.
Core Comparison Dimensions for Golf Ball Stamps
Evaluating how these two mechanisms perform in real-world conditions is key to making the right choice. Factors such as the humid tropical climate, the dimpled texture of the ball, and your preferred pace of play all influence which stamp will serve you best during a round.

Marking Speed and Convenience
When it comes to speed, the self-inking stamp is the clear winner. Because the die re-inks itself automatically after every press, you can mark an entire dozen golf balls in under a minute. This rapid operation is incredibly convenient if you realize you need to mark fresh balls right before teeing off or while standing at the cart. The self-contained design is easy to operate with one hand, allowing you to hold the ball in one hand and stamp with the other, even while wearing a golf glove.
Traditional stamps require a more deliberate, two-handed approach. You must open the ink pad, press the stamp down with the correct amount of force, align it over the ball, and press again. This multi-step process introduces a steeper learning curve. If you press too hard on the ink pad, you risk over-saturating the die, which leads to blurry, double-stamped, or smeared impressions on the ball. If you press too lightly, the mark will be faint and difficult to see. For players who prefer to mark their balls in bulk at home or in the clubhouse before a round, this slower pace is manageable, but it is rarely convenient to do on the course.
Ink Quality, Smudge Resistance, and Durability
The surface of a golf ball is non-porous, typically made of urethane or ionomer materials, which makes ink adhesion a challenge. Self-inking stamps generally use specialized, fast-drying inks contained within their sealed internal pads. Because the internal pad is protected from the air, these inks can dry quickly on the ball’s surface—often within 10 to 30 seconds—while remaining moist inside the stamp mechanism. This quick-drying property is essential in humid tropical climates, where moisture in the air can otherwise prolong drying times and lead to immediate smudging when the ball is handled.
Traditional stamps offer more flexibility in the type of ink you use, as you can purchase different ink formulas to apply to your separate pad. However, manual application makes it harder to achieve consistent ink saturation. An over-inked traditional stamp will take significantly longer to dry, increasing the risk of smudging when the ball contacts wet grass or club faces. To ensure maximum durability and weather resistance against morning dew or sudden tropical downpours, both stamp types require high-quality, waterproof ink formulated specifically for plastics. Standard office inks will quickly wash off or smear across the ball’s cover.
Design Flexibility and Customization
The mechanical design of each stamp directly impacts the complexity of the logo or monogram you can print. Self-inking stamps have physical size limitations due to the internal spring chamber and rotating mechanism. The dies are typically smaller, and because the ink pad is pressed automatically, very fine lines or highly detailed graphics can easily bleed together if the ink is fresh. Consequently, self-inking models are best suited for simple initials, basic geometric shapes, or bold, high-contrast icons.
Traditional stamps excel at high-detail customization. Because the die is fixed and exposed, manufacturers can produce larger, more intricate designs without worrying about internal mechanical clearance. If you want a custom family crest, a detailed corporate logo, or multiple lines of text, a traditional stamp provides the flat, stable surface needed to transfer those fine details cleanly. Furthermore, because the stamp and ink pad are separate, you can easily switch ink colors by simply cleaning the die and pressing it onto a different colored pad, whereas changing colors in a self-inking stamp usually requires replacing the entire internal cartridge.
Maintenance, Refills, and Long-Term Upkeep
Keeping your stamp in peak condition requires regular maintenance, especially when storing your gear in warm, humid environments. Self-inking stamps must be kept tightly capped when not in use. The fast-drying ink inside can dry out the internal pad if exposed to air for extended periods. When the print begins to fade, you must either slide out the internal pad to add a few drops of refill ink or replace the pad cartridge entirely. This process can be slightly messy if you are not careful, but it restores the stamp to its original performance.
Traditional stamps require you to maintain both the stamp die and the separate ink pad. The ink pad must be stored in an airtight container to prevent evaporation, particularly in hot climates where ambient temperatures in a golf bag or car trunk can dry out felt pads rapidly. Additionally, because the die on a traditional stamp is exposed, it is more prone to collecting dust, pocket lint, and grass clippings. For both types, ink buildup in the fine grooves of the die will eventually cause blurry impressions. Periodically cleaning the die with a soft-bristled toothbrush and a small amount of isopropyl alcohol is highly recommended to keep your marks sharp and legible season after season.
Decision Framework: Which Golf Ball Stamp Should You Get?
To make your final decision, consider your typical preparation routine and how you plan to use the tool.
Choose a self-inking golf ball stamp if:
- You want a fast, one-step marking process that takes seconds per ball.
- You prefer a compact, self-contained tool that you can easily carry in your pocket or golf bag without worrying about a separate ink pad.
- Your preferred design is a simple icon, monogram, or high-contrast shape.
Choose a traditional golf ball stamp if:
- You want a highly detailed, custom logo or intricate text that requires a larger, more stable die.
- You prefer to mark your golf balls in bulk at home or at a desk before heading to the course.
- You want the flexibility to easily switch between different ink colors using the same stamp.
Before purchasing any stamp, verify the manufacturer’s specifications regarding ink compatibility with your specific golf ball cover material (such as urethane or ionomer). Always check the recommended drying times and storage instructions to ensure the ink performs well under local weather conditions.
Frequently Asked Questions (FAQ)
Will the ink wash off during a round in the rain?
Most specialized golf ball stamp inks are formulated to be highly water-resistant and durable once fully cured. However, if you stamp your balls immediately before teeing off in wet conditions or heavy rain, the ink may not have had sufficient time to bond with the cover, leading to smearing. For the best results, allow the stamped ball to dry completely in a dry environment for at least a few minutes before exposing it to moisture.
Can I use a regular office stamp ink on a golf ball?
No, regular office stamp ink is designed for porous surfaces like paper and cardboard. Because golf ball covers are made of non-porous plastics like urethane or ionomer, standard office ink will not dry or adhere to the surface. It will remain wet, smudge instantly upon contact, and transfer onto your hands, golf glove, and club faces. Always use specialized, quick-drying ink formulated specifically for non-porous surfaces.
How do I align the stamp perfectly on a dimpled surface?
Stamping a flat design onto a spherical, dimpled surface requires a careful technique. To get a clean, unblurred impression, try to align your stamp with the pole or the equator of the ball where the surface is relatively flat, or directly over existing text alignment lines. Press the stamp down firmly and evenly without rocking it back and forth, as rocking can cause the die to slip on the dimples and create a double image.
Community discussion
Share your experience or ask a question. Comments are reviewed before publication.