
Choosing the right water bottle for cycling comes down to a fundamental trade-off: do you prioritize lightweight, effortless hydration, or do you want your water to stay ice-cold during long rides? Squeeze bottles are flexible, lightweight, and deliver water instantly with a simple squeeze, making them the traditional choice for fast-paced road riding and racing. Insulated bottles, on the other hand, use double-walled construction to shield your drinks from ambient heat, keeping liquids cold for hours at the cost of added weight and a rigid structure that cannot be squeezed.
For cyclists navigating tropical climates, where high humidity and intense sun can turn a standard bottle of water lukewarm within thirty minutes, this decision directly impacts your comfort and hydration habits. Whether you are climbing steep mountain passes or commuting through urban traffic, understanding how these two bottle types perform under pressure will help you select the ideal companion for your frame.
Core Differences Between Squeeze and Insulated Cycling Bottles
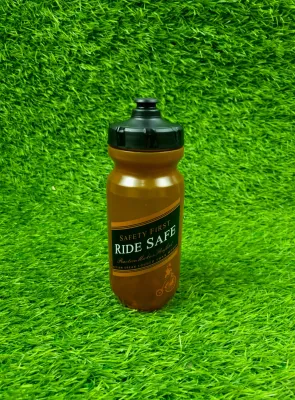
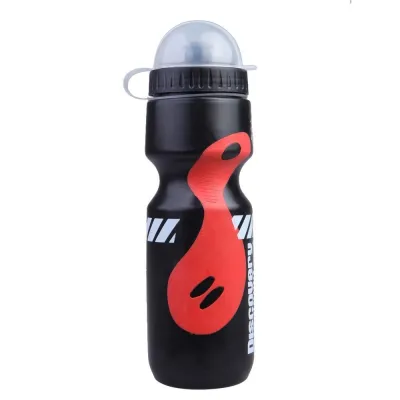
To make an informed choice, it is essential to look at the physical characteristics that separate these two categories. Squeeze bottles are typically manufactured from low-density polyethylene (LDPE), polypropylene, or flexible silicone. This pliable construction allows you to compress the bottle body with one hand, forcing a high volume of water through the valve quickly. Because they use thin, single-wall construction, they are exceptionally light, often weighing less than a hundred grams when empty.
Products mentioned in this guide
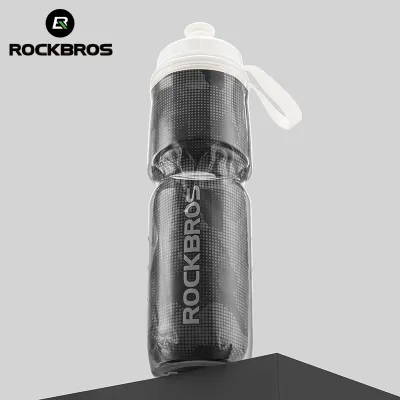
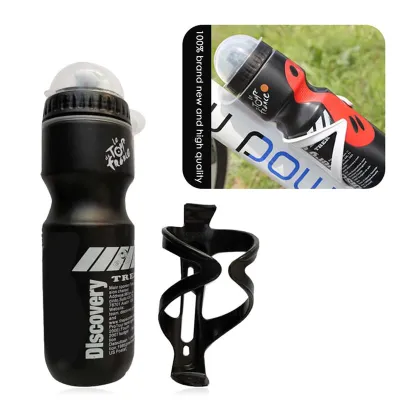
![[GBBS] Zefal Cult Sense Grip 80 Portable Cycling Water Bottle 800ml Mountain bike MTB RB Road bike Gravel](https://img.lazcdn.com/g/p/6bec4789b9c0a28f53a4bfff9140c4cd.jpg_400x400q80.jpg_.webp)
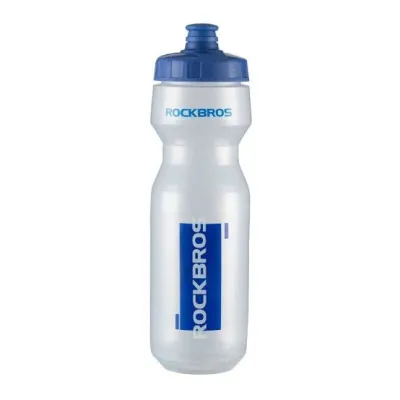
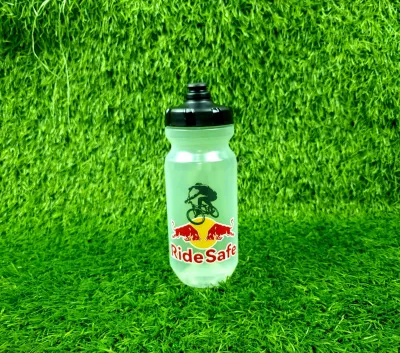
Prices are valid at publication and may change. Please refer to the product page for the latest price.
In contrast, insulated cycling bottles are built with a double-wall design. The space between the inner and outer walls is either filled with a thin layer of insulating material (in plastic models) or vacuum-sealed (in stainless steel models). This physical barrier drastically slows down heat transfer, keeping your water cold even when the outside of the bottle is hot to the touch. However, this thermal protection requires more material, making insulated bottles heavier and reducing their internal liquid capacity relative to their external size.
The hydration mechanics also differ significantly. With a squeeze bottle, you control the flow rate by how hard you squeeze, allowing for rapid gulps without needing to tilt your head back excessively. Insulated stainless steel bottles are rigid and cannot be compressed. To drink from them, you must rely on gravity by tilting the bottle completely upward, or use an integrated straw lid that allows you to sip while keeping your eyes on the road.
Durability is another area of contrast. Flexible plastic squeeze bottles are highly resilient to impact; if a bottle slips from your hand at high speed, it will likely bounce along the asphalt with nothing more than minor scuffs. Rigid stainless steel insulated bottles are incredibly tough and can withstand years of use, but a hard drop on concrete can dent the metal. A severe dent can compromise the vacuum seal, permanently reducing its insulating capabilities, and may also cause the bottle to rattle inside your bottle cage.
Matching the Bottle to Your Cycling Style and Environment
Your primary cycling discipline and the environment where you ride should dictate your bottle choice. For high-intensity road cycling, group rides, or competitive racing, every gram counts, and hydration must be seamless. Road cyclists generally prefer lightweight squeeze bottles because they fit securely in standard carbon or plastic cages and can be operated instantly without breaking your riding rhythm. When riding in a tight paceline, the ability to grab a bottle, squeeze a quick drink, and return it to the cage with one hand is a matter of safety as well as performance.

If your rides lean more toward commuting, touring, or casual weekend leisure trips, the priorities shift. When navigating slow-moving city traffic or embarking on a relaxed multi-hour tour, the weight of your gear is less critical than the temperature of your drink. Sipping ice-cold water after an hour of riding under a blazing sun provides a psychological and physiological boost that easily outweighs the penalty of a slightly heavier stainless steel bottle.
For mountain bikers and gravel riders, trail conditions introduce unique challenges. Rough, bumpy descents subject your bike to intense vibrations, which can eject heavy bottles from standard cages. If you choose a rigid, heavy insulated bottle for trail riding, you must pair it with a high-retention cage to prevent it from launching into the brush. Additionally, off-road riding exposes your bottle’s nozzle to mud, dust, and trail debris, making a bottle with an integrated mud cap highly desirable regardless of the material.
Climate is the final environmental factor to consider. In hot, humid tropical regions, cold hydration is not just a luxury; it helps regulate your core body temperature during prolonged physical exertion. A standard plastic squeeze bottle will sweat profusely in high humidity, creating condensation that can make the bottle slippery and difficult to grip. An insulated bottle prevents this condensation entirely, keeping the exterior dry and easy to hold while ensuring your water remains refreshing from the start of your ride to the finish.
Essential Fit and Maintenance Checks Before Buying
Before purchasing any water bottle for cycling, you must verify that it is compatible with your bicycle’s hardware. Standard bicycle bottle cages are designed to hold flexible bottles with a diameter of approximately 74 millimeters. While most cycling-specific insulated plastic bottles adhere to this standard, some lifestyle-oriented stainless steel insulated bottles are wider or have tapered shapes. A rigid bottle that is even a millimeter too wide will not slide into a standard cage, while one that is too narrow will rattle loose on the first bump.
The design of the lid and valve mechanism is equally important for on-the-bike usability. Look for self-sealing jet valves or soft silicone bite valves that can be opened easily with your teeth. Avoid screw-top lids or caps that require two hands to open, as these are highly impractical and dangerous to operate while riding. If you prefer ice-cold water, ensure the bottle has a wide-mouth opening that easily accommodates standard ice cubes from your freezer.
Maintenance is a critical consideration, especially in warm, humid climates where mold and bacteria thrive in damp environments. Squeeze bottles with narrow openings and complex valve designs can be difficult to clean thoroughly, often requiring specialized bottle brushes and frequent disassembly of the nozzle. Insulated bottles with wide mouths are generally easier to scrub, but you must still pay close attention to the silicone gaskets inside the lid, which can trap moisture and develop black mold if left damp.
Always check the manufacturer’s labels and product specifications before making a purchase. Look for food-grade material certifications, such as BPA-free plastics or 18/8 food-grade stainless steel, to ensure no harmful chemicals leach into your water. Additionally, verify the cleaning instructions; many insulated bottles are not dishwasher-safe because the high heat of a dishwasher cycle can damage the vacuum seal or ruin the exterior powder coating.
Final Decision Framework: Squeeze or Insulated?
To make your final decision, evaluate your riding priorities against these clear, practical guidelines. Choose a flexible squeeze bottle if your primary goals are minimizing bike weight, maximizing liquid capacity, and ensuring an effortless, high-flow drinking experience during fast or competitive rides. This option is also highly economical, with quality squeeze bottles typically costing between ₱300 and ₱800, allowing you to keep multiple bottles on hand for longer journeys.
Opt for an insulated bottle if your main priority is keeping your beverages cold for several hours, and you do not mind carrying a few extra hundred grams on your frame. This is the ideal choice for hot-weather commuters, touring cyclists, and recreational riders who value comfort over speed.
Before buying, always check your bike frame’s physical clearance. Small road frames, step-through commuter bikes, and full-suspension mountain bikes often have very tight front triangles. Because rigid insulated bottles cannot bend, you may find it difficult or impossible to slide a tall, stiff bottle into a side-entry or standard cage without hitting the frame tubes.
Finally, keep in mind that frame-mounted bottles are not the only solution. If your bike frame lacks bottle cage mounts, or if you find that neither bottle type fits your specific riding style, a hands-free hydration pack worn on your back or a specialized hydration belt may be a more practical alternative for carrying your water.
Frequently Asked Questions (FAQ)
Can I put hot drinks in an insulated cycling bottle?
While vacuum-insulated stainless steel bottles are highly effective at maintaining hot temperatures, you should avoid putting boiling or very hot liquids in them for cycling. Drinking hot liquids through a standard cycling bite valve or push-pull cap is a safety hazard, as the steam can build up pressure inside the bottle, causing the liquid to spray out unexpectedly and burn your mouth or face. If you wish to carry a warm beverage, ensure it is at a safe, drinkable temperature, and always verify the manufacturer’s specific temperature ratings and lid instructions.
How do I prevent my squeeze bottle from tasting like plastic?
To eliminate the plastic taste common in new squeeze bottles, wash the bottle thoroughly with warm water and mild dish soap before your first ride. For persistent odors, fill the bottle with warm water, add a tablespoon of baking soda or a small amount of diluted white vinegar, and let it sit overnight before rinsing it completely. To prevent future odor buildup, avoid leaving sports drinks, electrolyte powders, or juice in the bottle for extended periods, and always store your clean bottles with the lids off in a dry, well-ventilated area away from direct sunlight.
Community discussion
Share your experience or ask a question. Comments are reviewed before publication.