
Selecting the right TheraBand resistance level is key to an effective, injury-free workout, whether you are recovering in a physical therapy clinic or building strength at home. This progressive, color-coded system allows you to systematically increase the challenge as your fitness improves. To find your ideal starting point, match the band’s tension to your current physical capabilities and training goals.
Starting with a band that is too heavy can compromise form and lead to joint strain, while starting with one that is too light will not provide enough stimulus for muscle recovery. By understanding how the color progression works and performing a simple physical self-assessment, you can confidently choose the correct band to begin.
Decoding the TheraBand Color-Coded Resistance System
The TheraBand system relies on a distinct color sequence where each shade represents a specific level of tension. Generally, resistance increases as colors transition from lighter, brighter shades to darker, deeper tones. This visual progression makes it easy to track your strength gains over time, as moving to the next color represents a clear step up in physical challenge.
Products mentioned in this guide
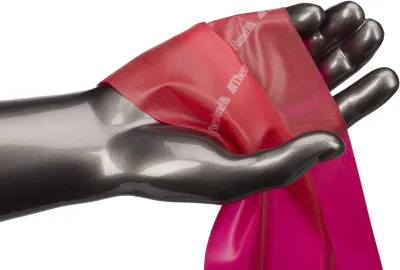
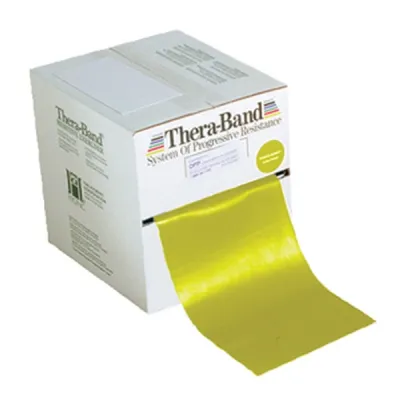
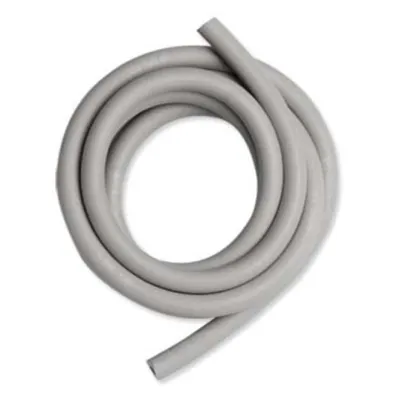
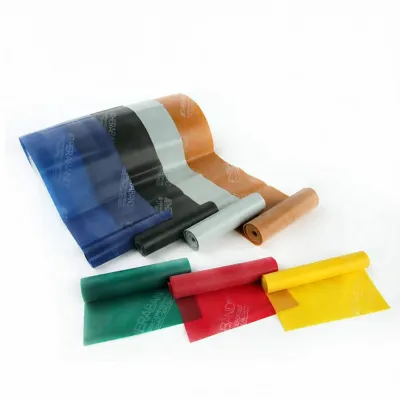
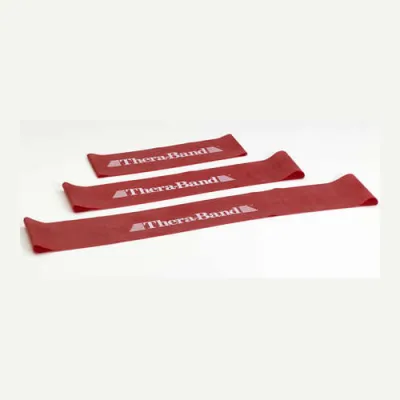
Prices are valid at publication and may change. Please refer to the product page for the latest price.
While the color order remains consistent, always verify the exact sequence and specific tension values on your product’s packaging or the manufacturer’s official guidelines. Tension levels can vary significantly depending on whether you are using flat latex bands, latex-free alternatives, resistance tubing with handles, or pre-formed loops. A yellow flat band, for example, may not exert the exact same force as a yellow resistance tube.
It is also crucial to recognize that this color-coding system is unique to the TheraBand brand and is not a universal standard across the fitness industry. Other manufacturers use entirely different color schemes, where a dark color might represent a light resistance. To avoid confusion and potential injury, rely on the specific documentation provided with your genuine TheraBand product rather than assuming cross-brand equivalence.
How to Determine Your Ideal Starting Level
Your ideal starting band depends heavily on your primary training objective. If you are using the band for rehabilitation, joint mobility, or post-injury recovery, you should almost always begin with the lightest available resistance levels, such as the tan or yellow bands. These ultra-light options prioritize joint safety, rebuild basic neuromuscular pathways, and establish a pain-free range of motion without overloading healing tissues.

For general strength training, active stretching, or conditioning, healthy individuals typically start with a moderate resistance level, such as the green or red bands. This baseline provides enough tension to engage larger muscle groups without overwhelming your stabilizing muscles. If you already have a consistent strength training background, you might start slightly higher in the progression, but it is always wiser to start lighter and adjust upward.
To find your exact match, perform a simple physical test before committing to a full workout session. Select a band and attempt to perform ten to twelve repetitions of your target exercise, focusing on maintaining a slow, controlled tempo. If you can complete the entire set with perfect form, a full range of motion, and a moderate level of muscle fatigue on the final two repetitions, you have found your starting level. If your form breaks down, transition to a lighter band immediately.
Remember that proper technique and targeted muscle engagement must always take priority over selecting a heavier resistance level. Forcing your body to pull a band that is too heavy causes secondary muscles to compensate, which reduces the effectiveness of the exercise and increases your risk of acute strain.
When and How to Progress or Regress Your Resistance
As your muscles adapt to the resistance, you will eventually need to adjust your band level to maintain steady progress. You will know a band has become too light when you can easily breeze through your target repetitions without feeling any muscle fatigue. Another clear indicator is a loss of tension at the end of the movement range, where the band feels slack or fails to engage your muscles during the peak contraction phase.
Conversely, be vigilant about the warning signs that a band is too heavy. If you find yourself jerking your body, arching your back, or using momentum to complete a movement, the resistance is too high. Experiencing joint discomfort, sharp pain, or an inability to control the eccentric phase—the slow return of the band to its starting position—are critical signals to regress to a lighter color.
If you find yourself between colors, you can easily adjust the resistance of your current band without switching to a new one. To increase tension, simply shorten your grip on a flat band or step closer to the anchor point to reduce the starting slack. To decrease tension, widen your grip or move further away from the anchor point, allowing more of the band’s length to share the load.
Essential Safety and Maintenance Checks
Before every workout, perform a thorough visual and tactile inspection of your band to ensure it is safe to use. Run your fingers along the entire length of the material, looking closely for micro-tears, small punctures, thinning areas, or white stress marks. Resistance bands operate under high tension, and even a tiny nick can cause the elastomer to snap violently during an exercise, potentially causing painful welts or facial injuries. Discard any band showing signs of wear immediately.
Safe anchoring is another critical component of band safety. Always secure your band to a sturdy, non-moving object, such as a heavy piece of gym equipment or a dedicated door anchor, and double-check that it cannot slip off during use. Never let go of a stretched band suddenly; maintain complete muscular control during the return phase to prevent sudden snap-backs that can cause injury.
In tropical environments like the Philippines, high humidity and heat can accelerate the degradation of elastomer materials. Store your bands in a cool, dry place away from direct sunlight, extreme heat, and sharp objects. If your bands get sweaty or dirty, wash them gently with clean water and a mild soap, let them air dry completely away from direct heat, and consider applying a light dusting of plain talcum powder to prevent the material from sticking together.
Frequently Asked Questions (FAQ)
Can I combine two TheraBands to increase resistance?
Yes, you can combine two bands to increase the total resistance when a single heavier band is not available or when you are transitioning between levels. When doing this, ensure both bands are of similar length and in excellent physical condition. Avoid twisting the bands tightly around each other, as this can create uneven stress points and friction that may cause the material to wear out or snap prematurely.
Do TheraBand colors mean the same thing for flat bands and tubing?
While the progressive color logic remains consistent across the brand, the exact tension values for a specific color can differ between flat therapy bands and tubular bands with handles. The physical properties of the extruded tube material differ from those of the flat latex sheets, meaning a green tube may feel heavier or lighter than a green flat band. Always check the specific product line’s packaging or official specifications to verify the exact resistance measurements.
Community discussion
Share your experience or ask a question. Comments are reviewed before publication.