
Starting your arm wrestling journey at home does not require a massive financial investment or a room filled with professional-grade steel tables. Many beginners fall into the trap of purchasing specialized, expensive gear before their tendons and muscles are conditioned to handle the unique, intense lateral pressures of the sport. To build a solid foundation safely, you only need a few versatile, low-cost tools that target your grip, wrist flexion, and pronation. By focusing on progressive conditioning first, you protect your joints from severe injury while developing the specific mechanical advantages needed for the table.
Assess Your Training Needs Before Buying Arm Wrestling Equipment
Before browsing online marketplaces for specialized handles or professional tables, you must evaluate your current physical readiness and training goals. Arm wrestling is highly demanding on the connective tissues, particularly the tendons and ligaments in your elbows and wrists. If you are transitioning from general fitness or have never done targeted forearm training, your immediate focus must be on foundational tendon conditioning rather than heavy, sport-specific simulation.
A common mistake is jumping straight into high-intensity table sparring or heavy lateral loading. Your muscles may adapt quickly to resistance, but your tendons and ligaments require months of consistent, low-impact tension to thicken and strengthen. If you attempt to train advanced arm wrestling movements without this baseline conditioning, you risk chronic tendonitis or acute joint failure.
Products mentioned in this guide
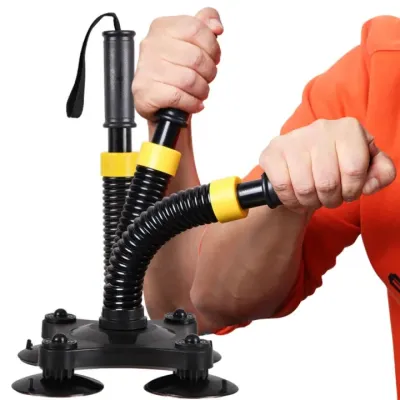
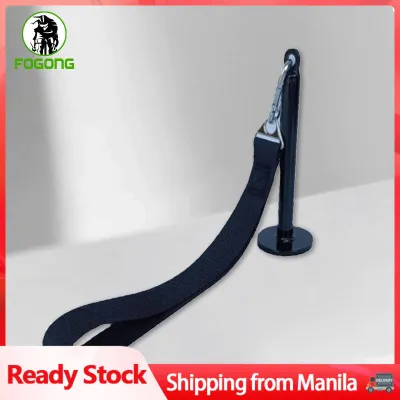
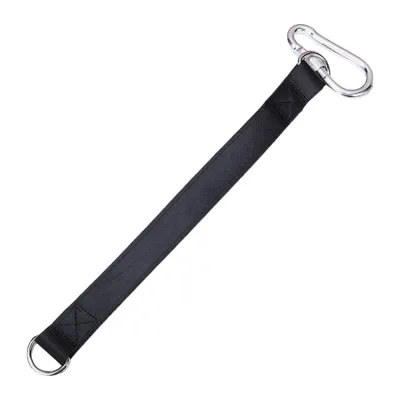
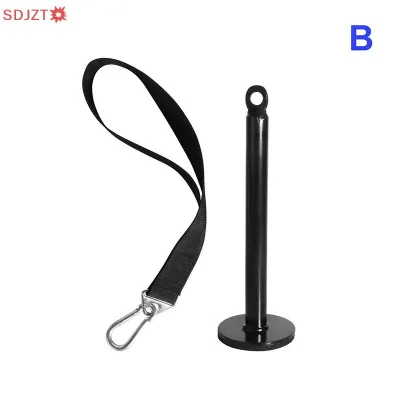
Prices are valid at publication and may change. Please refer to the product page for the latest price.
To determine what you need, look for physical signs of readiness. If you can perform basic wrist curls and pull-ups without any elbow discomfort, you may be ready to introduce light, sport-specific resistance tools. However, if you experience stiffness or minor aches after basic lifting, you should stick to simple grip strengtheners and light resistance bands. Differentiating between general strength training implements and sport-specific arm wrestling tools helps you allocate your budget where it matters most: safety and joint longevity.
Core Foundation Gear: Non-Negotiables for Home Training
To begin training effectively at home, you only need a few highly versatile items that allow you to isolate the key movements of arm wrestling: cup (wrist flexion), pronation, rise (radial deviation), and roll. Heavy-duty resistance bands are the absolute foundation of home training. They provide continuous, variable tension that closely mimics the pulling force of an opponent without the harsh, unforgiving drop of free weights. You can loop these bands around a sturdy post, a heavy door handle, or even your foot to train your pronation and rising strength at various angles.

Alongside bands, an adjustable dumbbell set is highly valuable for isolating your wrist and forearm muscles. Unlike fixed dumbbells, an adjustable set allows you to increase the load in small, controlled increments as your strength improves. You can use a single dumbbell to perform hammer curls, wrist curls, and reverse wrist curls, which are essential for building the raw muscular support your joints need during a match.
If you want to practice basic table mechanics and hand placement with a partner at home, you do not need to buy a professional table immediately. You can improvise a safe drilling setup using a highly stable, heavy wooden table. To prevent painful bruising and joint strain during these light drills, you must use dense padding. Thick foam yoga blocks, tightly rolled towels, or heavy-duty foam pads secured with non-slip mats can serve as temporary elbow and touch pads. These improvised solutions are strictly for slow, controlled technical drilling—never for high-intensity, competitive sparring.
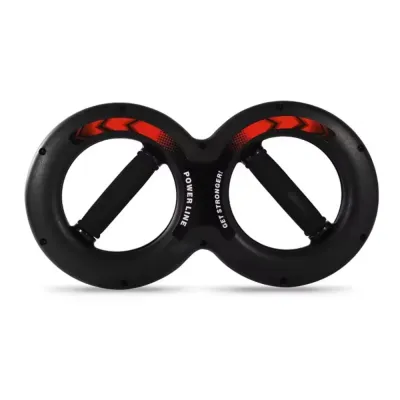
For foundational tendon and ligament conditioning, simple grip strengtheners or hanging implements are highly effective. A basic spring-loaded hand gripper helps build crushing grip strength, while hanging from a standard pull-up bar trains your static endurance and support grip. These tools are inexpensive, highly portable, and exceptionally durable, making them the perfect starting point for any home gym setup.
Specialty Equipment: When to Justify Professional Upgrades
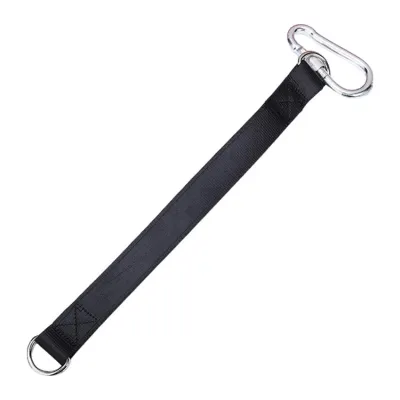
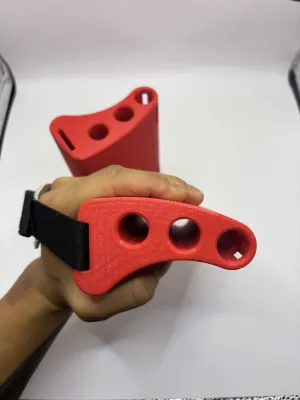
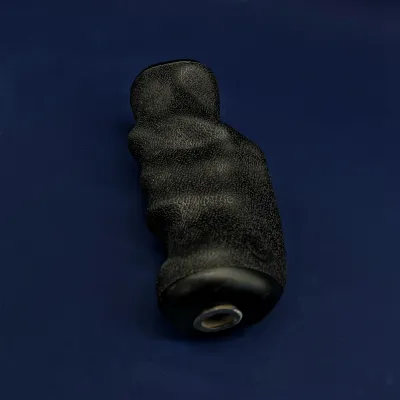
As you progress, you will eventually reach a point where basic resistance bands and standard dumbbells no longer provide the specific angular loading required to advance your technique. You will know you have outgrown your basic setup when you can easily max out your heaviest resistance bands without feeling sufficient engagement in your deep forearm muscles, or when the bands begin to stretch to their limit and lose their structural snap. This is the milestone where investing in specialized arm wrestling handles—such as a thick-grip cone handle or an eccentric loading strap—becomes justified.
The transition to a dedicated arm wrestling table is a major step that should only occur when you commit to regular, high-intensity sparring with training partners. Standard household furniture is not engineered to withstand the extreme lateral forces generated during a real arm wrestling match. Sparring on an unstable surface or a table without regulated dimensions can lead to sudden structural collapse or severe joint injuries, such as a broken humerus. A dedicated table features precise elbow pad placement, pin pads, and sturdy metal handles that keep your body in the correct, safe alignment throughout the pull.
Another professional upgrade to consider is a specialized pulley system or an adjustable cable machine. Cable systems provide a smooth, constant resistance vector that free weights cannot match, allowing you to simulate the exact pulling angles of an opponent’s arm. If you already own a home gym rack, adding a simple high-low pulley attachment is a cost-effective way to transition from basic bands to highly controlled, heavy cable training.
Safety Inspections and Home Environment Setup
Arm wrestling is a high-risk sport that places immense, unnatural torque on your bones and joints. Because of this, safety must be your absolute priority when setting up a home training space. Before every single workout, you must verify the structural stability of your equipment and any improvised anchor points. If you are anchoring resistance bands to a door, ensure the door closes securely in the direction opposite of your pull, and use a heavy-duty door anchor rather than wrapping the band directly around a doorknob.
In the tropical climate of the Philippines, high humidity and sweat can rapidly degrade your training gear. Moisture accelerates the wear and tear on latex resistance bands, making them prone to sudden snapping. Inspect your bands before every session, looking for tiny cracks, discoloration, or fraying. If you notice any signs of wear, discard the band immediately. Similarly, check the weight limits and structural integrity of any hanging straps, carabiners, or metal handles to ensure they can handle the dynamic loads you will apply.
To prevent severe, career-ending injuries, you must establish and strictly adhere to clear stop conditions. The most critical rule in arm wrestling is to never look away from your hand during a pull; keeping your eyes on your hand helps maintain proper skeletal alignment and prevents your shoulder from entering the dangerous “break-arm” position. If you feel any sharp, sudden pain in your elbow, shoulder, or wrist, stop training immediately. Equipment cannot replace proper training, technique, and sound physical judgment.
Building Your Conditional Equipment Shortlist
To avoid overspending, build a tiered checklist that separates your immediate home training necessities from conditional future upgrades. Your immediate starter kit should consist of a set of heavy-duty resistance bands, an adjustable dumbbell set, and a basic hand gripper. This simple combination costs very little—often under ₱3,000 total—and provides everything you need for the first six to twelve months of consistent conditioning.
| Equipment Tier | Recommended Items | Primary Purpose | Estimated Budget |
|---|---|---|---|
| Tier 1: Starter Kit | Heavy-duty resistance bands, adjustable dumbbells, hand gripper | Foundational tendon conditioning, wrist flexion, and pronation | Under ₱3,000 |
| Tier 2: Intermediate | Thick-grip handles, loading pin, heavy-duty door anchor | Specific angular loading and advanced grip variations | ₱3,000 – ₱8,000 |
| Tier 3: Advanced | Dedicated arm wrestling table, pulley system | High-intensity sparring and precise match simulation | Over ₱15,000 |
When evaluating potential purchases, prioritize build quality, material durability, and adjustability over aesthetic appeal. Look for handles made from high-density plastics or solid steel with non-slip knurling that can withstand heavy sweat. Because tropical humidity can cause rust, choose powder-coated or stainless steel components whenever possible. Regularly wipe down your gear after use, store your resistance bands in a cool, dry place away from direct sunlight, and periodically check all bolts and connections to ensure your home setup remains safe and reliable.
Frequently Asked Questions (FAQ)
Is a professional arm wrestling table strictly necessary for beginners?
No, a professional arm wrestling table is not strictly necessary when you are just starting out. For solo conditioning, wrist strengthening, and basic pronation drills, you can easily use resistance bands anchored to a door or a heavy dumbbell setup. If you want to practice hand placement and basic movements with a partner, you can use a highly stable, heavy wooden table equipped with dense, non-slip foam pads to protect your elbows.
However, you must never engage in high-intensity, competitive sparring on standard household furniture. Dining tables, coffee tables, and plastic desks are highly prone to tipping over or breaking under lateral force, which can lead to catastrophic falls and severe joint fractures. You should only transition to a regulated arm wrestling table once you begin pulling with significant force, practicing advanced techniques, or hosting regular sparring sessions with multiple partners.
Community discussion
Share your experience or ask a question. Comments are reviewed before publication.