
Selecting the right inflatable tent requires balancing convenience, interior space, and weather resistance. In the Philippines, where tropical heat, sudden downpours, and high humidity are constant companions, an air tent offers a rapid setup that minimizes time spent working under the hot sun. Blackdog has become a popular brand among local campers seeking modern, pole-free designs. However, finding the ideal model depends heavily on your group size, how often you camp, and your specific comfort requirements. By understanding how to evaluate air beam structures, fabric ratings, and layout configurations, you can choose a model that keeps you dry during a sudden Sierra Madre downpour and cool during a humid night in Batangas.
Assessing Your Group Size and Space Requirements
When browsing air tents, the manufacturer’s stated capacity (such as a 4-person or 6-person rating) typically represents the maximum number of sleeping pads that can fit side-by-side on the floor. For a comfortable camping experience, it is highly recommended to subtract one or two people from this official rating. This adjustment ensures you have sufficient space to move around, store personal items, and avoid sleeping too close to the tent walls, which can collect condensation overnight. If you plan to camp with family or a group of friends, look for models that offer distinct sleeping compartments or removable dividers to provide privacy.
Gear storage is another critical factor that many first-time air tent buyers overlook. Unlike traditional tents with flexible fiberglass poles, air tents have thick, structural air beams that can slightly reduce the usable corner space inside. To compensate, prioritize models that feature spacious vestibules or extended front awnings. These covered outdoor areas are essential in tropical climates, allowing you to store muddy hiking boots, wet cooking gear, and bulky storage bins outside the main sleeping cabin while keeping them protected from overnight condensation or sudden rain.
Products mentioned in this guide
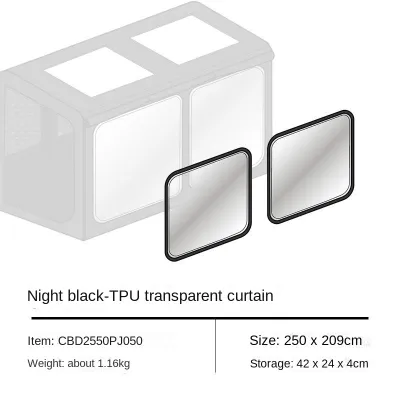
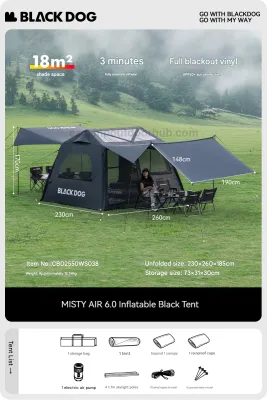
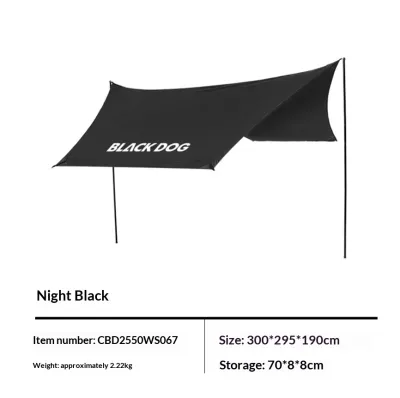
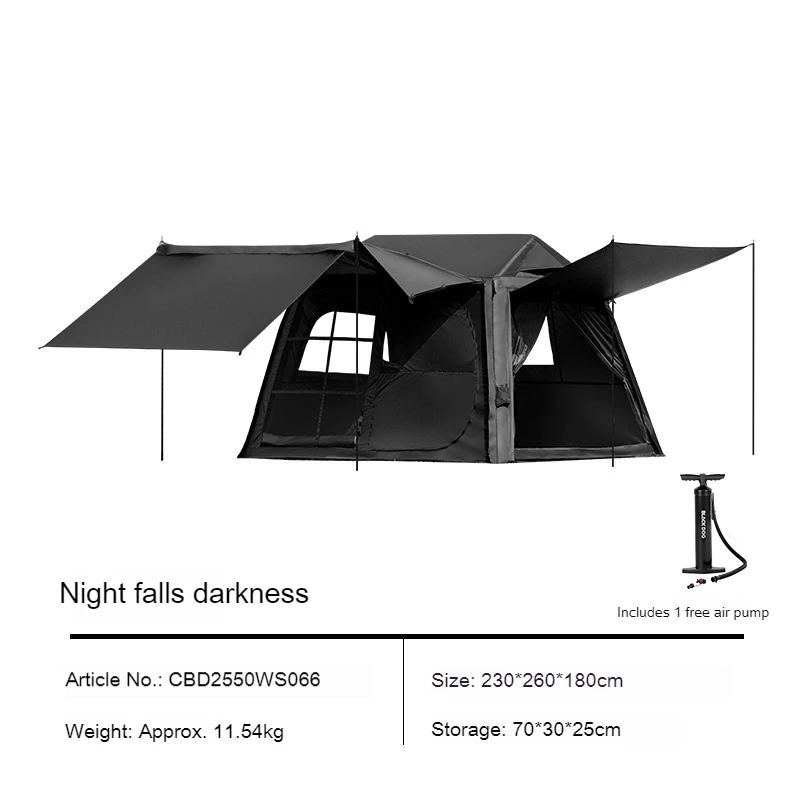
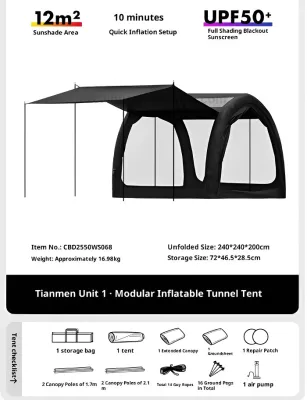
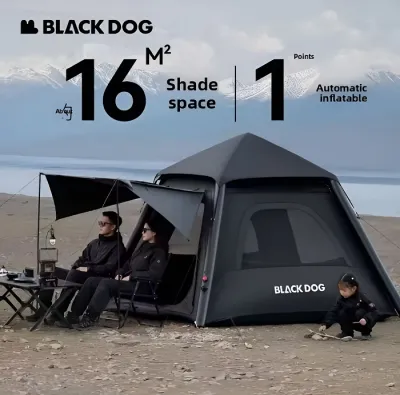
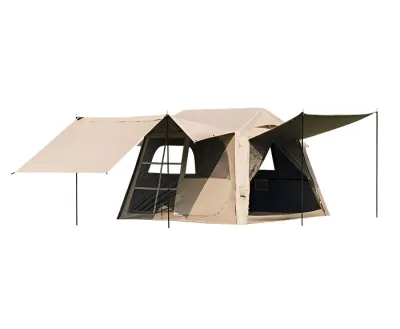
Prices are valid at publication and may change. Please refer to the product page for the latest price.
Peak height and interior wall angles significantly influence how spacious a tent feels. Cabin-style air tents feature near-vertical walls, allowing adults to stand upright throughout the entire interior space. This layout is ideal for family camping trips where you might need to change clothes, set up camp cots, or spend extended periods indoors during a rainy afternoon. Conversely, dome or tunnel-style air tents have sloped walls that reduce standing room but offer better aerodynamics in windy conditions. If you are a solo camper or a couple who prioritizes quick setups and wind shedding over standing room, a lower-profile dome model may be more practical.
Comparing Key Features and Material Specifications
The structural integrity of an air tent relies entirely on its inflatable beams, making material inspection a top priority. Most modern air tents utilize Thermoplastic Polyurethane (TPU) or Polyvinyl Chloride (PVC) for the inner air bladders. TPU is generally preferred for its flexibility, lightweight nature, and resistance to temperature fluctuations, which prevents the beams from becoming brittle or overly soft. When comparing models, verify that the air beams are encased in heavy-duty protective sleeves, typically made from high-denier Oxford fabric or reinforced polyester, to prevent punctures from sharp twigs, rocks, or pet claws.

Weather protection in tropical environments requires careful attention to the outer fly’s hydrostatic head rating. This rating, measured in millimeters, indicates the level of water pressure the fabric can withstand before leaking. For camping in the Philippines, where monsoon rains and tropical depressions are common, look for a flysheet with a minimum rating of 2,000mm to 3,000mm. Additionally, check that the floor or footprint material is made of a thicker, highly waterproof fabric (such as 150D to 300D Oxford cloth with a PU coating) to prevent ground moisture from seeping through when pitched on damp grass or muddy soil.
Ventilation is the single most important factor for comfort during hot, humid nights. Without adequate airflow, an air tent can quickly turn into a stifling greenhouse. Examine the tent’s design for large mesh windows, ground-level vents, and multiple door configurations that facilitate cross-ventilation. High-quality models feature fine mesh screens that keep out persistent tropical insects like mosquitoes and midges while allowing breeze to pass through. Look for adjustable ventilation flaps that can be propped open even during heavy rain, ensuring continuous airflow without letting water inside.
Matching Durability and Setup to Your Camping Frequency
Your camping frequency should dictate how much you invest in heavy-duty materials versus lightweight convenience. If you only camp occasionally during long holiday weekends or dry-season summer months, a standard-weight polyester air tent with basic air beams will likely suffice. These models are easier to pack, lighter to carry, and require less storage space at home. However, if you are an avid camper who heads to the mountains or coast multiple times a year, investing in a model with thicker, wear-resistant fabrics and double-reinforced seam stitching is essential to withstand repeated packing, unpacking, and exposure to UV rays.
The trade-off between durability and portability is particularly evident in the weight of the tent. Heavy-duty air tents with thick canvas-blend fabrics or high-denier polyester offer excellent insulation and durability, but they can weigh anywhere from 15 to over 30 kilograms. Consider your transportation method and physical lifting limits before purchasing. If you drive a compact car or have to carry your gear over long distances from the parking area to the campsite, a lighter, synthetic-material air tent is much more manageable than a heavy glamping-style model.
While air tents are famous for their rapid setup times, there is still a learning curve involved in inflating, securing, and deflating these structures. Unlike traditional pole tents that require threading segments through sleeves, an air tent simply needs to be pegged down at the corners and inflated using a manual or compatible electric pump. However, you must practice securing the guylines correctly to ensure the air beams remain stable under wind loads. Deflation is usually incredibly fast when opening the high-volume release valves, but rolling the tent tightly enough to fit back into its carry bag requires a specific technique to squeeze out all trapped air.
Setting a Budget and Evaluating Long-Term Value
Establishing a budget for an air tent in the Philippines requires looking beyond the initial purchase price to evaluate long-term value. Entry-level air tents typically range from ₱8,000 to ₱15,000, offering basic single-room layouts, standard polyester fabrics, and manual pumps. Mid-range models, priced between ₱15,000 and ₱30,000, generally feature better waterproofing, more durable TPU air beams, larger vestibules, and improved ventilation systems. Premium models exceeding ₱30,000 often utilize technical cotton-blend fabrics, multi-room configurations, and highly robust structural designs suitable for extended glamping setups.
When calculating your budget, factor in the cost of essential accessories that may not be included in the standard package. For instance, a heavy-duty groundsheet or footprint is highly recommended to protect the tent floor from abrasions and punctures, which can cost an additional ₱1,000 to ₱3,000. Additionally, while most models come with a manual hand pump, many campers eventually choose to purchase a specialized low-pressure electric pump designed specifically for inflatable tents to make the setup process completely effortless.
Long-term maintenance costs should also be considered. Unlike traditional tents where a broken pole can easily be replaced with a generic spare segment, a damaged air beam may require specialized patch kits, replacement bladders, or professional repair services. Check if the manufacturer or local distributor offers replacement air valves and TPU bladder sleeves. Investing slightly more upfront in a model with a reputable warranty and accessible local customer support can save you significant hassle and expense if a structural component fails during a trip.
Final Pre-Purchase Checklist and Safety Checks
Before finalizing your purchase, perform a thorough checklist to ensure your selected model is complete and safe for outdoor use. Verify that the standard package includes a comprehensive repair kit containing TPU patches, adhesive, and a valve wrench. Ensure the provided manual pump has a working pressure gauge, as inflating the beams to the correct pressure is critical for structural stability. You should also inspect the quality of the included pegs and guylines; tropical campsites in the Philippines often have sandy or very hard soil, which may require you to purchase specialized heavy-duty stakes separately.
Safety in the field depends on adhering strictly to the manufacturer’s operational limits. Always check the user manual for the maximum recommended wind resistance and the exact inflation pressure, usually measured in PSI or Bar. Over-inflating the air beams can cause them to rupture, especially when the daytime temperature rises and causes the air inside the beams to expand. Conversely, under-inflation can cause the tent to collapse under moderate wind loads or heavy rainfall.
Finally, confirm the warranty terms and the responsiveness of the seller’s customer service. A reliable warranty that covers manufacturing defects in the air beams and valves provides peace of mind. If you are purchasing from an online marketplace, read customer reviews specifically focusing on how the seller handles replacement parts or structural issues. Ensuring you have a clear path for support guarantees that your investment remains functional for many camping adventures to come.
Frequently Asked Questions (FAQ)
How do I fix a punctured air beam in the field?
If you suspect a leak in your air beam while at a campsite, start by conducting a thorough inspection. You can locate the puncture by applying a mixture of soapy water to the inflated beam and watching for forming bubbles, or by listening closely for the sound of escaping air. Once identified, deflate the beam completely and clean the area around the puncture with an alcohol wipe to remove dirt and oils. Apply a heavy-duty TPU repair patch from your tent’s repair kit, pressing it firmly from the center outward to eliminate air bubbles. Allow the adhesive to cure for the exact duration specified in the manual before re-inflating the beam to its recommended pressure.
Can I use an electric pump to inflate my Blackdog air tent?
Yes, you can use an electric pump, but you must exercise extreme caution to avoid damaging the tent’s structure. Standard high-pressure car tire pumps or mattress pumps can easily over-inflate and rupture the air beams if they lack an automatic pressure shut-off. Always use an electric pump specifically designed for inflatable tents or stand-up paddleboards, which allows you to set a precise target pressure (usually between 5 to 7 PSI, but check your specific manual). Ensure the pump’s nozzle fits the tent’s inflation valve securely without leaking. Never leave the tent unattended during inflation, and always monitor the pressure gauge closely to prevent structural failure.

Community discussion
Share your experience or ask a question. Comments are reviewed before publication.