
Preparing for your first camping trip in the Philippines requires a careful balance between tropical heat management and sudden wet-weather protection. Because local environments range from humid coastal beaches to chilly high-altitude mountain ridges, your gear choices must adapt to specific regional demands rather than relying on a generic setup. Selecting the right equipment ensures you stay dry, comfortable, and safe throughout your outdoor adventure.
By focusing on a structured checklist, beginners can avoid the common pitfalls of overpacking heavy items or underestimating the local elements. This guide outlines the essential gear categories, key specifications to verify, and practical packing strategies to help you transition smoothly from indoor comfort to the Philippine wilderness.
Assessing Your Trip and Campground Conditions
Before purchasing or packing any equipment, you must evaluate the specific conditions of your destination. Established campgrounds, such as those found in popular eco-parks or private mountain resorts, often provide clean water sources, functional toilets, and designated cooking areas. In contrast, wild camping on remote trails or undeveloped beaches requires complete self-sufficiency, meaning you must carry all your water, waste management tools, and shelter systems.
Products mentioned in this guide
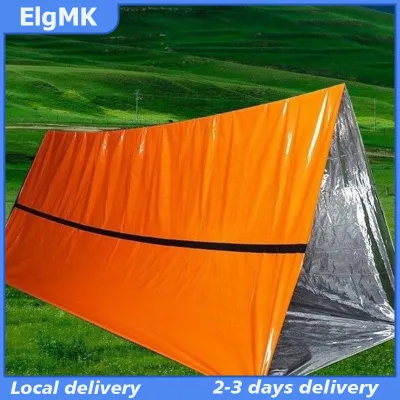
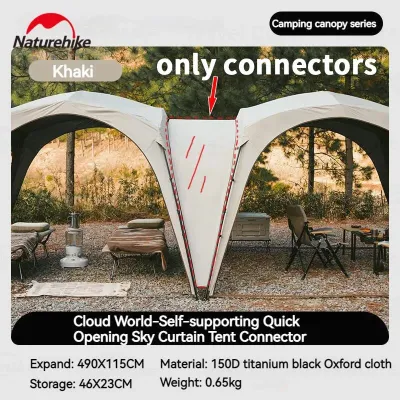
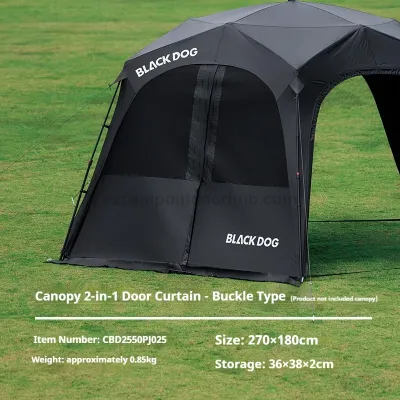
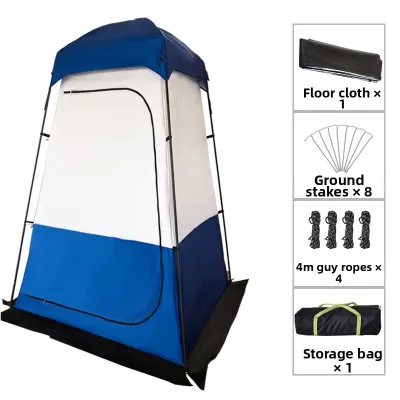
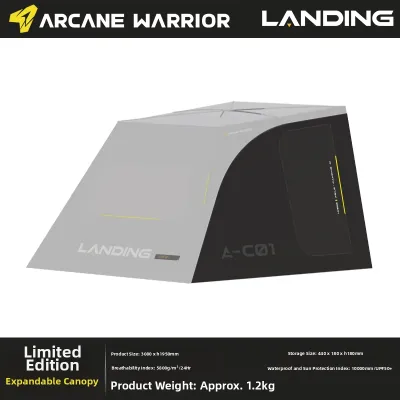
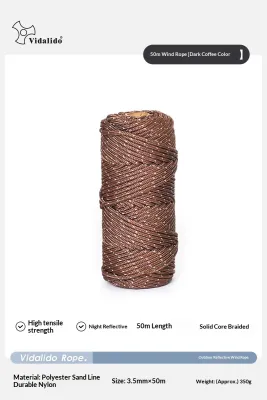
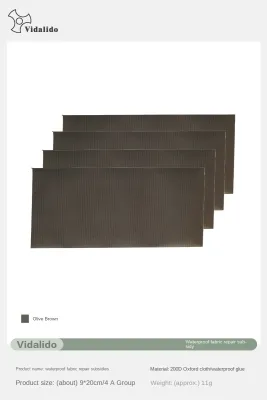
Prices are valid at publication and may change. Please refer to the product page for the latest price.
Weather patterns in the archipelago are highly seasonal and dictate your gear requirements. The dry season, influenced by the cool northeast monsoon, generally offers stable conditions, though coastal areas can still experience sudden tropical showers. The wet season, dominated by the southwest monsoon, brings frequent heavy downpours and high humidity, requiring robust waterproofing for all your gear.
Elevation is another critical factor that beginners often overlook. While sea-level beach campsites remain warm and humid throughout the night, high-altitude destinations can experience dramatic temperature drops after sunset. A campsite situated above 1,000 meters requires insulation strategies that are entirely different from those needed for a lowland riverbed.
Finally, consider the duration of your trip and the physical distance you must hike to reach the campsite. A short walk from a parking lot allows for heavier, more comfortable gear, whereas a multi-hour trek up a steep mountain trail demands a lightweight, compact setup to prevent physical exhaustion.
The Core Shelter and Sleep System
Your shelter is your primary defense against insects, wind, and sudden tropical downpours. When selecting a camping tent, prioritize models with a double-wall construction, which features a separate breathable inner tent and a waterproof outer rainfly. This design allows warm air and condensation to escape, reducing the stuffiness that often plagues single-wall tents in humid environments.

Verify the tent’s weather resistance by checking the manufacturer’s specifications for hydrostatic head ratings, which measure the fabric’s waterproof capability. Look for a rainfly and floor rating of at least 1,500 millimeters to ensure protection against moderate to heavy rain. Additionally, inspect the seams to confirm they are factory-sealed or taped, preventing water from slowly seeping through the stitching during prolonged storms.
Your sleep system must match the expected nighttime temperatures of your specific campsite elevation. For warm lowland or beach camping, a heavy sleeping bag is unnecessary and will cause overheating; instead, a lightweight fabric liner or a thin, breathable blanket is highly suitable. For high-altitude mountain summits where temperatures can drop significantly, pack a compact synthetic sleeping bag rated for the appropriate temperature range.
Do not underestimate the importance of a sleeping pad, which serves two critical functions: cushioning your body from hard, uneven ground and insulating you from the cold earth. Check the pad’s R-value, which measures thermal resistance. A low R-value of 1.0 to 2.0 is perfectly adequate for warm tropical lowlands, but you will need a higher rating if you plan to sleep on cold, damp mountain ridges.
Clothing and Footwear for Tropical Trails
Dressing for tropical trails requires a layering strategy that manages high humidity, sweat, and sudden rain. Your base layer—the clothing worn directly against your skin—should consist of moisture-wicking synthetic fabrics like polyester or nylon, or lightweight merino wool. Strictly avoid cotton garments, including denim and standard t-shirts, because cotton absorbs moisture, dries very slowly, and can cause severe chafing or rapid cooling when the wind picks up.
Footwear is your most critical choice for trail safety and comfort. Look for hiking shoes or trail running shoes with deep, multi-directional lugs on the outsoles to provide reliable traction on slippery mud, wet rocks, and loose soil. Evaluate the level of ankle support you need based on the trail difficulty and your pack weight; high-cut boots offer excellent stability for rocky, uneven paths, while low-cut trail runners are suitable for well-maintained, flatter trails.
Always pack dedicated rain protection, regardless of the weather forecast. A lightweight, breathable waterproof jacket is essential for keeping your torso dry during sudden afternoon downpours without causing excessive sweating. Additionally, protect your backpack with a fitted rain cover, and keep a set of dry, clean clothes sealed in a plastic bag inside your pack, reserved exclusively for sleeping.
Camp Kitchen and Hydration Essentials
Staying hydrated is a primary safety concern in hot, humid environments. Never assume that natural water sources along the trail or at the campsite are safe to drink without treatment. Plan your water purification methods based on the source; hollow-fiber membrane filters are highly effective for removing bacteria and protozoa, while chemical purification tablets or boiling may be necessary if viral contamination is a concern.
For food preparation, select a lightweight, compact camp stove that runs on canister fuel, which is widely available and easy to operate for beginners. Choose durable, lightweight cookware made of anodized aluminum or stainless steel. To prevent attracting local wildlife, rodents, and insects to your campsite, store all food, trash, and scented items in secure, airtight bags or hard containers placed away from your sleeping area.
Practicing Leave No Trace principles is essential for preserving natural spaces. Pack out all trash, including food scraps and organic waste like fruit peels, which do not decompose quickly and can harm local ecosystems. When washing dishes, carry water at least 60 meters away from natural water sources and use biodegradable soap, dispersing the greywater over soil rather than dumping it directly into streams or lakes.
Safety, Navigation, and Emergency Gear
A well-prepared camper always carries a dedicated safety kit to handle minor injuries and unexpected situations. Assemble a basic first aid kit tailored to your group size and trip duration, ensuring it includes adhesive bandages, sterile gauze, antiseptic wipes, blister treatment, insect repellent, and personal medications. Add antihistamines to manage allergic reactions to insect bites or plant contact, which are common on tropical trails.
Reliable illumination is non-negotiable once the sun sets in the wilderness. Pack a high-quality headlamp, which keeps your hands free for cooking, pitching your tent, or navigating in the dark. Verify that the headlamp offers adjustable brightness levels and carry extra power sources, such as a fully charged power bank or spare batteries, sealed in a waterproof bag.
Do not rely solely on cellular service for navigation, as signals are often non-existent in deep valleys or dense forest canopies. Download offline topographic maps on your mobile device before departure, and carry a physical map and compass as a reliable backup. Always share your detailed itinerary and expected return time with a trusted contact person at home before you head into areas without signal.
Packing and Weight Management Tips
How you pack your gear directly affects your physical comfort and balance on the trail. Before loading your backpack, adjust the harness system to match your torso length, ensuring the padded hip belt rests securely on your hip bones. The hip belt should carry approximately 60 to 70 percent of the total pack weight, relieving your shoulders from painful strain.
Organize your backpack using three distinct packing zones to optimize weight distribution. Place lightweight items that you will not need until camp, such as your sleeping bag and sleep clothes, at the very bottom of the pack. Position heavy items, including your camp stove, fuel, water, and food, close to your spine in the middle zone to keep your center of gravity stable. Keep frequently accessed items, like your rain jacket, first aid kit, headlamp, and trail snacks, in the top lid or external pockets.
To keep your pack weight manageable, evaluate every item critically before it goes into your bag. Avoid bringing redundant luxury items or heavy, single-use tools that add unnecessary bulk. A lighter pack reduces physical fatigue, lowers the risk of slips or joint strains on steep descents, and allows you to enjoy the natural surroundings more fully.
Frequently Asked Questions (FAQ)
Can I rent camping gear instead of buying it?
Renting camping gear is an excellent, cost-effective option for beginners who want to try the activity before committing to expensive purchases. Many popular trailheads, local outdoor shops, and eco-parks offer rental services for essential items like tents, sleeping pads, and stoves. Compare the rental fees, which typically range from ₱150 to ₱500 per night depending on the item, against the retail cost of buying your own gear to determine the most economical path.
Before leaving the rental shop or trailhead station, thoroughly inspect all borrowed equipment. Set up the tent to check for broken poles, torn mesh, stuck zippers, and signs of mold or fabric degradation. Test the camp stove to ensure the valves and ignition systems function safely, and verify that all necessary components, such as tent stakes and rainfly guylines, are included in the rental package.
How do I protect my gear from heavy rain?
Protecting your gear from heavy tropical rain requires a multi-layered waterproofing strategy. Do not rely solely on a backpack’s rain cover, as wind can blow rain into the gaps or water can seep through the back panel. Line the inside of your main backpack compartment with a heavy-duty plastic trash bag or a dedicated waterproof pack liner before packing your items.
For critical gear like electronics, sleeping bags, and dry clothing, use individual roll-top dry bags to provide an extra layer of security. When pitching your tent, ensure the footprint or ground tarp is tucked completely underneath the tent floor. If the footprint extends beyond the edges of the tent, it will catch rainwater dripping from the rainfly and channel it directly under your tent, leading to water pooling and eventual leakage.

Community discussion
Share your experience or ask a question. Comments are reviewed before publication.