
Building a functional home boxing corner requires balancing safety, space, and training goals without overspending on unnecessary equipment. To establish a solid foundation, you only need a few essential items: reliable hand protection, a suitable striking target, and a safe floor space. By focusing on these core components, you can create a dedicated training zone that fits your home layout. In tropical environments like the Philippines, where high humidity and limited indoor space are common, selecting the right gear and maintaining it properly is crucial for long-term success.
Assessing Your Space and Training Goals Before Buying
Before purchasing any boxing equipment, you must carefully evaluate your physical environment and define your training objectives. Setting up a workout area in a residential space requires a realistic assessment of what your home can structurally support. Concrete walls and solid overhead beams offer excellent mounting points, whereas lightweight drywall or drop ceilings cannot bear dynamic loads. If you live in a rental property or a condominium, check your building’s guidelines regarding drilling, structural modifications, and noise levels before making any decisions.
Your primary training focus will also dictate the type of gear you need. If your goal is high-intensity cardiovascular conditioning, a lighter bag or a freestanding setup that allows for rapid, rhythmic movement is ideal. Conversely, if you want to develop raw striking power, you will require a denser, heavier bag that can absorb high-impact forces. Defining these goals early prevents you from buying specialized gear that does not align with your daily routine.
Products mentioned in this guide
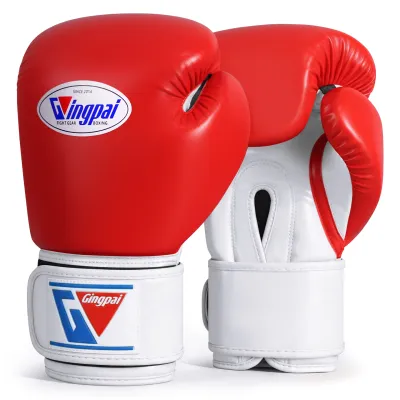
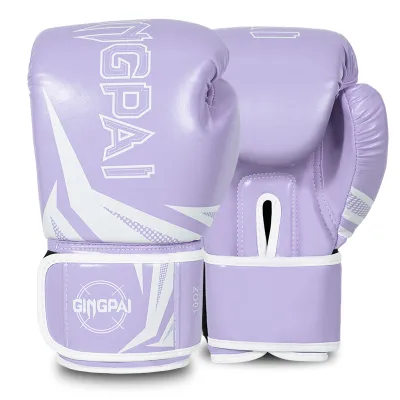
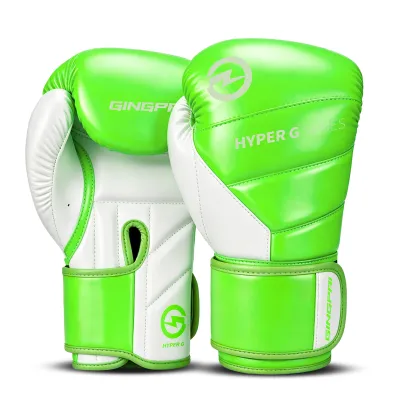
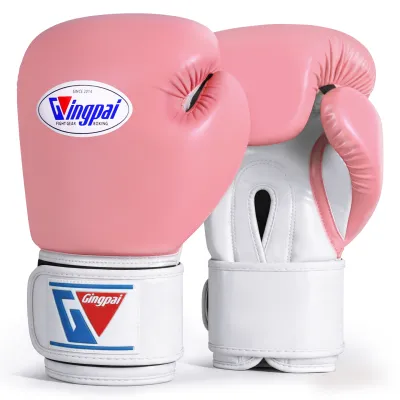
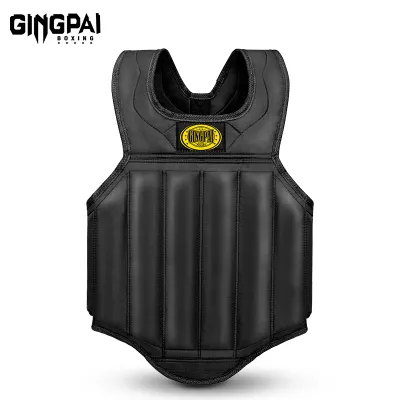
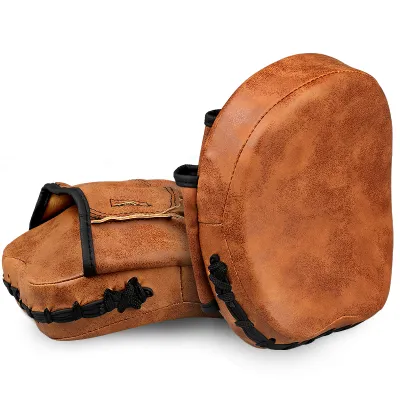
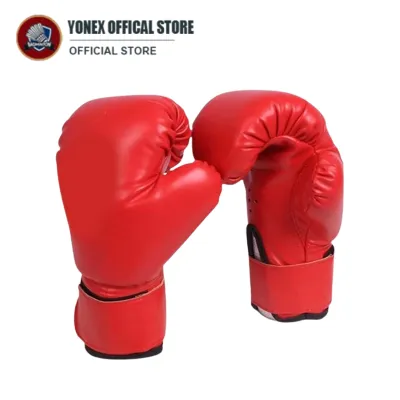
Prices are valid at publication and may change. Please refer to the product page for the latest price.
Additionally, consider the local climate when planning your setup. High humidity can cause moisture to accumulate on training gear, leading to mold and unpleasant odors if the area lacks proper ventilation. Choose a spot in your home that benefits from natural airflow to keep the space dry and comfortable.
Core Essentials: Selecting Hand Protection and Striking Gear
Your hands are highly vulnerable to injury during repetitive striking, making proper hand protection the most critical investment in your home gym. A complete setup requires both high-quality boxing gloves and supportive hand wraps to safeguard your knuckles, fingers, and wrists. Skipping either of these items increases the risk of joint strain or more severe wrist injuries.

When selecting boxing gloves, pay close attention to the weight, which is measured in ounces (oz). For general home bag training, gloves weighing 12 oz, 14 oz, or 16 oz are standard, as they provide thicker foam padding to absorb the shock of repeated impacts. Lighter gloves do not offer sufficient protection for heavy bag training. Verify the glove specifications on the product label, looking for multi-layer foam construction and a wide, secure hook-and-loop wrist strap.
Hand wraps are non-negotiable and must be worn under your gloves every time you train. They compress the small bones in your hand and secure your wrist joint, preventing hyperextension upon impact. Opt for semi-elastic cotton wraps, which conform comfortably to the contours of your hand. Ensure the wraps are long enough—typically around 4.5 meters—to allow for thorough wrapping of the wrist, knuckles, and thumb.
When trying on your gear, ensure the gloves fit snugly over your wrapped hands. You should be able to close your hand into a natural fist without experiencing tight pinching or restricted blood circulation. If the gloves feel excessively tight, you may need to adjust your wrapping technique or opt for a larger glove size.
Choosing the Right Punching Bag and Verifying Mounting Safety
The punching bag is the centerpiece of your home boxing corner, and choosing the right format is essential for both your training quality and your home’s safety. You must decide between a freestanding bag and a traditional hanging heavy bag, as each option has distinct spatial and structural requirements.
Freestanding bags are highly popular for home setups because they do not require drilling into walls or ceilings. They feature a heavy plastic base that you fill with sand or water to keep the unit stable during workouts. This design makes them easy to move if you need to clear the room after training. However, freestanding bags have a different rebound action than hanging bags, often pivoting from the base rather than swinging naturally.
Hanging heavy bags provide the classic boxing experience, offering realistic swing dynamics that force you to move, pivot, and maintain proper distance. However, they require a highly secure anchor point. A standard heavy bag can weigh anywhere from 30 to 50 kilograms, and the dynamic force generated when you strike it multiplies this load significantly.
Before installing a hanging bag, you must verify the structural integrity of your ceiling or wall. Never attempt to mount a heavy bag directly to standard drywall or plasterboard ceilings, as the dynamic weight will quickly pull the mount loose. The mounting hardware must be anchored directly into solid concrete beams or structural wooden joists using load-rated expansion bolts. If you are uncertain about your home’s structural capacity, consult a qualified contractor to perform the installation safely.
Configuring Flooring and Spatial Clearance for Safe Training
A safe training environment requires a stable foundation underfoot. Standard home flooring, such as ceramic tiles, polished wood, or smooth laminate, can become incredibly slippery when wet with sweat, creating a serious slipping hazard during rapid footwork.
To prevent slips and protect your home’s flooring from impact damage, install interlocking foam or rubber mats over your training area. Look for mats with a textured, high-traction surface that provides a firm grip for your feet, whether you train barefoot or in boxing shoes. These mats also help absorb the repetitive shock of jumping and pivoting, reducing strain on your knees and ankles while dampening the noise transmitted through the floor.
You must also calculate the clearance radius around your punching bag to ensure you can train without restriction. A safe training zone requires at least 1.5 to 2 meters of clear space in all directions from the center of the bag. This clearance allows the bag to swing freely and gives you enough room to execute full-extension punches and lateral steps without colliding with walls or furniture.
If you are using a freestanding bag, place a heavy-duty, non-slip rubber pad directly beneath the base. This simple addition prevents the plastic base from sliding across your tiles or wooden floors during high-impact combinations. It also acts as an extra layer of sound insulation, minimizing the thudding vibrations that can travel through the building structure.
Optional Upgrades: Gear to Skip When Starting Out
When setting up a home gym, it is easy to get overwhelmed by the wide variety of boxing accessories available on the market. To keep your setup cost-effective and free of clutter, it is wise to skip specialized gear that is not essential for solo home training. This approach helps you avoid spending thousands of pesos (₱) on unnecessary accessories.
Focus mitts, kick shields, and Thai pads are excellent training tools, but they require a dedicated partner to hold them. If you primarily train alone at home, these items will simply sit in storage and collect dust. Postpone purchasing partner-based gear until you have a consistent training partner who can work with with you safely.
Similarly, advanced coordination equipment like speed bags, double-end bags, or reflex bags require complex mounting systems and a high level of technical proficiency. For beginners and intermediate fitness enthusiasts, mastering basic punching mechanics, balance, and footwork on a standard heavy bag is far more beneficial. You can always add these specialized tools later once your fundamental skills are firmly established.
Finally, avoid investing in expensive smart sensors, punch trackers, or premium aesthetic upgrades when starting out. These digital tools can track your punch volume and speed, but they do not replace proper form and consistent effort. Focus your budget on high-quality hand protection and a reliable striking surface first, as these are the true foundations of a safe and effective home boxing corner.
Frequently Asked Questions (FAQ)
How do I clean and maintain synthetic leather boxing gear?
To extend the lifespan of your synthetic leather gloves and bags, wipe them down with a damp, clean cloth after every training session to remove sweat and salt buildup. Allow the gear to air dry completely in a well-ventilated indoor area away from direct sunlight, which can crack the material. Avoid using harsh chemical cleaners, bleach, or machine washing, as these will degrade the synthetic fibers and internal padding.
Can I hang a heavy bag on a standard apartment ceiling?
No, you should never hang a heavy bag directly from standard drywall, plaster, or drop ceilings, as they lack the structural strength to support dynamic loads. Hanging a heavy bag requires anchoring the mount directly into solid concrete beams or structural wooden ceiling joists using heavy-duty, load-rated bolts. If you cannot verify the structural capacity of your ceiling, opt for a freestanding bag to prevent severe property damage or personal injury.
What is the minimum room size required for a functional boxing corner?
A functional home boxing corner generally requires a clear floor space of at least 2.5 meters by 2.5 meters. This clearance ensures you can throw punches at full extension and execute lateral footwork without colliding with walls or furniture. Additionally, ensure your ceiling height allows the bag to hang at eye level while leaving enough overhead clearance for the mounting chains or brackets.

Community discussion
Share your experience or ask a question. Comments are reviewed before publication.