
Applying lead tape to your golf clubs is one of the most accessible, cost-effective, and fully reversible ways to customize your equipment’s feel and performance. By strategically adding small amounts of high-density tape to specific areas of the clubhead, you can alter the swing weight—how heavy the clubhead feels during your swing—without investing in expensive custom shafts or entirely new clubs. Whether you are trying to smooth out your tempo, adjust your ball flight, or match the feel of a new club to the rest of your set, lead tape offers a practical, hands-on solution that you can execute at home or right on the driving range.
Understanding Swing Weight and Lead Tape Basics
Swing weight is not the total weight of the golf club; rather, it is a measurement of how the club’s weight is distributed toward the clubhead end. It is typically expressed on an alphanumeric scale ranging from A0 to G10, with standard men’s clubs often falling in the ‘D0 to D4’ range. When a club has a higher swing weight, the head feels heavier during the swing, which can help golfers with faster tempos feel the position of the clubhead throughout their motion. Conversely, a lighter swing weight can make the club feel easier to swing quickly, though it may reduce your awareness of where the clubface is during transition.
Lead tape serves as the industry-standard material for adjusting this balance because of its unique physical properties. Lead is an exceptionally dense metal, meaning a very thin, narrow strip can add noticeable mass without significantly altering the aerodynamic profile or physical dimensions of your clubhead. The tape features a pressure-sensitive adhesive backing, allowing it to stick securely to steel, titanium, composite, and painted surfaces.
Products mentioned in this guide
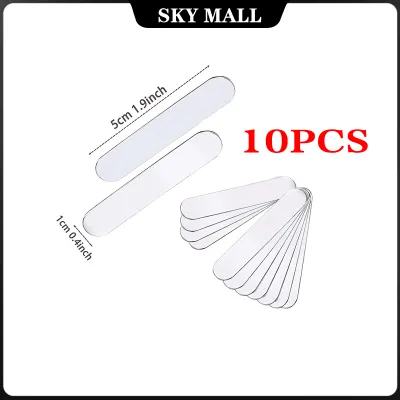
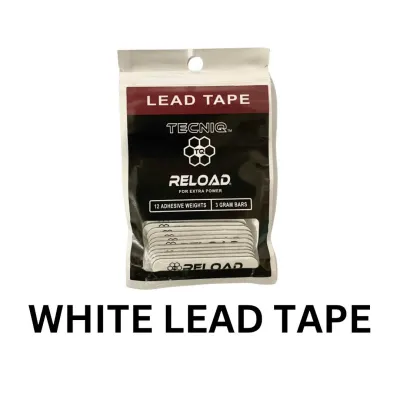
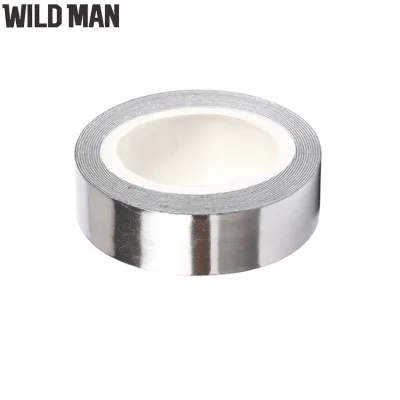
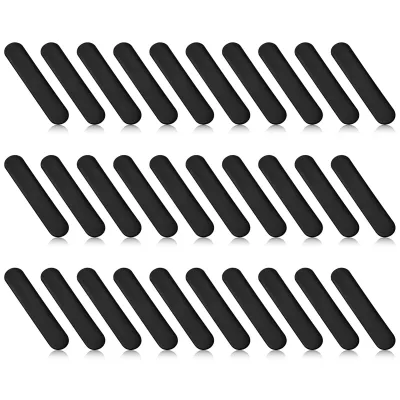
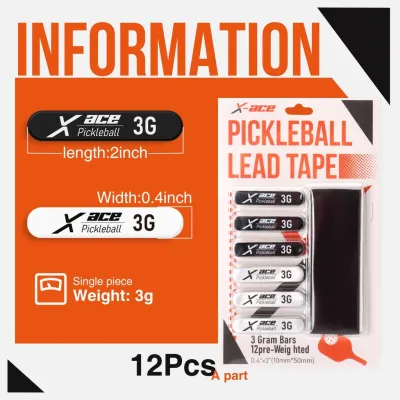
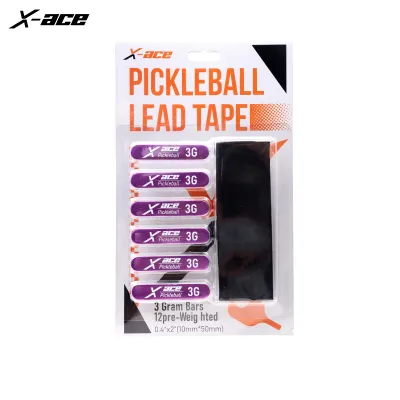
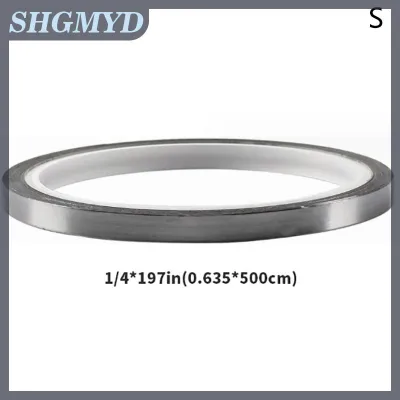
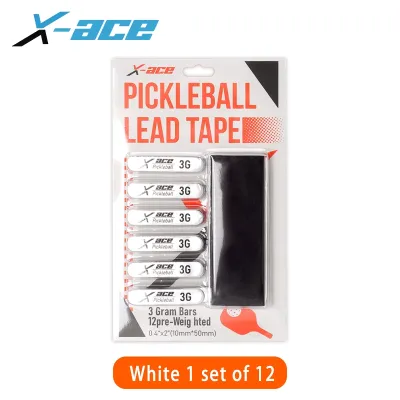
Prices are valid at publication and may change. Please refer to the product page for the latest price.
Adding mass to the clubhead directly increases its swing weight. As a general rule of thumb, adding approximately two grams of weight to the clubhead will increase the swing weight by one full point (for example, moving a club from ‘D2 to D3’). However, because individual swing dynamics, shaft profiles, and grip weights all interact to create the final feel, physical testing is essential. Lead tape allows you to make these micro-adjustments incrementally, testing the club after each addition to find the exact balance that complements your natural swing tempo.
Tools and Materials Needed for Application
Before you begin applying lead tape to your clubs, gathering the correct tools will ensure a clean, durable, and safe installation. You will need a roll of high-quality lead tape, which is widely available at golf specialty stores, pro shops, or online marketplaces. Lead tape typically comes in half-inch or three-quarter-inch widths, allowing you to choose the size that best fits the contours of your clubheads.

To cut the tape cleanly, keep a sharp utility knife or a pair of heavy-duty scissors on hand. Clean, straight edges not only look more professional but also resist peeling much better than jagged, uneven cuts.
Surface preparation is the most critical factor in ensuring the tape remains attached through high-velocity swings and turf impacts. You will need isopropyl alcohol (70% or higher concentration is ideal) and a clean, lint-free microfiber cloth. These items will remove any lingering oils, dirt, grass stains, or old adhesive residue from the clubhead.
To secure the tape and eliminate air pockets, you should use a smooth, hard-edged burnishing tool. A plastic squeegee, a specialized wooden craft stick, or even an old plastic credit card works perfectly for this task.
Finally, because lead is a toxic heavy metal, safety must be a priority. Keep a pair of disposable nitrile or latex gloves nearby to wear whenever you are handling, cutting, or pressing the raw lead tape.
Step-by-Step Guide to Applying Lead Tape
Achieving a professional-grade application requires patience and attention to detail. Follow these steps to ensure your lead tape stays firmly bonded to the clubhead, even under the demanding conditions of tropical humidity and frequent turf contact.
First, thoroughly clean the target area on your clubhead. Pour a small amount of isopropyl alcohol onto your microfiber cloth and scrub the surface where you plan to apply the tape. Pay close attention to recessed cavities, sole plates, and areas near the hosel where dirt and grass oils tend to accumulate. Allow the alcohol to evaporate completely. In humid tropical climates, such as during the wet season in the Philippines, give the metal an extra minute to dry to ensure no microscopic moisture is trapped beneath the adhesive, which could cause premature peeling.
Next, check the manufacturer’s packaging to determine the weight-to-length ratio of your specific lead tape. For example, many standard half-inch wide tapes weigh approximately one gram per two inches of length, but you must verify this on your product’s label. Once you know the ratio, calculate the length needed to achieve your target weight. Use your utility knife or scissors to cut the strip. If you need to add a significant amount of weight, it is often better to cut multiple shorter, identical strips and layer them rather than applying one excessively long piece that wraps around complex curves.
Carefully peel away the paper backing from the lead tape, taking care not to touch the adhesive surface with your fingers, as skin oils can weaken the bond. Align the tape over your chosen placement zone. Press the center of the strip down onto the clubhead first, then gently smooth the tape outward toward the edges. This technique prevents air bubbles from becoming trapped underneath.
Once the tape is in position, take your burnishing tool and rub the surface of the lead tape with firm, even pressure. Lead is highly malleable, so you will notice the tape flattening and conforming perfectly to the contours of the clubhead. Pay special attention to the outer edges of the tape. Run your tool along the perimeter multiple times to flatten the edges completely against the metal. This step is vital; a perfectly flat edge prevents the tape from catching on your golf bag’s dividers or peeling back when the club strikes the turf during a swing.
Strategic Placement Zones on the Clubhead
Where you choose to place the lead tape on your clubhead has a direct influence on the club’s center of gravity (CG) and moment of inertia (MOI). By understanding these basic physics principles, you can use tape placement to fine-tune your ball flight and shot shape.
If you want to alter the launch angle of your shots, the sole of the club is the primary target zone. Applying lead tape low and deep on the sole—toward the back of the clubhead—shifts the center of gravity downward and backward. This adjustment tends to help launch the ball higher into the air and can increase spin, making it a popular modification for drivers, fairway woods, and hybrids. Conversely, placing weight closer to the face on the sole can lower the launch and reduce spin, though this requires careful placement to avoid interfering with clean turf contact.
Adjusting the lateral weight distribution can influence how quickly the clubface rotates closed during your downswing. If you struggle with a persistent slice, applying lead tape to the heel of the clubhead (near the shaft) adds mass that slows down the heel, allowing the toe to rotate closed more quickly through impact. If you tend to hook the ball, placing the tape on the toe of the clubhead adds resistance to rotation, keeping the face open slightly longer. While these adjustments cannot cure a fundamental swing flaw, they can help mitigate extreme tendencies.
To maximize forgiveness on off-center strikes, focus on perimeter weighting. Placing lead tape along the extreme outer edges of the clubhead—such as the rear perimeter of a driver or the outer cavity of an iron—increases the club’s moment of inertia (MOI). A higher MOI means the clubhead is more resistant to twisting when you strike the ball off-center, helping to preserve ball speed and maintain a straighter line on mishits.
Because swing weight adjustments are highly subjective, always adopt an incremental testing protocol. Start by adding a small amount of tape—perhaps one to two grams—and take the club to the driving range. Hit a series of balls to evaluate the feel, transition timing, and ball flight. It is far easier to add another small strip of tape to fine-tune the performance than it is to apply a massive chunk all at once and try to guess which portion needs to be peeled away. Keep a notebook of your observations to track how different weights affect your consistency.
Safety Precautions and Long-Term Maintenance
Because lead is a toxic substance, handling lead tape requires strict adherence to safety protocols. Always wear disposable gloves when cutting, applying, or burnishing the tape. Once you have finished the application process, dispose of the backing paper and any tape scraps immediately in a secure trash bin. Wash your hands thoroughly with soap and warm water, even if you wore gloves. Store your roll of lead tape in a secure, labeled container out of reach of children and pets, and never use your teeth to tear or hold the tape.
Long-term maintenance is essential to ensure the tape remains secure and the club remains safe to handle. Before every round of golf, perform a quick visual inspection of your clubs. Look for any lifting corners, peeling edges, or dirt accumulation beneath the tape. If you notice any section of the tape starting to lift, use your burnishing tool to press it back down immediately, or peel it off and replace it entirely.
Adhesive degradation is a common issue, particularly in warm, humid climates like the Philippines. Exposure to extreme heat—such as leaving your golf bag in the trunk of a car parked in the sun—can soften the adhesive, causing the tape to slide or fly off during a high-speed swing. Store your clubs in a cool, dry, climate-controlled indoor space whenever possible, and replace the tape if you notice the adhesive becoming sticky, gummy, or sliding out of its original position.
Frequently Asked Questions (FAQ)
Can I apply lead tape to the clubface or grooves?
No, you should never apply lead tape to the clubface or within the grooves of any golf club. Under the Rules of Golf established by the USGA and the R&A, applying any external material to the striking face of a club that could influence ball spin, distance, or trajectory is strictly prohibited and will render the club non-conforming for tournament play. Furthermore, from a practical standpoint, the extreme force of impact with a golf ball will quickly destroy, tear, or peel the tape off the face, leading to highly unpredictable ball flights and potentially damaging your golf balls.
How do I remove lead tape if the new swing weight feels wrong?
Removing lead tape is a straightforward process if you take your time. Slip on a pair of disposable gloves and use your fingernail or a plastic scraper to lift one corner of the tape. Peel the strip away slowly at a low angle, keeping it as close to the clubhead surface as possible to prevent the lead from tearing into tiny, hard-to-remove pieces. Once the tape is removed, a sticky layer of adhesive residue will likely remain on the metal. Apply a small amount of a mild, club-safe adhesive remover or mineral spirits to a cloth, let it sit on the residue for a minute, and wipe it clean. Finish by wiping the area with isopropyl alcohol to remove any oily residue before deciding whether to apply a new configuration.

Community discussion
Share your experience or ask a question. Comments are reviewed before publication.