
Choosing a tent with a cover—commonly known as a rainfly—requires matching the shelter’s design to your specific camping environment, weather expectations, and transport limits. In tropical climates where sudden torrential downpours and high humidity are common, the outer cover is your primary defense against water intrusion while also acting as a critical component of your tent’s ventilation system. Selecting the right configuration ensures you stay dry and comfortable throughout your outdoor adventure.
Identify the Right Tent Style and Cover Configuration
Determining which tent structure and rainfly coverage suit your intended camping environment is the first step toward a successful trip. Full-coverage rainflies extend all the way to the ground, offering reliable protection against wind-driven rain and splashing mud. Partial covers, on the other hand, only shield the roof and upper walls, leaving the lower tent body exposed. While partial covers are lighter and allow more airflow, they are generally unsuitable for heavy tropical storms where rain can easily blow sideways under the canopy.
Single-wall tents integrate the waterproof barrier directly into the main tent body, reducing overall weight and simplifying the setup process. However, double-wall tents, which feature a separate inner mesh body and an independent outer rainfly, are highly effective for humid environments. The gap between the two layers allows warm, moist air from your breath to escape the inner tent and condense on the underside of the outer cover instead of dripping onto your sleeping gear.
Products mentioned in this guide
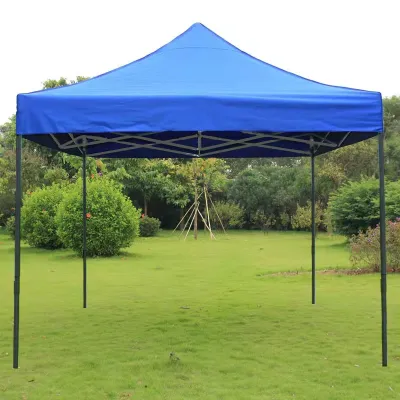
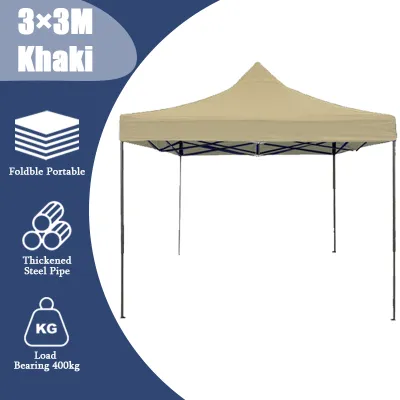
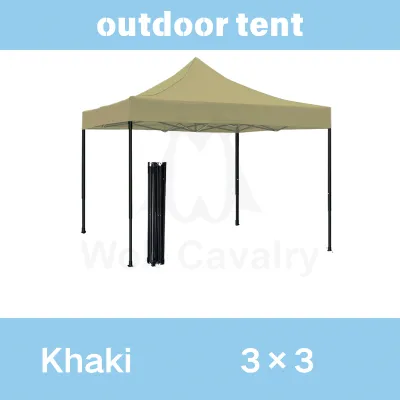
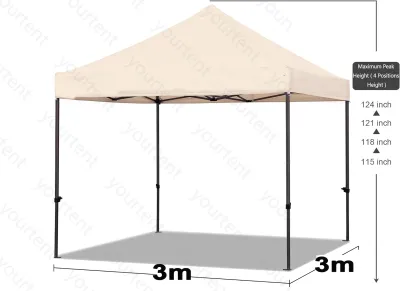
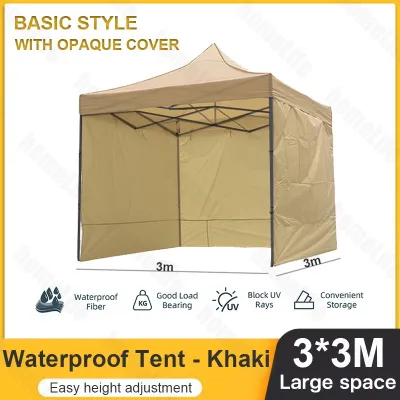
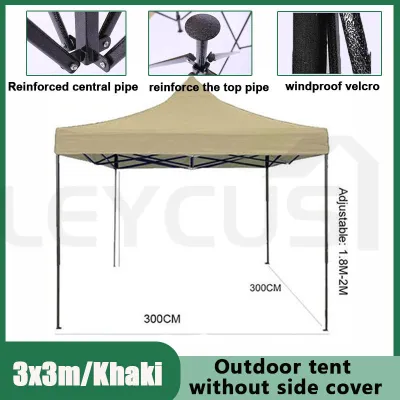
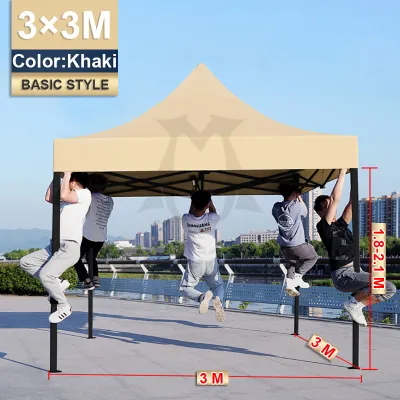
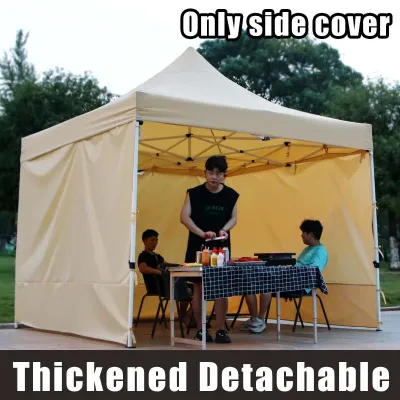
Prices are valid at publication and may change. Please refer to the product page for the latest price.
When reviewing manufacturer guides, pay close attention to the season rating to ensure the tent matches your planned travel periods. A standard three-season tent is designed to handle moderate rain, light wind, and warm temperatures, making it highly suitable for most tropical camping trips. Four-season tents are built with heavier fabrics and sturdier pole structures to withstand heavy snow loads and howling winds, but they often lack the ventilation required for warm, humid nights.
Verify Rainfly Materials and Waterproof Specifications
To assess how well a tent cover repels water, locate the hydrostatic head rating on the product label or specification sheet. This rating, measured in millimeters, indicates the amount of water pressure the fabric can withstand before leaking. For reliable protection during heavy seasonal rains, look for a rainfly with a rating of at least 1,500 mm to 3,000 mm, while tent floors often require higher ratings to resist pressure from kneeling or lying down on wet ground.

Review the fabric type and any factory-applied coatings. Most budget-friendly and mid-range tents use polyester or nylon fabrics coated with polyurethane to achieve waterproof performance. Higher-end models may feature silicone-coated fabrics, which offer excellent tear strength and UV resistance but typically require a larger investment of several thousand ₱. Additionally, check if the fabric has a durable water repellent treatment, which causes water to bead up and roll off the surface rather than soaking into the fibers.
Inspect the seam construction details carefully, as even highly waterproof fabric will leak if the seams are not properly sealed. Look for specifications indicating factory-taped seams, where a waterproof tape is heat-sealed over the stitching. If a tent does not come pre-taped, you may need to apply a liquid seam sealer manually before your first trip to prevent water from dripping through the needle holes.
Confirm the total coverage area of the rainfly and whether it creates usable vestibule space. A vestibule is an extension of the rainfly that creates a covered porch area outside the inner tent door. This space is invaluable for storing muddy hiking boots, wet backpacks, and cooking gear, keeping the interior of your sleeping area clean and dry.
Evaluate Inner Tent Breathability and Ventilation
In hot and humid climates, managing interior condensation is just as important as keeping rain out. Check the proportion of mesh panels versus solid fabric on the inner tent body. A high percentage of mesh allows maximum airflow, helping to cool the interior and carry away moisture-laden air. Solid fabric panels provide more privacy and wind protection but can trap heat and humidity if ventilation is inadequate.
Verify the presence, size, and placement of ventilation vents on both the rainfly and the inner tent. Look for rainfly vents that can be propped open with small kickstands, allowing warm air to escape even during a downpour. Proper cross-ventilation requires vents positioned at different heights or on opposite sides of the tent to create a chimney effect, drawing cool air in from the bottom and pushing warm air out through the top.
Do not overlook the floor material and its waterproof rating. Ground moisture can easily seep through thin fabrics, especially when you apply body weight by sitting or sleeping. Check for a bathtub floor design, where the waterproof floor material extends several inches up the sides of the tent before meeting the wall fabric, preventing pooling rainwater from entering through the lower seams.
Assess Pole Materials and Structural Stability
The structural integrity of your tent depends heavily on the pole material listed in the specifications. Fiberglass poles are common in budget-friendly tents; they are affordable but can be heavy, brittle in extreme temperatures, and prone to splintering under high stress. Aluminum poles are a popular choice for serious hikers and campers, offering an excellent strength-to-weight ratio, high flexibility, and greater durability against strong winds.
Check the pole diameter and the connection mechanisms. Thicker poles generally offer more rigidity, though they add to the overall weight. Look for shock-corded designs, where an internal elastic cord holds the pole segments together for quick assembly, or hub systems that consolidate multiple poles into a single, easy-to-manage frame. These systems simplify setup and help distribute wind loads evenly across the entire structure.
Review the tent’s aerodynamic shape and the placement of guy-line attachment points. Dome and tunnel shapes are highly effective at shedding wind, provided they are pitched correctly. Ensure the rainfly features reinforced attachment points for guy-lines—extra cords used to anchor the tent to the ground—which are essential for stabilizing the frame during unexpected storms or high-altitude winds.
Match Capacity, Weight, and Packed Size to Your Trip
When choosing a tent, compare the manufacturer’s stated person capacity with the actual floor dimensions and peak height. A two-person tent is often designed to fit two standard sleeping pads side-by-side with very little room for gear or movement. If you prefer extra space to stretch out or store your belongings inside, consider sizing up to a three-person model, keeping in mind the trade-off in weight and packed size.
Check the minimum trail weight versus the total packed weight. The minimum trail weight typically includes only the tent body, rainfly, and poles, while the packed weight includes everything packaged at purchase, such as stakes, guy-lines, stuff sacks, and instruction manuals. If you are backpacking long distances, every gram counts, so aim for a weight that aligns with your carrying capacity and physical fitness.
Verify the packed dimensions to ensure the tent fits comfortably inside your backpack or can be secured to the exterior gear loops. Some tents feature short pole segments designed specifically for bikepacking or tight packing spaces. If you plan to travel by motorcycle or public transport to your camping destination, a compact packed size is just as important as a light trail weight.
Inspect Setup Mechanisms and Included Accessories
Review the pitching system to determine how easily the tent can be assembled, especially in challenging conditions like fading light or sudden rain. Freestanding tents can stand on their own without being staked down, making them highly versatile for pitching on hard ground, wooden platforms, or sandy beaches. Non-freestanding tents require stakes and guy-lines to maintain their structure, which reduces weight but demands more careful site selection. Color-coded clips and pole sleeves can significantly speed up the setup process.
Check the included hardware list to verify the quality of the stakes and guy-lines. Standard steel stakes are heavy and bend easily in hard soil, while lightweight aluminum or titanium stakes offer better durability and holding power. Additionally, check if the package includes a footprint or groundsheet, which provides an extra layer of protection between the tent floor and the rough ground.
Verify the availability of repair kits, replacement parts, or specific care instructions from the manufacturer. A basic repair kit containing a pole repair sleeve and adhesive patches can save a trip if a pole snaps or a branch tears the rainfly. Understanding the manufacturer’s recommended cleaning and maintenance procedures will help extend the lifespan of your investment.
Frequently Asked Questions (FAQ)
Do I need a separate footprint for my tent with a cover?
A footprint is a custom-cut groundsheet designed to match the exact dimensions of your tent floor. Its primary role is to protect the thin waterproof floor fabric from abrasion caused by rocks, twigs, and rough ground, while also providing an extra barrier against rising ground moisture.
While a footprint is highly recommended when camping on rocky, gravelly, or highly abrasive terrain, it may be optional if you are pitching on soft grass or sand. Using a footprint can significantly extend the lifespan of your tent, making it a worthwhile investment for frequent campers.
If you use a footprint, ensure it is sized slightly smaller than the tent floor. If the footprint extends beyond the edges of the tent, it can catch rainwater dripping off the rainfly and channel it directly underneath your tent, causing water to pool and eventually seep through the floor.
How should I store a wet tent and rainfly after a trip?
Never store a wet tent or rainfly in its tight stuff sack for more than a few hours. As soon as you return home, unpack the tent and hang both the inner body and the rainfly in a well-ventilated, shaded area to air-dry completely. Avoid direct sunlight for extended periods, as UV rays can degrade the fabric and waterproof coatings over time.
Storing damp fabrics creates a breeding ground for mold and mildew, which can ruin the tent fabric, cause unpleasant odors, and permanently damage the polyurethane waterproof coatings. Once mildew takes hold, it is incredibly difficult to remove without damaging the material.
For long-term storage, choose a cool, dry place away from direct heat sources. Instead of packing the tent tightly into its original stuff sack, store it loosely in a large, breathable mesh or cotton bag, or fold it gently and place it on a shelf. This prevents the waterproof coatings from creasing and cracking over time.

Community discussion
Share your experience or ask a question. Comments are reviewed before publication.