
Choosing the right hydration backpack capacity is a balancing act between carrying enough fluid to sustain your performance and avoiding the dead weight that slows you down. Because individual sweat rates and route conditions vary wildly, relying on a generic distance-to-capacity chart often leads to carrying too much or too little water. The ideal bladder size for your run depends on your personal sweat rate, the duration of your workout, and the availability of water sources along your route. By understanding how to calculate your fluid loss and matching it to standard bladder volumes, you can optimize your gear setup for any distance, from a quick 10K to an all-day trail adventure.
How to Calculate Your Fluid Needs for Different Distances
To determine how much water you actually need to carry, you must first establish a personalized baseline rather than relying on generic recommendations. A practical way to do this is by performing a basic sweat rate test during a standard training run. Weigh yourself in kilograms without clothes immediately before a one-hour run, and then weigh yourself again immediately afterward. Keep track of any water you drink during that hour, and subtract your post-run weight from your pre-run weight to find your fluid loss. Every kilogram of weight lost roughly equates to one liter of sweat, which gives you a clear starting point for your hourly hydration needs.
Environmental conditions play a massive role in how these numbers translate to the road or trail. In tropical climates like the Philippines, high heat and intense humidity prevent sweat from evaporating efficiently, which often causes the body to sweat even more in an attempt to cool down. If you are training in these conditions, your fluid requirements will naturally be higher than they would be in a cooler, drier climate. You will need to adjust your baseline upward when planning runs during the hotter hours of the day or when tackling steep elevation gains on local mountain trails.
Products mentioned in this guide
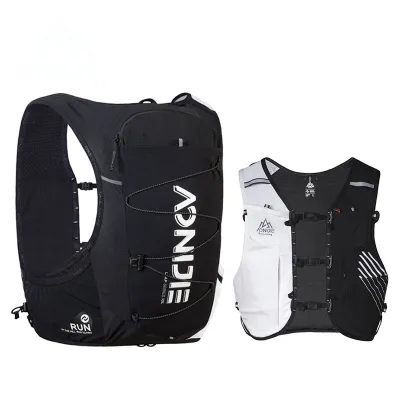
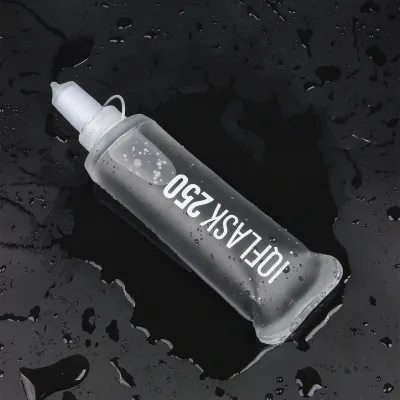
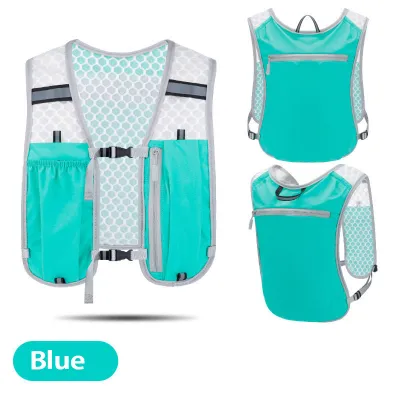
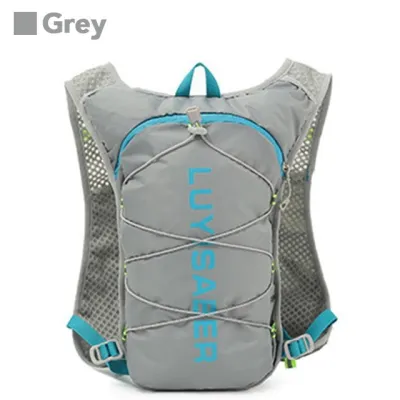
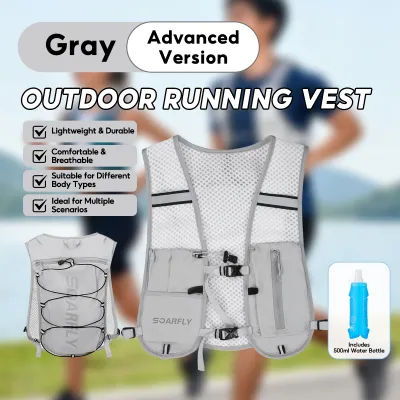
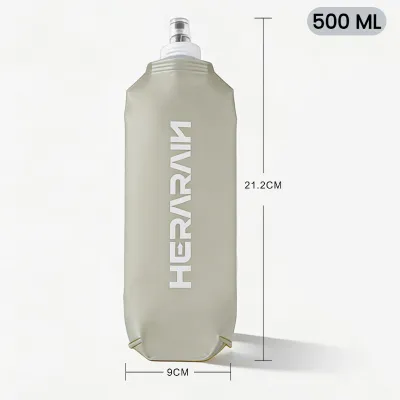
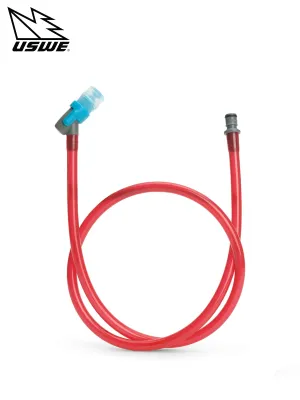
Prices are valid at publication and may change. Please refer to the product page for the latest price.
Run intensity and individual metabolic differences also dictate how quickly you deplete your water supply. A high-intensity tempo run or a steep climb requires more physical effort and generates more metabolic heat than an easy recovery jog, accelerating your sweat rate. Additionally, some runners are naturally heavy sweaters due to genetics and fitness levels. By calculating your hourly fluid loss across different intensities and weather conditions, you can plan your hydration backpack volume with high precision, ensuring you carry exactly what your body demands.
Matching Bladder Capacity to Your Typical Run Distance
Once you have a clear estimate of your hourly fluid needs, you can match that volume to standard hydration bladder capacities. Hydration bladders generally come in three main size categories, each suited to different durations and route profiles.

For short to medium distances, such as a 10K or a half marathon, a 1.0-liter to 1.5-liter bladder is usually sufficient. These smaller bladders are lightweight and keep your pack profile slim, which is ideal for maintaining speed and agility. If your route includes predictable public water fountains or convenience stores where you can quickly refill, a 1.0-liter bladder can easily stretch to cover longer distances without adding unnecessary bulk to your back.
A 2.0-liter bladder serves as the versatile workhorse for most distance runners. This capacity is highly suited for long weekend training runs, trail running, or moderate self-supported efforts where public water sources are scarce. If your sweat rate is moderate, a 2.0-liter bladder can comfortably sustain you for two to three hours of continuous running. It offers a practical balance, giving you enough fluid security for remote trails without making the pack excessively heavy or unstable.
For ultramarathons, remote wilderness routes, or extreme tropical heat where self-sufficiency is mandatory, bladders of 3.0 liters and above are the standard choice. These high-capacity reservoirs are designed for long-haul efforts where you might go four hours or more between aid stations. However, carrying this much water requires a robust pack structure to support the weight. Always remember that these categories are flexible frameworks; your final choice should always be guided by your personalized sweat rate and the specific logistics of your running environment.
Managing Pack Weight and Route Refill Strategy
Carrying water comes with a physical penalty that directly impacts your running economy. Water is heavy, with one liter weighing exactly one kilogram. When you fill a large bladder to capacity, that extra weight sits on your upper body, which can alter your running posture, increase impact forces on your joints, and lead to premature shoulder and neck fatigue. To run efficiently, your goal should be to carry the minimum amount of water necessary to safely reach your next refill point.
Before heading out, take time to map out your route and identify potential water stops. In urban areas, look for public parks, convenience stores, or gas stations where you can purchase water. On trail runs, check for clean natural water sources if you carry a portable filter. By planning your route around these refill opportunities, you can carry a much lighter initial volume in your hydration backpack and simply top up along the way.
Another highly effective strategy is to distribute your fluid weight across your gear. Many modern running vests allow you to combine a smaller rear bladder with front-mounted soft flasks. Placing 1.0 liter in the back and two 500-milliliter flasks on your chest straps balances the load across your torso, reducing the backward pull on your shoulders. This setup also allows you to separate your fluids, keeping plain water in the rear bladder and electrolyte mixes in the front flasks for easy access and simpler cleanup.
Beyond Capacity: Fit, Stability, and Maintenance Checks
Selecting the right bladder capacity is only half the battle; the hydration backpack itself must perform well under dynamic movement. A poorly fitting pack will bounce, shift, and cause painful skin chafing, regardless of how much water it holds. When trying on a pack, look for adjustable chest and waist straps that allow you to pull the load flush against your spine. The pack should fit snugly like a vest rather than hanging loosely like a traditional school backpack.
The bite valve and hose system also require close inspection before you buy. A high-quality bite valve should offer a high flow rate with minimal effort and feature a reliable, leak-proof locking mechanism. An intuitive on-off switch prevents the valve from dripping water down your shirt when it accidentally presses against your chest during a run. Additionally, check how the hose is routed and secured; magnetic clips or elastic loops on the shoulder straps are excellent for keeping the tube from swinging wildly while you pace.
Finally, consider the ease of maintenance for both the bladder and the pack. Look for bladders with wide top openings or slide-top closures, which make it much easier to reach inside for scrubbing, insert ice cubes on hot days, and turn the bladder inside out for thorough drying. Detachable hoses with quick-connect valves are also highly beneficial, as they allow you to remove the tube for cleaning without unthreading it from the entire pack. Regular cleaning and drying are essential to prevent mold and bacteria from taking hold in the damp environment of your gear.
Frequently Asked Questions (FAQ)
Is a Hiking Hydration Pack Suitable for Running?
While hiking hydration packs can hold water, they are generally not optimized for the high-impact, repetitive motion of running. Hiking packs tend to have a looser fit, heavier materials, and a lower center of gravity, which often results in significant bouncing and chafing when you pick up the pace. Running-specific hydration backpacks, often designed as vests, hug the torso tightly using lightweight, breathable mesh. They position the water higher on your back and chest to minimize movement, distribute weight evenly, and reduce energy loss during dynamic strides.
How to Stop Water Sloshing in Your Bladder
The sound and feel of water sloshing inside your pack can be highly distracting, but it is easy to eliminate. After filling your bladder with water, turn it upside down so the hose connection point is at the top. Gently squeeze the bladder to push all the trapped air up toward the hose, and suck the air out through the bite valve until water reaches your mouth. Removing this air pocket deprives the water of the space it needs to slosh around. Additionally, make sure to pull your pack’s compression straps tight to keep the bladder compressed as you drink.

Community discussion
Share your experience or ask a question. Comments are reviewed before publication.