
Selecting the correct kite line is essential for a successful and safe flight. The right line balances breaking strength, length, and diameter to match your specific kite size and the local wind conditions. When you choose a dedicated lithing kite line, you ensure that your kite can climb efficiently, remain stable in shifting breezes, and stay securely anchored to your spool. Rather than guessing which line will work, you can use a systematic approach to read manufacturer specifications, assess your flying environment, and safely attach your gear for a successful flight.
Assess Your Kite Size and Local Wind Conditions
Before purchasing any flying line, you must evaluate the physical characteristics of your kite and the environment where you plan to fly. The first step is always to check the kite manufacturer’s label, packaging, or instruction manual. Manufacturers design their kites to operate within specific wind ranges and with recommended line weight categories. These specifications are calculated to balance the kite’s weight against the aerodynamic lift it generates, giving you a reliable baseline for your selection.
Local weather patterns play a massive role in how your kite behaves. In the Philippines, wind conditions vary dramatically depending on your location and the season. Flying a kite in an open inland field, such as a public park or a school ground, often exposes you to light, swirling inland breezes that require lighter lines to keep the kite aloft. Conversely, flying along coastal areas, such as the sandy beaches of La Union or Batangas, means dealing with steady, powerful sea breezes that exert much more force on your equipment.
Products mentioned in this guide
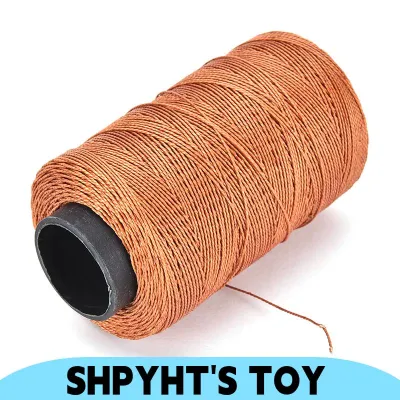
![[COD] AqToCna Ship within 24 hours 200M 2 Strand Kite Line Durable Twisted String For Flying Tools Reel Kites Parts](https://img.lazcdn.com/g/p/54c90700e02869d98fd88db9da921e60.jpg_400x400q80.jpg_.webp)
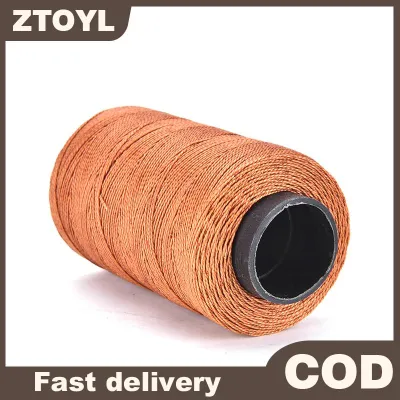
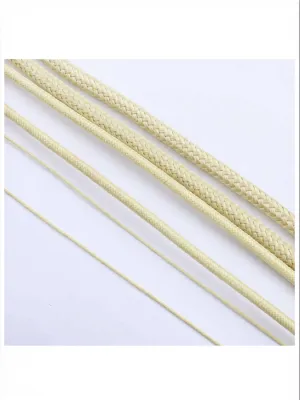
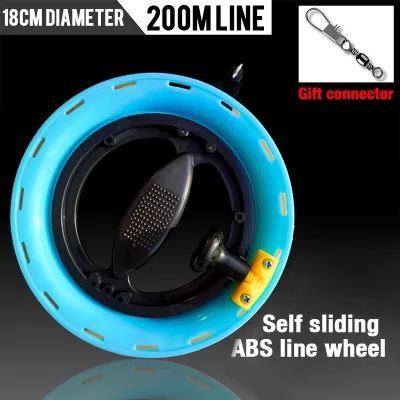
Prices are valid at publication and may change. Please refer to the product page for the latest price.
You must also categorize your kite by its physical size and expected pull. A small, lightweight diamond kite or a simple plastic pocket kite has a very small surface area and generates minimal pull, making it highly sensitive to heavy lines. On the other hand, large delta kites, parafoils, or dual-line stunt kites have a much larger surface area. These designs catch a significant volume of air and generate a powerful, continuous pull that can easily snap weak lines if the wind suddenly intensifies.
Match Line Strength to Your Kite and Wind
Matching the breaking strength of your line to your kite is a balancing act between safety and flight performance. The breaking strength, often measured in pounds or kilograms, represents the maximum load the line can withstand before snapping. Your line’s breaking strength must safely exceed the maximum pull your kite generates during strong wind gusts, not just the average wind speed. A sudden gust can instantly double or triple the tension on your line, making a generous safety margin necessary.

However, you must avoid the common mistake of using an excessively heavy or thick line for a light kite. Heavy lines add unnecessary weight and aerodynamic drag, which sags the line and pulls the nose of a light kite downward. This extra weight prevents the kite from climbing to higher altitudes where the wind is steadier. For light-wind flying, a thin, lightweight line allows the kite to rise effortlessly, even in marginal breezes.
To find the ideal balance, rely strictly on the manufacturer’s recommended breaking strain range rather than estimating based on the kite’s physical dimensions alone. Two kites of the exact same width can generate vastly different amounts of pull depending on their sail profile, frame rigidity, and bridle configuration. If you cannot find the manufacturer’s recommendation, look for standard charts provided by reputable kite organizations, and always err on the side of caution by selecting a slightly stronger line if you plan to fly in gusty coastal conditions.
Choose the Right Line Length and Diameter
Once you have determined the necessary strength, you must select the physical length and diameter of your line. Choosing the right length depends heavily on your flying location, your experience level, and the type of kite you are using. Shorter line lengths, typically ranging from 30 to 50 meters, are excellent for small kites, beginners, and confined flying spaces. Shorter lines keep the kite closer to the ground, making it easier to control, monitor, and recover if the wind drops suddenly.
Longer line lengths, extending up to 100 meters or more, are reserved for wide-open areas like beaches, large meadows, and high-altitude flying. At higher altitudes, wind currents are generally smoother and more consistent than they are close to the ground, where trees and buildings create turbulence. However, longer lines require more effort to manage and increase the risk of tangling with other flyers or nearby obstacles.
Line diameter is directly related to both strength and wind resistance. Thicker lines are much easier to see in the air, making them safer for bystanders, and they offer better resistance to abrasion from sand, grass, or accidental contact with other lines. However, thicker lines create significantly more wind drag, which can pull your kite down or cause it to fly at a lower angle. Finally, you must ensure that the chosen line length and thickness fit comfortably within the physical capacity of your spool or winder. Investing around ₱300 to ₱1,200 in a dedicated kite line spool ensures you get a durable material that fits without overfilling or causing jams.
Attach, Spool, and Test the Line Safely
Securing your line to your kite and spooling it correctly are critical steps that prevent mid-air failures and equipment loss. Always use secure, non-slip knots that are appropriate for your kite’s bridle or tow point, as specified by the manufacturer. Common knots like the larks head knot are highly effective because they tighten under tension but remain easy to undo when you are ready to pack up. Avoid using basic household knots, which can weaken the line at the connection point by up to fifty percent.
When winding your line onto the spool, do so evenly and with consistent, moderate tension. Avoid winding the line too tightly, especially on plastic spools, as the cumulative pressure of tightly wound line can crush or warp the spool. Conversely, winding too loosely can cause the outer layers of line to bite into the inner layers, creating deep snags that prevent the line from feeding out smoothly during your next flight.
Before committing to a high-altitude flight, always conduct a low-altitude test flight in a controlled, open area. Let out only a few meters of line to check the kite’s balance, the line’s tension, and the security of your knots. Observe how the kite reacts to the wind; if it spins wildly or dives, the bridle may need adjustment, or the wind may be too strong for the current setup. This initial test allows you to make safe adjustments close to the ground before letting the kite climb into stronger, less manageable air currents.
Critical Safety Rules and Stop Conditions
Kite flying is a wonderful outdoor activity, but it requires strict adherence to safety protocols to protect yourself and others. Never fly your kite near power lines, airports, busy roads, or overhead cables. If your kite drifts toward a restricted zone or if the wind shifts unexpectedly, stop flying immediately, wind in your line, and walk away to a safer location.
Always wear protective gloves when handling strong, fast-moving, or high-tension lines. A rapidly unwinding line can cause severe friction burns, deep cuts, or lacerations if it slips through your bare hands. This is especially important when flying larger kites or when flying in strong coastal winds where the tension on the line is constant and intense.
If your kite or line becomes tangled in power lines or tall trees, cease all activity immediately. Never attempt to retrieve the kite or line by pulling on it, climbing the tree or utility pole, or using conductive objects like metal or wet wooden poles. Wet kite lines and carbon fiber frames can conduct electricity, posing a fatal shock hazard. Instead, secure your spool if safe to do so, leave the area, and contact local utility professionals to handle the situation safely.
Frequently Asked Questions (FAQ)
Can I use regular sewing thread or fishing line for my kite?
Using regular sewing thread or fishing line is highly discouraged for kite flying due to severe performance and safety risks. Sewing thread lacks the tensile strength required to withstand even light wind gusts, leading to frequent snaps and lost kites. Fishing line is exceptionally dangerous because it is designed to stretch, which ruins kite control, and its thin, slick profile can act like a blade under tension, causing deep cuts to your hands or to anyone else who accidentally walks into the line.
How do I know if my kite line is too old or damaged?
You should inspect your kite line before every flight by running it through your fingers to check for physical irregularities. Look for visual signs of damage such as fraying, discoloration from sun exposure, stiffness, or visible knots that have tightened and weakened the fibers. UV degradation from the intense tropical sun in the Philippines can silently weaken synthetic lines over time; if the line feels brittle, rough, or shows significant fading, replace it immediately to prevent an unexpected break in mid-air.
What should I do if my kite line gets tangled?
If your line becomes tangled, resist the urge to pull the line tight, as this will only lock the knots in place. Lay the tangled section flat on a clean, smooth surface like grass or sand, and work slowly starting from the kite end of the line. Use a blunt tool, like a toothpick or a plastic peg, to gently loosen tight loops. If the tangle is extremely severe, has fused due to friction heat, or cannot be undone without fraying the fibers, it is safest to cut out the damaged section and re-tie the line using a secure fisherman’s knot, or replace the line entirely.

Community discussion
Share your experience or ask a question. Comments are reviewed before publication.