
Choosing the right tent with a side cover requires balancing your group size, expected weather conditions, and the terrain of your campsite. A side cover—whether it is an integrated vestibule, an extended rainfly, or an attachable awning—serves as a critical buffer zone between the interior of your tent and the outdoor elements. To make the right choice, you must look beyond simple passenger ratings and evaluate specific material ratings, pole structures, and ventilation features that can withstand both intense tropical sun and sudden heavy downpours.
Quick Guide: Matching Tent Specifications to Your Trip
When planning a camping trip, matching your gear to the environment is the first step toward a comfortable outdoor experience. Many campers make the mistake of choosing a tent based solely on the manufacturer’s stated person capacity, only to find themselves cramped once their gear is brought inside. A reliable rule of thumb is to select a tent rated for at least one to two people more than your actual group size if you plan to store backpacks, boots, and dry bags inside the main body. Alternatively, utilizing a tent with a dedicated side cover or vestibule allows you to maximize the interior sleeping area while keeping your gear protected just outside the door.
Weather resistance is another critical baseline that you must verify on the product label before purchasing. Look for the hydrostatic head (HH) rating, which measures the fabric’s water resistance in millimeters. For tropical climates prone to sudden, heavy rain showers, a rainfly and side cover rating of at least 1,500mm to 3,000mm is generally recommended to prevent water penetration. Additionally, inspect the product specifications for factory-sealed seams, which feature a waterproof tape applied under heat to block water from seeping through the needle holes where the fabric panels are stitched together.
Products mentioned in this guide
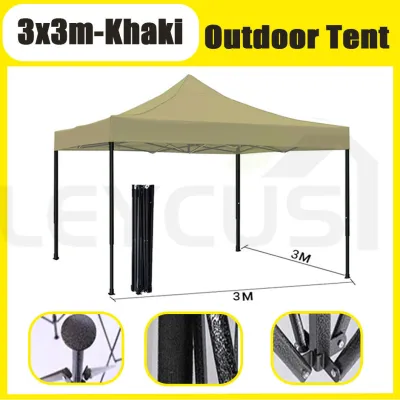
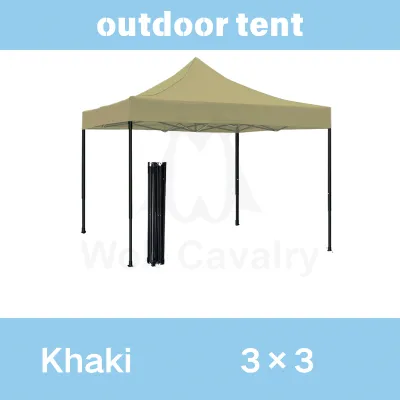
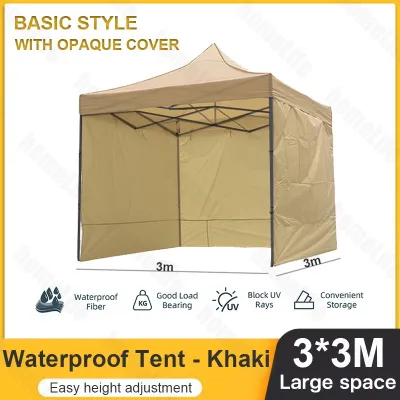
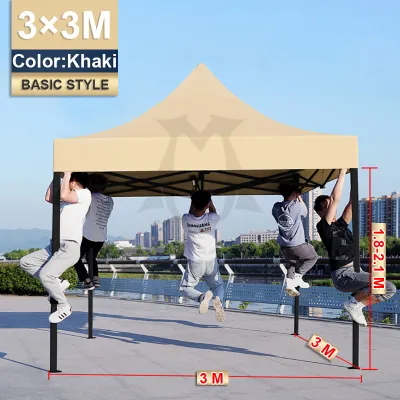
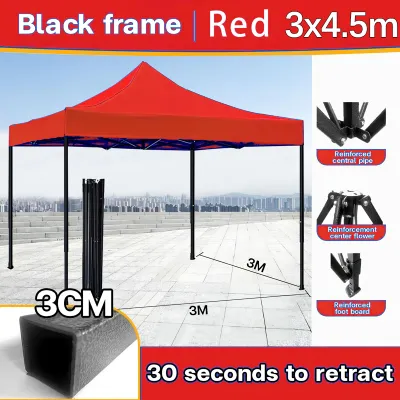
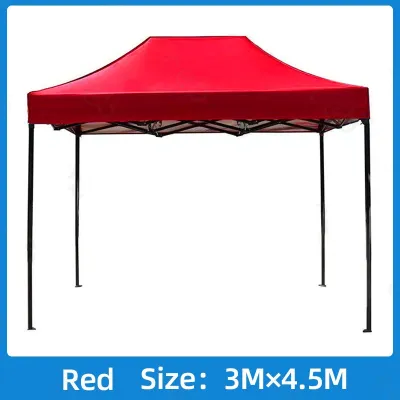
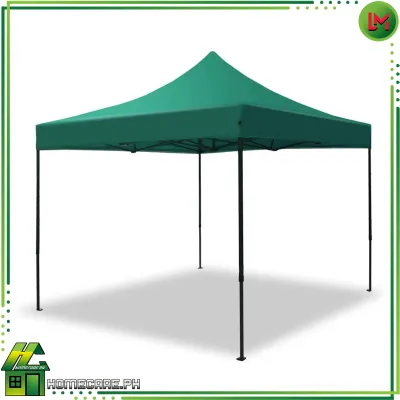
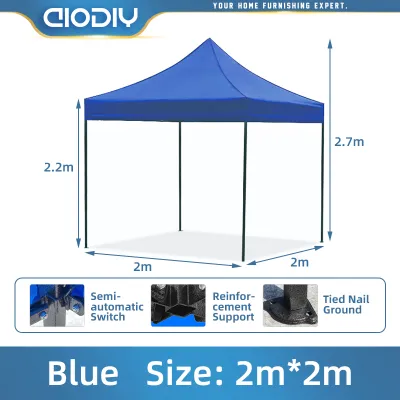
Prices are valid at publication and may change. Please refer to the product page for the latest price.
Terrain and wind exposure also dictate the type of side cover design you should choose. If you are camping on exposed ridges or windy beaches, a low-profile, aerodynamic side cover that slopes close to the ground will help shed wind and maintain tent stability. Conversely, if you are pitching your tent in a forested area or an established campsite where shade and ventilation are your primary concerns, a high-clearance side cover or an extendable awning supported by upright poles will provide a comfortable, open-air living space while shielding you from the direct heat of the sun.
What Are Side Covers and Why Do You Need Them?
To choose the right shelter, it is essential to understand what side covers are and how they function. In the outdoor industry, “side cover” is a broad term that encompasses several distinct designs, each offering different levels of protection and utility. The most common variation is the integrated vestibule, which is an extension of the outer rainfly that drapes over the tent entrance and anchors to the ground, creating an enclosed porch area. Another option is the extended rainfly, which simply projects outward over the doors and windows to shed water away from openings without fully enclosing the space. Finally, attachable awnings are modular fabric panels that can be zipped or clipped onto the main tent structure, often supported by extra poles to create an open-air canopy.

The primary benefit of these side covers is the creation of a transitional zone between the wet, muddy outdoors and your clean, dry sleeping area. This space is invaluable for storing muddy hiking boots, wet rain jackets, and bulky backpacks, keeping dirt and moisture out of your sleeping quarters. Furthermore, a side cover provides a sheltered entryway, allowing you to unzip the inner tent door during a rainstorm without letting water drip directly onto your sleeping pad. In hot, sunny conditions, an extended awning offers a shaded retreat where you can sit, cook, or relax without being confined to the hot interior of the tent.
However, these benefits come with clear trade-offs that you must consider based on your style of camping. Adding side covers, extra poles, and the necessary stakes increases the overall packed weight and bulk of your gear, which can be a significant drawback if you are backpacking long distances. Additionally, tents with large vestibules or extended awnings require a much larger campsite footprint, making it more challenging to find a suitable, flat pitching spot in dense forests or tight camping pads. The setup process also becomes more complex, requiring extra time to properly tension guylines and secure anchors to ensure the fabric does not flap or collapse in a breeze.
Core Tent Specifications to Check Before Buying
Before diving into the specifics of side covers, you must evaluate the core specifications of the main tent body to ensure it meets your basic comfort and safety needs. Begin by checking the actual floor dimensions and peak height rather than relying on generic “four-person” or “six-person” labels. Compare the floor width and length against the dimensions of your sleeping pads to ensure everyone can lie down comfortably without crowding. The peak height is equally important; if you prefer to stand up while changing clothes, look for cabin-style tents with near-vertical walls, whereas dome tents offer a lower profile that is much more efficient at shedding wind.
The fabric of the tent body and rainfly plays a decisive role in durability and weather protection. Pay close attention to the denier (D) rating, which indicates the thread weight and thickness of the fabric. A higher denier rating, such as 68D or 75D for the rainfly and 150D for the floor, generally indicates a more robust, puncture-resistant material that can withstand rough ground and abrasive debris. Combine this with the hydrostatic head threshold on the manufacturer’s spec sheet to verify that the materials are rated for the specific rainfall patterns of your destination. Always look for explicit confirmation of factory-taped seams, as untaped seams will inevitably leak during prolonged downpours.
The structural integrity of your tent relies heavily on its pole design and materials. Fiberglass poles are common in budget-friendly models, but they are heavier and more prone to splintering under high stress. Aluminum poles are lighter, significantly stronger, and offer better flexibility to absorb wind gusts without breaking. The geometry of the poles also matters: simple dome structures with two crossing poles are easy to set up and highly stable, while complex geodesic designs utilize multiple intersecting poles to distribute wind loads evenly, making them the preferred choice for extreme weather. Cabin tents, while spacious, present large flat walls to the wind and require robust steel or thick aluminum frames to remain secure.
Assessing Side Cover Features for Weather and Storage
Once you have verified the core tent specifications, you can focus on the specific design elements of the side covers to ensure they align with your storage and shelter requirements. Start by calculating the coverage area and clearance of the vestibule or awning. If you plan to use the space primarily for storing dirty boots and a small pack, a shallow vestibule with a depth of 60 to 80 centimeters may be sufficient. However, if you need a dry area to store large multi-day backpacks, set up a camp chair, or prepare food during a storm, you will need a deeper vestibule or an extendable awning that offers at least 1.5 to 2 meters of covered clearance.
The attachment and tensioning systems of the side covers are critical for maintaining stability and preventing fabric damage. Inspect the tent for adjustable guylines equipped with sturdy tensioners, which allow you to fine-tune the tautness of the fabric as it stretches over time or when wet. Look for reinforced stitching at all guyout points and pole attachment tabs, as these areas experience the highest stress during windy conditions. A side cover that cannot be tensioned properly will flap loudly in the wind, which is not only noisy but can also cause the fabric to tear or pull stakes out of the ground.
Ventilation is another vital factor, especially when camping in hot, humid environments where condensation can quickly build up on the underside of the side cover. Look for side covers that feature dedicated mesh vents near the peak or adjustable low-level vents that encourage a chimney effect, drawing cool air in from the bottom and pushing warm, moist air out through the top. Some designs allow you to roll up or prop open the side panels of the vestibule while keeping the main entryway protected, giving you the flexibility to maximize airflow during a humid night without sacrificing privacy or rain protection.
Building Your Shortlist: Scenario-Based Selection Criteria
To narrow down your options and build a practical shortlist, you should evaluate how different tent and side cover configurations perform in specific camping scenarios.
Wet and Muddy Conditions If your primary concern is camping during the rainy season or in muddy, waterlogged environments, your priority should be maximum water shedding and isolation from the ground. Look for a tent with a full-coverage rainfly that extends all the way to the ground, coupled with a deep, fully enclosed vestibule. This setup ensures that rain is directed far away from the tent floor. The main tent body should feature a bathtub-style floor, where the waterproof floor material extends several inches up the side walls before meeting the mesh or fabric panels, preventing ground water from seeping through the floor seams.
Hot and Sunny Environments For beach camping or summer trips where intense heat and sun exposure are the main challenges, focus on shade and ventilation. Choose a tent with a modular side cover or an awning made from UV-resistant fabrics, which help block harmful rays and reduce the temperature underneath the canopy. Light-colored fabrics are highly beneficial here, as they reflect solar radiation rather than absorbing it. Ensure the side covers can be fully rolled back or configured as an open-air canopy supported by upright poles, allowing breeze to pass freely through the mesh panels of the inner tent.
Backpacking and Mobile Camping When you must carry your shelter on your back over long distances, every gram counts. In this scenario, avoid heavy, modular add-on awnings and separate steel poles. Instead, prioritize lightweight, integrated side covers made from high-tenacity, low-denier fabrics (such as 15D or 20D nylon) coated with silicone or polyurethane. Look for designs where the rainfly itself extends to form a minimalist vestibule using your trekking poles for support, which eliminates the need to carry dedicated awning poles and keeps your packed weight to an absolute minimum.
Pre-Purchase Checklist Before finalizing your purchase from an online marketplace or outdoor retailer, run through this quick verification checklist to ensure compatibility and value:
- Footprint Compatibility: Verify if the manufacturer offers a matching footprint (ground tarp) that extends under the vestibule area, or if you need to cut a custom tarp to size.
- Warranty and Support: Check the manufacturer's warranty terms regarding pole breakage, seam failures, and fabric tears.
- Packed Weight vs. Trail Weight: Confirm the actual packed weight (including all stakes, poles, and bags) to ensure it fits within your carrying capacity, rather than relying on the stripped-down "trail weight" specification.
- Replacement Parts: Ensure that replacement poles, stakes, and guyline tensioners are readily available for the specific model you choose.
Frequently Asked Questions (FAQ)
How do I prevent condensation under the side covers?
Condensation occurs when warm, moist air inside the tent—primarily caused by human respiration and ground moisture—comes into contact with the cooler fabric of the outer side cover. To minimize this buildup, always utilize the built-in vents on your rainfly and keep them fully open, even during rain. If weather permits, roll back a portion of the side cover or leave the vestibule doors partially unzipped to encourage continuous airflow. Additionally, try to avoid pitching your tent directly over damp grass or wet soil, as the ground will release moisture upward into your vestibule space throughout the night; using a waterproof footprint under the entire tent and vestibule area can significantly block this ground moisture.
Can I add a side cover to my existing standard tent?
While it is technically possible to drape a universal tarp or aftermarket awning over an existing tent, doing so requires careful evaluation of compatibility and structural limits. Standard tents are designed to handle specific wind loads based on their original pole configurations; adding an aftermarket side cover can create a sail effect, catching the wind and placing excessive stress on poles that were not engineered to bear that load. If you attempt this, ensure you anchor the aftermarket cover to independent poles or nearby trees rather than tying it directly to your tent’s frame. For reliable weather protection and safety, it is generally best to use a standalone tarp pitched completely separate from the tent, which avoids transferring wind stress to your main shelter and preserves your manufacturer’s warranty.

Community discussion
Share your experience or ask a question. Comments are reviewed before publication.