
Choosing your first camping tent is the most critical decision you will make when building your outdoor gear kit. A tent is more than just a place to sleep; it is your primary shelter against unpredictable weather, insects, and damp ground. Instead of searching for a single universal option, finding the right tent requires matching specific technical features to your camping style, physical comfort needs, and the environments you plan to explore. By learning how to read manufacturer specification sheets, you can make an informed investment that keeps you safe and comfortable on every adventure.
Define Your Camping Style and Environment
Before comparing fabric types or pole designs, you must determine how you plan to transport your shelter. Car camping allows you to prioritize comfort, interior space, and standing room because the weight and packed size of the tent are not limiting factors. For these trips, a heavier, feature-rich tent that fits easily into a vehicle trunk is ideal. Conversely, backpacking requires you to carry every gram on your back, making lightweight materials, compact packed dimensions, and minimalist designs your top priorities.
The climate of your camping destination dictates the level of protection and ventilation your tent must provide. In tropical environments like the Philippines, campers face a unique combination of high humidity, intense daytime heat, and sudden, heavy downpours. A tent designed for cold, dry climates will quickly turn into a suffocating sauna in these conditions. You need a shelter that balances robust waterproofing to block torrential rain with extensive mesh paneling to facilitate continuous airflow and minimize interior condensation.
Products mentioned in this guide
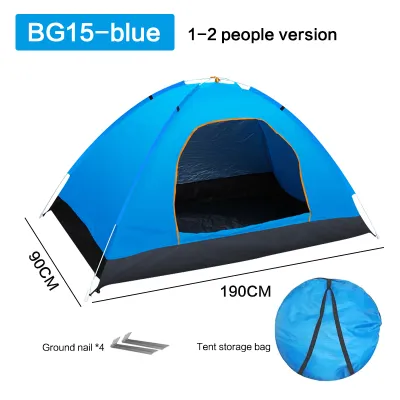
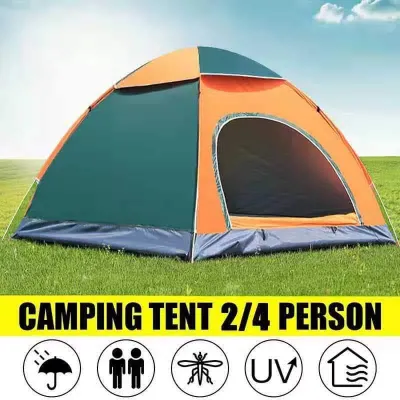
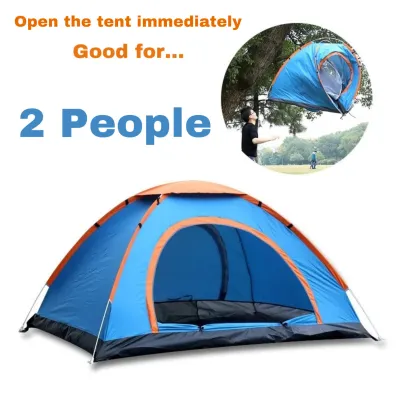
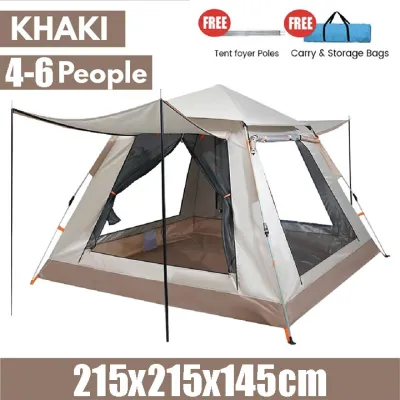
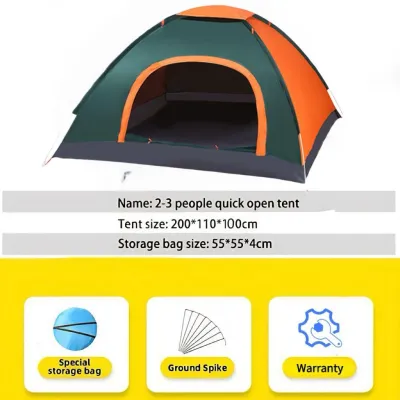
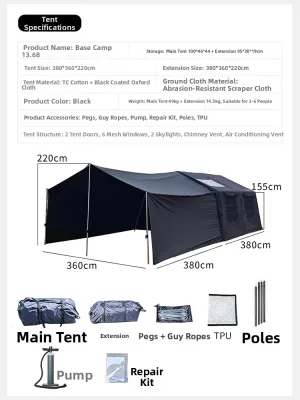
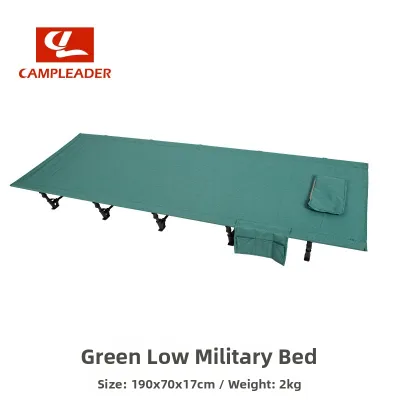
Prices are valid at publication and may change. Please refer to the product page for the latest price.
Your planned frequency of use should guide your budget allocation in ₱. If you only plan to camp once or twice a year at established, sheltered campsites during the dry season, an entry-level tent priced between ₱1,500 and ₱3,500 may serve you well. However, if you intend to camp frequently, hike into remote mountain areas, or camp during the rainy season, investing ₱8,000 or more in a high-quality shelter is highly recommended. Higher-end tents utilize durable, lightweight aluminum poles and advanced waterproof coatings that withstand repeated exposure to harsh elements.
Evaluate Tent Capacity and Floor Dimensions
Tent capacity ratings can be highly misleading for beginners because they are based on the maximum number of sleeping pads that can fit shoulder-to-shoulder inside the tent. A standard “2-person” tent typically leaves zero room for backpacks, personal gear, or comfortable movement. To avoid feeling cramped, a reliable rule of thumb is to size up by one person. If you plan to camp solo but want space for your gear inside, choose a 2-person tent; if you are camping as a couple, a 3-person tent will provide a much more comfortable experience.

To ensure a tent fits your physical frame, always look past the simple capacity label and check the exact floor dimensions on the manufacturer’s spec sheet. Compare the listed length and width against the dimensions of your sleeping pads to ensure they will fit side-by-side without overlapping or pressing against the tent walls. If you are tall, look for a floor length of at least 220 centimeters so your head and feet do not touch the fabric, which can cause moisture to transfer from the outer rainfly to your sleeping bag.
Peak height is another critical dimension that determines how usable the interior space feels. Dome tents typically offer a peak height that allows you to sit up comfortably in the center, while cabin-style tents feature near-vertical walls that let you stand upright throughout the entire space. Additionally, evaluate the vestibule space, which is the covered area outside the tent door created by the rainfly. A spacious vestibule is essential for storing muddy hiking boots, wet backpacks, and cooking gear outside the main sleeping compartment while keeping them protected from the rain.
Compare Tent Shapes and Season Ratings
The structural shape of a tent directly influences its stability in high winds, its overall weight, and its usable interior volume. Dome tents are the most popular choice for beginners because they are freestanding, easy to pitch on various terrains, and shed wind effectively from all angles. Cabin tents offer maximum livable space and headroom, making them excellent for families, but their flat, vertical walls act like sails in strong winds, making them unsuitable for exposed mountain ridges. Tunnel tents provide an exceptional space-to-weight ratio and excellent wind resistance when aligned correctly, but they require secure staking to stand.
Understanding season ratings is crucial to selecting a tent that matches your environment without adding unnecessary weight or cost. A 3-season tent is the standard baseline for most campers, designed to handle rain, light wind, and moderate temperatures. These tents feature extensive mesh panels on the inner body to maximize ventilation, which is vital for tropical camping. In contrast, 4-season tents are specialized shelters built with heavy fabrics, minimal mesh, and robust pole structures designed to withstand heavy snow loads and freezing winds. Using a 4-season tent in a warm, humid climate will lead to extreme discomfort due to trapped heat and severe condensation.
Keep in mind that even the most durable tent cannot replace proper campsite selection and pitching skills. In severe weather, your safety depends on your ability to identify natural windbreaks, avoid low-lying flood zones, and secure your stakes and guy lines correctly. If extreme weather conditions threaten your safety, knowing when to postpone your trip is far more critical than relying solely on your gear.
The material and structure of the tent poles play a major role in wind resistance and long-term durability. Budget-friendly tents often come with fiberglass poles, which are heavier and prone to splintering or shattering under high stress or in cold temperatures. Aluminum poles are the preferred choice for reliable outdoor performance because they are significantly lighter, stronger, and tend to bend rather than snap when subjected to strong gusts of wind. When reviewing specifications, look for reputable pole manufacturers and hubbed pole designs, which connect multiple poles into a single, easy-to-manage frame.
Inspect Materials, Weatherproofing, and Ventilation Labels
To gauge the durability and tear resistance of a tent, you must understand the denier (D) rating listed on the product tag. Denier measures the weight and thickness of the individual threads used to weave the fabric, with higher numbers indicating thicker, more durable material. For example, a lightweight backpacking tent might use a 15D or 20D nylon rainfly to save weight, requiring careful handling. A durable car camping tent or a rugged tent floor typically utilizes 68D, 75D, or even 150D polyester, which offers excellent resistance to abrasions, punctures, and UV degradation.
Never rely on vague marketing claims of “waterproof” performance; instead, verify the specific weatherproofing technologies documented on the manufacturer’s spec sheet. Look for a hydrostatic head rating, which is measured in millimeters (mm) and indicates the amount of water pressure the fabric can withstand before leaking. A rating of 1,500mm is generally considered the minimum baseline for a rainfly to handle moderate rain, while ratings of 2,000mm to 3,000mm offer superior protection against heavy tropical downpours. Additionally, ensure the tent floor has a higher waterproof rating than the rainfly, as your body weight exerts pressure on the damp ground beneath you.
Excellent ventilation is your primary defense against condensation, which occurs when warm, moist breath meets the cooler fabric of the tent. Double-wall construction—consisting of a highly breathable mesh inner tent and a separate, waterproof outer rainfly—is far superior to single-wall designs for managing moisture. The gap between the two layers allows air to circulate, carrying moisture away before it can condense and drip onto your gear. When inspecting a tent, look for adjustable rainfly vents that can be propped open even during heavy rain to maintain airflow.
Review Setup Mechanisms and Practical Features
A frustrating setup process can quickly ruin a camping trip, especially if you have to pitch your tent in the dark, during a sudden downpour, or in high winds. Look for tents that feature intuitive, beginner-friendly setup mechanisms such as color-coded poles, matching webbing straps, and simple clip attachments instead of tedious fabric sleeves. Hubbed pole configurations, where the main poles are permanently joined by central connectors, allow the frame to practically assemble itself, reducing confusion and setup time.
The interior layout and small design details of a tent can significantly enhance your daily comfort at the campsite. Check for built-in organization features like wall pockets to keep your phone and glasses safe, and an overhead gear loft or lantern hook to illuminate the space at night. Multiple doors are highly convenient, especially in multi-person tents, as they allow you to exit the tent without crawling over your sleeping companions. Additionally, high-quality, smooth-gliding zippers with storm flaps are essential to prevent water from seeping through the zipper teeth.
Before finalizing your purchase, verify the compatibility of the tent floor with a protective groundsheet, commonly known as a footprint. A footprint is a durable sheet cut to the exact dimensions of your tent floor that sits between the tent and the ground. It acts as a sacrificial barrier, protecting your tent’s waterproof floor from sharp rocks, twigs, and abrasive soil, thereby extending the lifespan of your investment. Check whether the footprint is included in the box or if you need to purchase the matching model separately.
Final Verification and Purchase Checklist
Once you have narrowed down your choices based on technical specifications, perform a final verification to ensure the tent fits your transport limits. If you are backpacking, check the “trail weight” (which includes only the tent body, rainfly, and poles) and ensure it fits comfortably within your pack. For car or motorcycle camping, verify the folded dimensions to guarantee the tent will fit into your vehicle’s storage compartments alongside your other gear.
Investigate the manufacturer’s warranty terms, local return policies, and the availability of replacement parts before making your final transaction. Reputable outdoor brands often offer warranties against manufacturing defects and sell replacement pole sections, stakes, and rainflies, ensuring you do not have to discard the entire tent if a single component is damaged. Purchasing from authorized local outdoor retailers or official brand stores on online marketplaces provides peace of mind regarding product authenticity and customer support.
Finally, read verified user reviews with a critical eye, focusing on real-world performance rather than initial unboxing impressions. Look for feedback from campers who have tested the tent in high winds, heavy rain, or humid tropical conditions similar to your planned destinations. Pay close attention to any recurring complaints regarding seam leaks, fragile zippers, or difficult setup steps, as these practical insights will help you make a confident, informed decision on your first camping tent.

Community discussion
Share your experience or ask a question. Comments are reviewed before publication.