
Finding a compatible replacement side cover for your tent is essential for maintaining shelter integrity, especially when facing unpredictable tropical weather. Whether your original panel was torn during a sudden monsoon wind or misplaced between camping trips, securing a proper fit ensures your gear remains windproof and dry. The process involves identifying your tent’s exact specifications, evaluating the attachment mechanisms, and deciding between an original equipment manufacturer (OEM) part or a universal aftermarket alternative. By taking precise measurements and verifying material compatibility, you can restore your tent’s protective barrier without purchasing an entirely new shelter system.
Identify Your Tent's Specifications and Attachment Type
Start by locating the tent’s identification details to ensure you search for the correct replacement. Look for a small fabric tag sewn into the inner seam of the tent body, the rainfly, or the carrying bag. This tag typically lists the manufacturer’s name, the specific model name, the SKU or serial number, and sometimes the production year. If the tag has faded due to sun exposure or washing, consult your original purchase receipt, email confirmation, or the user manual. Having these exact details prevents purchasing a panel designed for a slightly different model year, as manufacturers often update pole configurations or zipper styles between product generations.
Next, measure the dimensions of the open space or the damaged panel using a flexible, non-stretch measuring tape. Set up the tent fully tensioned on a flat surface to get accurate numbers. Measure the distance between the attachment poles horizontally at the top, middle, and bottom. Then, measure the vertical height from the ground or the bottom attachment point to the top seam. Finally, take diagonal measurements from corner to corner to check for any skew or unique angles. Write down these dimensions in centimeters or inches, as aftermarket manufacturers may use different units of measurement.
Products mentioned in this guide
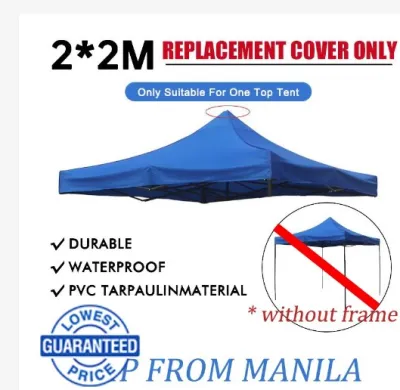
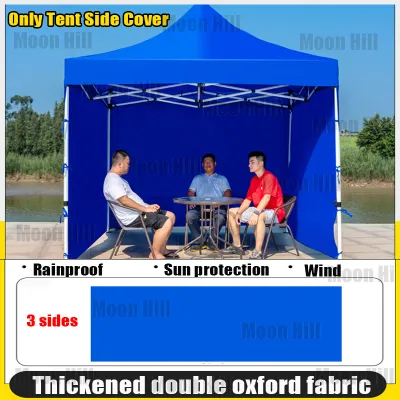
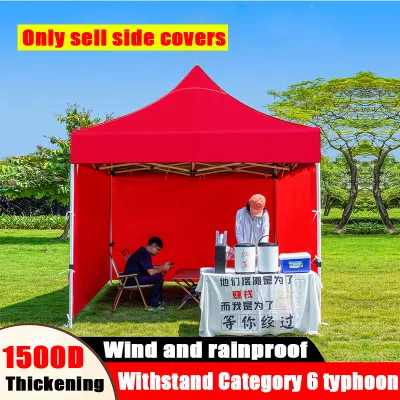
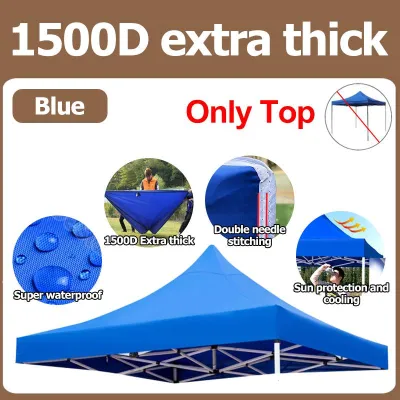
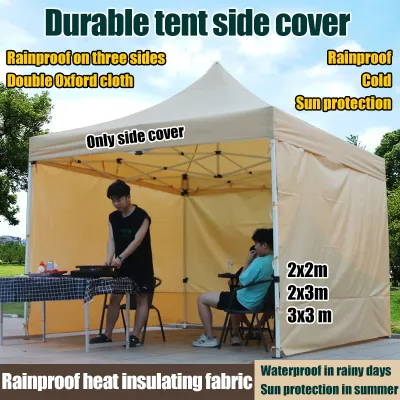
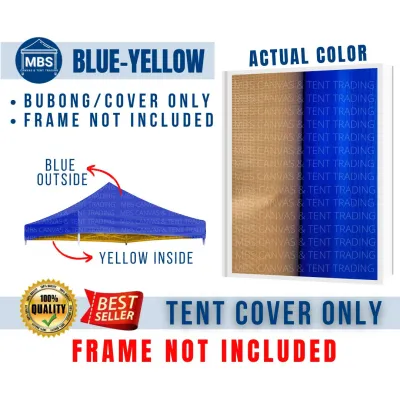
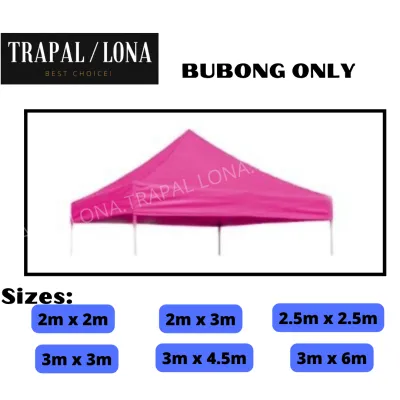
Prices are valid at publication and may change. Please refer to the product page for the latest price.
Identify the specific attachment mechanism your tent uses to secure the side cover. Common systems include heavy-duty zippers, hook-and-loop (Velcro) strips, toggles and loops, plastic clips, or fabric pole sleeves. Examine the zipper teeth size and slider type if your tent uses a zippered attachment; zippers must match in both pitch and length to close properly. If the tent uses Velcro, note whether the hook side or the loop side is sewn onto the main tent frame. Understanding these connection points is critical because a mismatch will leave gaps that allow wind-driven rain to penetrate your sleeping area.
Source Original Manufacturer Replacement Panels
Sourcing an original manufacturer replacement is the most reliable way to guarantee a perfect fit and maintain any active product warranties. Start by visiting the official website of your tent’s brand and looking for a spare parts or accessories section. If you cannot find the specific side cover listed, locate the customer support contact form or email address. Provide them with the exact model name, SKU, and production year you gathered earlier, along with photos of the tent and the attachment points to help them identify the correct part.

Before finalizing a purchase, review your tent’s warranty policy. Some outdoor brands offer lifetime or limited warranties that cover manufacturing defects, seam failures, or premature material degradation. If the side cover failed due to a defect rather than normal wear and tear or improper use, you might qualify for a free replacement or a discounted spare part. Even if the damage is not covered under warranty, customer service representatives can often direct you to the exact replacement part link or suggest a compatible panel from a newer model line.
If the manufacturer does not ship directly to your location, check with authorized local distributors or official online brand stores. In the Philippines, local outdoor specialty shops and authorized distributors often stock spare parts or can special-order them from the manufacturer. When ordering online, verify the estimated lead times and shipping conditions, especially if you live in provincial areas where delivery might take longer. Factor in potential shipping fees, which can range from a few hundred ₱ to more, to ensure the total cost remains practical compared to purchasing a universal alternative.
Evaluate Universal Alternatives and Aftermarket Panels
When original manufacturer parts are discontinued or unavailable, universal aftermarket panels or tarps offer a viable alternative. To select a compatible universal panel, compare its stated physical dimensions against the measurements you took of your tent frame. Avoid choosing a panel that is too small, as overstretching will damage both the replacement cover and your tent’s poles. Conversely, an oversized panel will sag, flap loudly in the wind, and collect water during heavy downpours.
Check the waterproof rating of any universal panel before purchasing. This rating is typically expressed as a hydrostatic head measurement in millimeters (such as 1500mm or 3000mm) on the product label. For tropical climates characterized by intense rain showers, look for a rating of at least 2000mm to ensure adequate water resistance. Additionally, verify that the panel features reinforced tie-out points or grommets along the edges, which are essential for securing the cover to your existing tent frame.
Adapting a universal panel requires planning your attachment hardware carefully to avoid tearing the main tent fabric. You can use adjustable bungee cords, lightweight carabiners, or heavy-duty utility clips to bridge the gap between the panel’s grommets and the tent poles. If the tent uses hook-and-loop fasteners, you can purchase adhesive-backed or sew-on Velcro strips to align with the existing attachment points. Ensure that any metal or hard plastic hardware you introduce is positioned away from the tent fabric to prevent friction tears during windy conditions.
Consider the material trade-offs of different fabrics, focusing on pack weight, durability, and condensation management. Polyester is a common choice for aftermarket panels because it resists stretching when wet, dries quickly, and offers decent UV resistance under the tropical sun. Nylon is lighter and highly packable, but it tends to sag when damp, requiring frequent tension adjustments. Canvas is exceptionally durable and highly breathable, which helps reduce interior condensation in humid environments, but it is heavy, bulky, and requires meticulous drying to prevent mold and mildew growth.
Install and Verify Weatherproofing of the New Cover
Proper installation is critical to ensure the replacement cover performs well in adverse weather. Begin by pitching your tent fully and securing all guy lines to establish a stable frame. Carefully align the replacement side cover with the designated attachment points, starting from the top center and working your way outward and downward. Distribute the tension evenly across the entire panel; over-tightening one corner can warp the tent frame, strain the zippers, or cause the fabric to tear at the seams.
Once installed, perform a thorough visual inspection of the cover. Look for any gaps along the edges where wind or rain could enter, and check for sagging areas that might collect water. The panel should slope downward smoothly to facilitate proper water runoff away from the tent base. If possible, conduct a controlled water test in your yard using a garden hose on a gentle spray setting. Direct the water upward to simulate falling rain, and observe how the water flows off the panel while checking the interior for any dampness or leaks.
Review the care instructions provided with your replacement panel to determine if additional weatherproofing is necessary. Many aftermarket panels do not come with factory-sealed seams, meaning water can seep through the needle holes. If the seams are exposed, apply a compatible polyurethane-based seam sealer along the inside seams and allow it to dry completely in a well-ventilated area. For older or heavily used panels, you may also need to reapply a durable water repellent (DWR) spray to the exterior fabric to maintain its water-beading performance.
Frequently Asked Questions (FAQ)
Can I use a standard camping tarp as a replacement side cover?
Yes, you can use a standard camping tarp as a temporary or budget-friendly replacement side cover, but it requires some modification. Standard tarps lack the tailored shape and pre-installed attachment points of a dedicated side panel, meaning you will need to use custom rigging, such as bungee cords, guy lines, and tensioners, to secure it to your tent frame. Additionally, generic tarps are often heavier and bulkier than fitted panels, and their loose fit can lead to loud flapping in high winds and water pooling along the edges if not tensioned correctly.
How do I measure my tent for a custom-made side panel?
To measure your tent for a custom-made side panel, set up the tent completely on flat ground and secure all stakes. Measure the exact distance between the support poles horizontally at multiple heights, and measure the vertical distance from the ground to the top attachment ridge. Note the angles of the corners and the distance between diagonal points to capture the precise shape of the opening. When sharing these dimensions with a custom gear maker, specify whether the measurements represent the fabric dimensions or the frame dimensions, and discuss adding a seam allowance and accounting for the natural stretch of your chosen fabric.

Community discussion
Share your experience or ask a question. Comments are reviewed before publication.