
A snapped tent pole can quickly turn a peaceful camping trip in humid tropical forests or windy ridges into a stressful survival challenge. Fortunately, a tent clamp—commonly known as a repair sleeve or splint—provides a reliable, immediate solution to restore your shelter’s structure. By sliding this hollow metal tube over the fractured area and securing it, you can safely tension your tent and stay protected from sudden downpours. This guide outlines how to assess the damage, apply the clamp securely on the trail, and safely pitch your tent to prevent further structural failure.
Assessing the Break and Preparing Your Gear
Before attempting any repair, you must evaluate the damage to ensure a clamp is the appropriate tool. Examine the fracture closely to determine if it is a clean snap, a splintered break, or a severe bend. Clean snaps in aluminum poles are the easiest to repair because the two ends can butt against each other inside the sleeve. Splintered breaks, especially in high-humidity environments where materials can degrade, require careful handling to avoid cutting your hands or damaging the tent fabric. If the pole is severely bent but not broken, attempting to straighten it might snap the metal, so applying a splint over the bend is often the safest path.
When preparing for your trek, match your repair gear to your specific venue and expected weather. A lightweight aluminum sleeve is excellent for standard backpacking, but high-altitude ridges or areas prone to heavy tropical storms demand more robust mechanical clamps. Before setting out, verify that your clamp fits your specific pole diameter and material, as a mismatch can lead to structural failure under wind loads.
Products mentioned in this guide
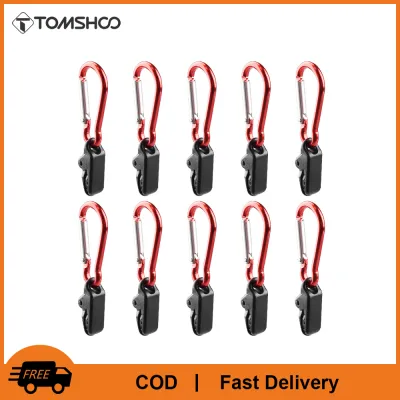
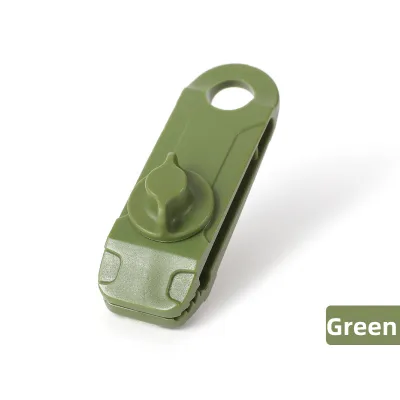
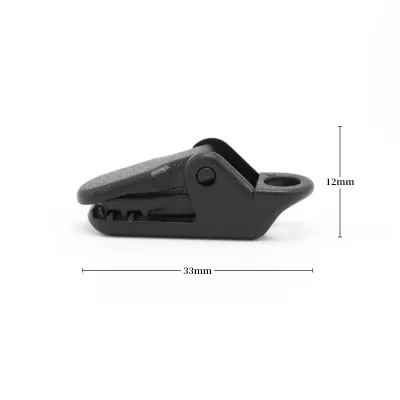
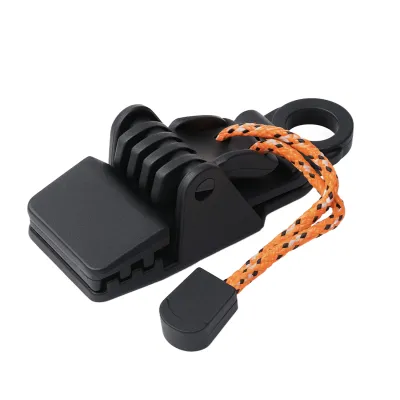
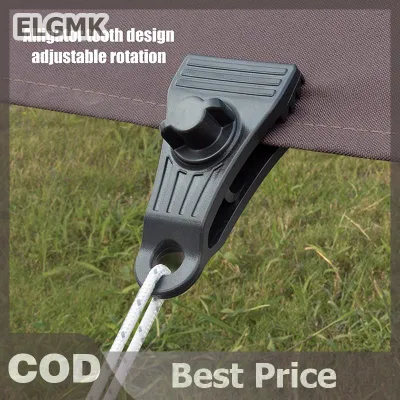
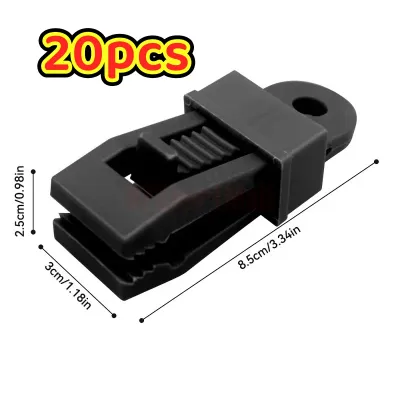
Prices are valid at publication and may change. Please refer to the product page for the latest price.
Locate your tent clamp, which is typically a lightweight aluminum tube included in your tent’s original packaging or purchased as part of an emergency repair kit. You must verify that the inner diameter of the clamp is slightly larger than the outer diameter of your tent pole. A clamp that is too tight will not slide over the break, while one that is too loose will wobble and fail to provide structural support under wind load.
Prepare your workspace by finding a flat, dry area, such as a camp table, a flat rock, or a cleared patch of ground. In tropical climates, moisture and mud are common, so it is essential to wipe the pole sections clean using a dry cloth or bandana. Removing dirt, grit, and condensation ensures that the adhesive tape or securing mechanism of the clamp can grip the pole surface firmly without slipping.
Step-by-Step Guide to Securing the Tent Clamp
Begin the repair by carefully aligning the broken pole ends or splintered sections. Do not force the pieces together, as rough handling can warp the metal further or sever the internal elastic shock cord. If the break has sharp, jagged edges, use a small file, a multi-tool blade, or even a rough stone to gently smooth the burrs so they do not snag the inside of the repair sleeve. Ensure your hands are clean and dry to maintain a firm grip on the tools, and always cut away from your body when using blades.

Once aligned, slide the tent clamp over one end of the broken pole before bringing the two sections together. Position the clamp so that it is perfectly centered over the fracture, ensuring equal lengths of the sleeve support the pole on both sides of the break. If the break is near a pole joint (the insert ferrule), you must ensure the sleeve does not interfere with the joint’s ability to seat fully, as a partial connection will fail under tension.
Securing the clamp depends on its specific design. Many standard trail sleeves are simple tubes that rely on friction and tape. For these, wrap heavy-duty duct tape or gear repair tape tightly around both ends of the sleeve where it meets the pole. Start wrapping on the pole itself, transition onto the sleeve, and wrap back onto the pole to prevent the sleeve from sliding out of center. If your clamp features integrated tightening screws or locking pins, tighten them evenly, taking care not to crush or deform the pole walls.
Throughout this process, pay close attention to the internal shock cord. The elastic cord runs through the center of the poles to keep them connected, and a sharp metal edge from a broken pole can easily fray or cut it. Confirm that the cord is moving freely inside the pole and is not pinched beneath the clamp or caught in the jagged break. If the cord is severed, you may need to feed it back through and tie a temporary knot, though keeping the pole sections aligned inside the sleeve is your primary objective on the trail.
Double-check the security of your tape wraps or mechanical fasteners. In warm, humid conditions, some low-quality adhesives can lose their grip, so applying firm, overlapping layers of tape is crucial. Ensure there are no loose edges that could catch on the tent’s pole sleeves during assembly.
Pitching the Tent and Managing Tension Safely
Before threading the repaired pole into your tent, perform a gentle flex test. Hold the pole near the repair site and apply light, gradual pressure to simulate the natural curve of the pitched tent. Watch the clamp closely to verify that it does not slide, wobble, or bend at the joint. If you hear cracking sounds or notice any movement, disassemble the repair and re-secure the tape or fasteners.
When you are satisfied with the stability, thread the pole through the tent sleeves or attach the plastic clips with extreme caution. Avoid pushing the pole forcefully, as the edge of the repair sleeve can catch on the fabric and cause tears. If possible, have a camp partner assist you by holding the tent fabric taut while you guide the repaired section through.
Once the pole is in place, adjust the tent’s tension carefully. Pitching a tent in windy conditions requires strategic positioning; try to orient the tent so that the wind does not hit the repaired pole directly. Adjust your stakes and guylines to distribute the structural load evenly across the entire frame, reducing the lateral stress concentrated on the weakened, clamped section.
Remember that a repaired pole has significantly reduced load capacity compared to an undamaged one. If you encounter severe weather, high winds, or heavy rain, understand the limits of your equipment. A clamp cannot replace sound judgment; if the wind speeds exceed what your temporary repair can realistically support, your priority must shift to seeking natural windbreaks or evacuating to a safer location rather than risking a complete shelter collapse.
Monitor the repair continuously throughout your stay. Keep an eye out for warning signs such as a slipping clamp, new cracking noises, or visible bowing at the repair site. If the weather deteriorates or the repair begins to fail, do not force the tent to stay upright; instead, lower the tent to prevent further damage to the fabric and seek alternative shelter, such as a tarp setup.
Post-Trail Inspection and Permanent Replacement
Once you return home from your trip, disassemble the repaired pole immediately to conduct a thorough inspection. Do not leave the temporary clamp on indefinitely, as trapped moisture can cause corrosion, and the adhesive from the tape can degrade the pole’s finish. Carefully slide the clamp off and inspect the internal shock cord for any signs of wear, stretching, or fraying that may have occurred during the trail emergency.
Evaluate the rating of your specific tent clamp. While some heavy-duty mechanical clamps are designed for extended use, most lightweight trail sleeves are strictly temporary measures meant to get you through a single trip. Relying on a taped sleeve for future excursions increases the risk of a sudden failure in remote areas.
To restore your shelter to its original strength, contact the tent manufacturer’s customer support or visit their official website to order an exact replacement pole section. Many manufacturers sell individual pole segments, allowing you to replace only the damaged piece rather than purchasing an entire new pole set. If your tent is covered under warranty, check the terms to see if pole breakage is eligible for a replacement.
Frequently Asked Questions (FAQ)
Can I use a standard tent clamp on fiberglass poles?
Standard aluminum repair clamps can sometimes be used on fiberglass poles, but you must proceed with extreme caution. Fiberglass tends to splinter longitudinally when it breaks, creating sharp, needle-like shards that can easily cut your hands or slice through your tent fabric. Before applying a clamp, wrap the splintered area tightly with tape to contain the fibers, and verify that the clamp’s inner diameter accommodates the slightly thicker profile of fiberglass poles. Always check the clamp manufacturer’s specifications, as some sleeves are designed exclusively for aluminum.
What are the emergency alternatives if I lose my tent clamp?
If you lose or forget your tent clamp, you can construct an emergency splint using rigid items from your gear or surroundings. Sturdy tent stakes, trekking pole segments, or even strong, straight sticks can serve as a splint. Align the broken pole ends, place the rigid splint parallel to the break, and wrap it securely with high-quality duct tape, cordage, or zip ties. This makeshift solution requires careful tension management, as it will not flex as smoothly as a dedicated sleeve, increasing the risk of secondary breaks if the tent is over-tensioned.

Community discussion
Share your experience or ask a question. Comments are reviewed before publication.